How to Change Pump Exhaust Filter (100-32): JVR Vac100
“Filtering is a medium that combines powerful performance and superior separation levels.”
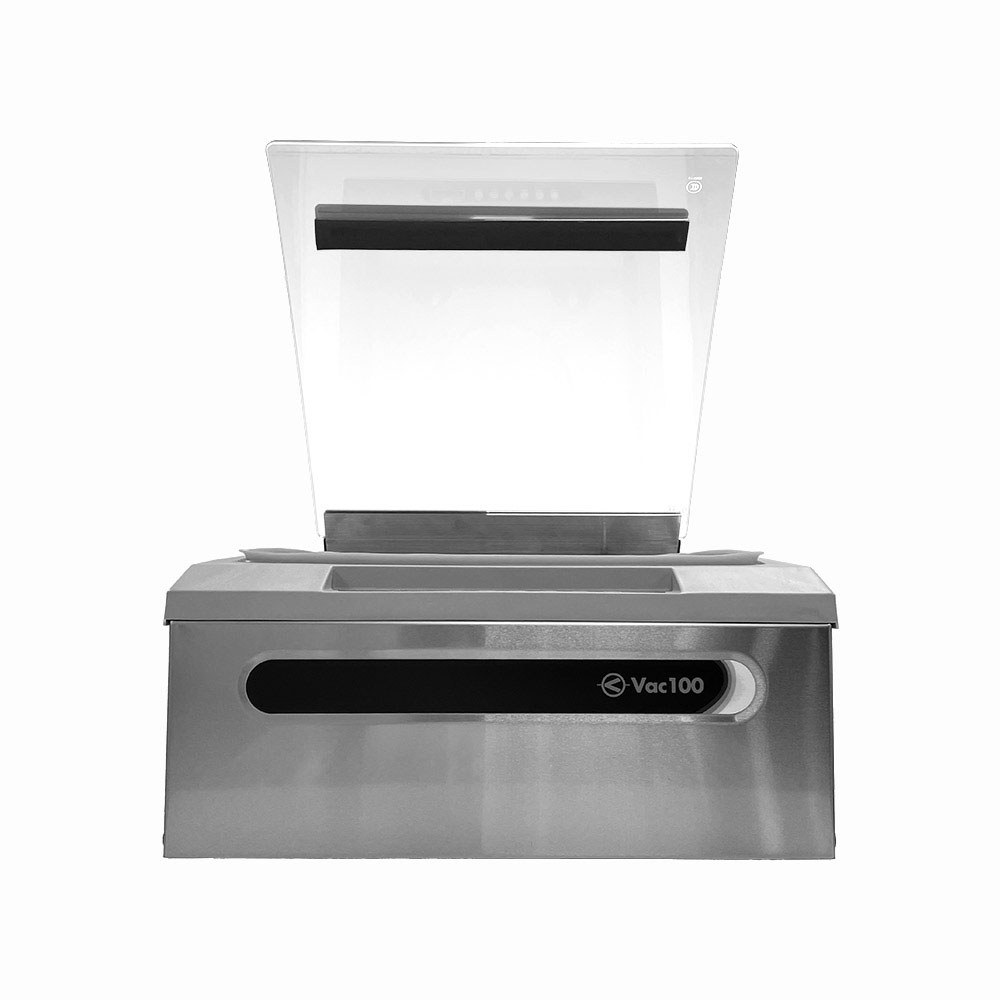
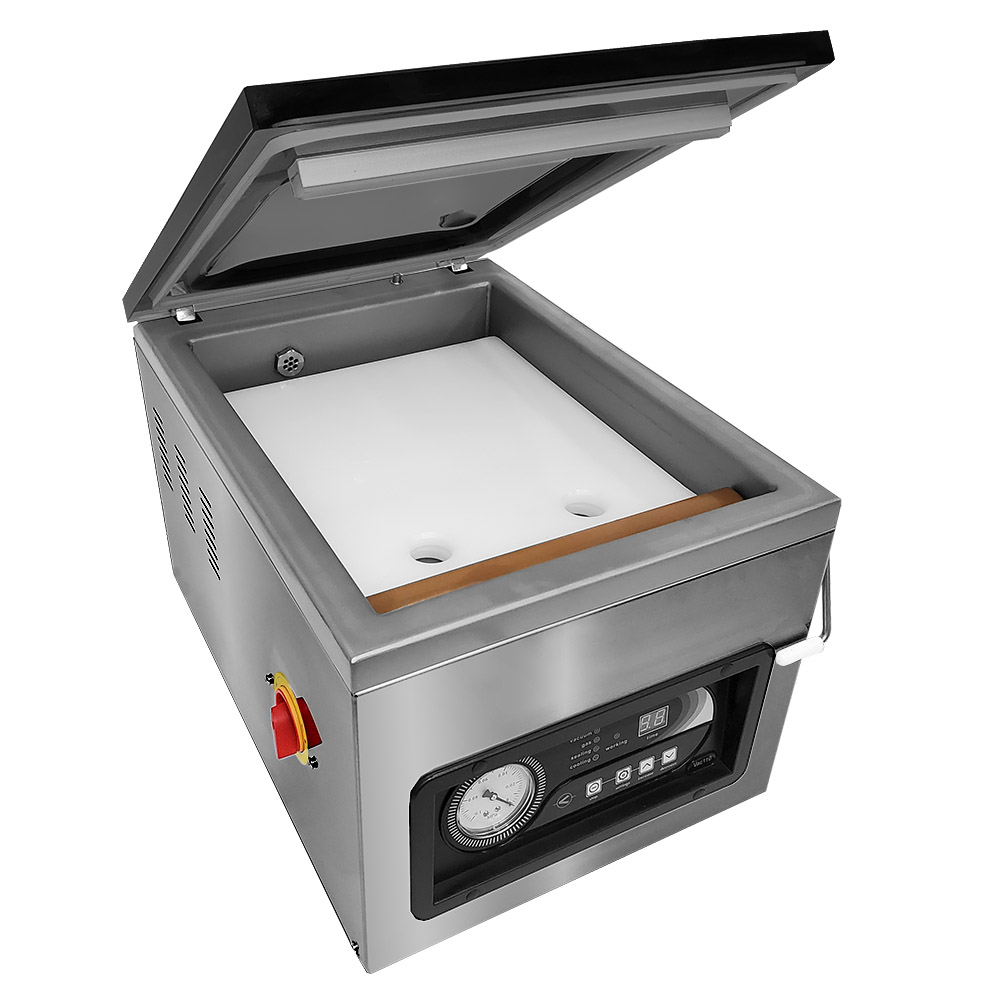
Part of what makes the JVR Vac100 the best chamber vacuum sealer is its oil vacuum pump. The pump is the heart of all JVR Industries VacSeries chamber vacuum sealers and, if maintained regularly, will provide you with years of unmatched advantages. These include increasing shelf life, preventing freezer burn, sealing mylar bags, and a way of optimally marinating your steak before sous vide cooking. To keep the vacuum sealing process running smoothly with an optimal vacuum, regular replacement of the vacuum pump exhaust filter must take place.
Why Use an Vacuum Exhaust Filter in Chamber Vacuum Sealers?
Even though you keep your chamber clean (right?), there are always situations wher dust will get sucked into the system when the vacuum is applied. Or maybe you are vacuum sealing liquids and it reaches the cold boiling point due to the intense vacuum and it’s not caught on time so some contents might get sucked in. These are both scenarios that make the filter necessary for the functioning of the vacuum pump.
What Does the Vacuum Exhaust Filter Do?
Prevents dust and particulate matter from entering or exiting your system and contaminating the vacuum pump filter elements.
Boosts the energy efficiency of your unit.
Decreases energy consumption.
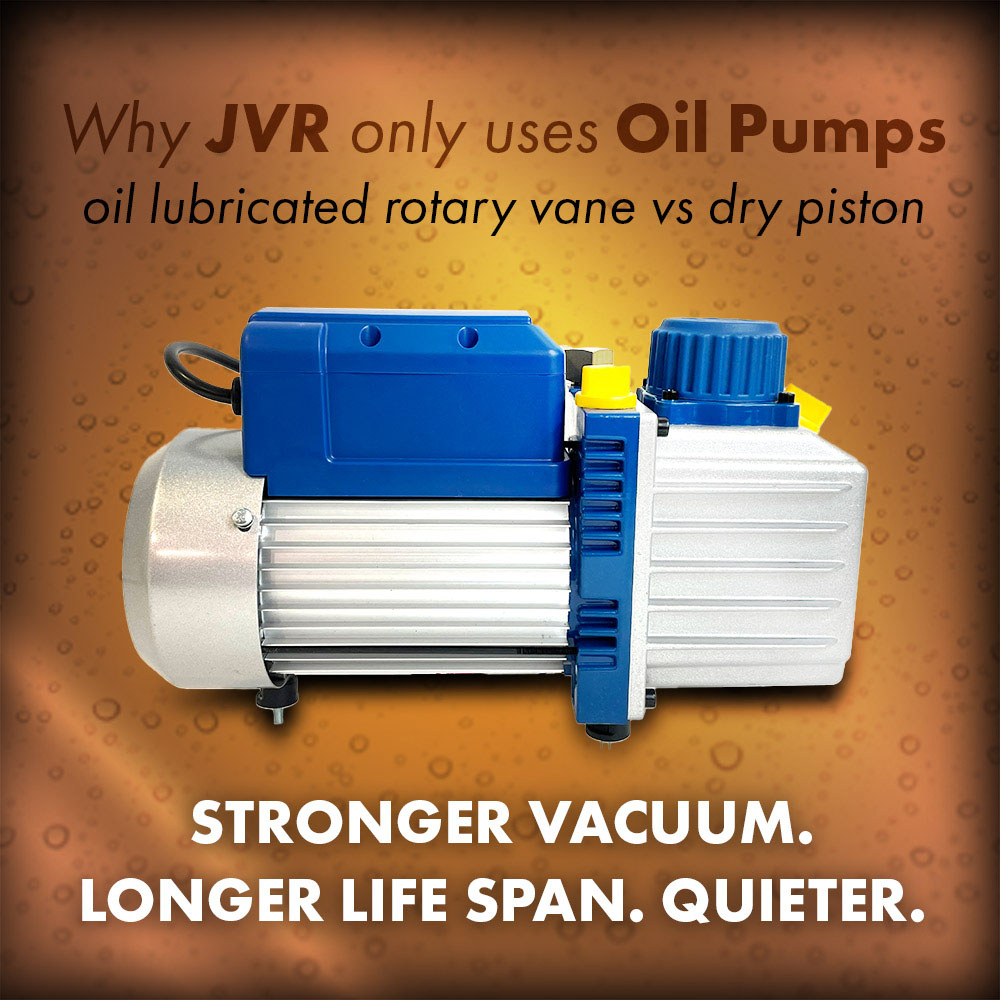
Ensures your rotary vane oil-lubricated pump expels clean air.
How Does it Work?
During typical operation, oil vacuum pumps produce a small oil mist that stays suspended in the atmosphere. The oil mist production is filtered during operation which catches and removes it before the air is expelled through the exhaust. Filtering is a medium that combines powerful performance and superior separation levels.
Additionally, layers of premium filtration material secure the oil mist when it comes through the oil filter encouraging recycling. The ability to recycle expensive lubricating oils is now made easy as oil particles rejoin and are reused by the vacuum pump. You save money on oil!
How do You Know When to Replace the Exhaust Filter?
If you do not notice any indications, we recommend replacing the exhaust filter once a year for upkeep.
Indications that the filter element needs replacing in your chamber vacuum sealer:
Smoke: You notice a puff of smoke at the beginning of a vacuum seal cycle.
Odor: You notice smoke or oil odor coming from the exhaust exiting the JVR Vac100 vacuum pump.
NOTE: Feel free to utilize the skip function by pressing the down arrow if you notice these issues during a vacuum sealing cycle.
What is Required of You?
Difficulty Level: Easy
Time Required: 5-10 Minutes
Tools Needed: #2 Phillips Screwdriver & Allen Key (3mm)
Replacement Filter: 100-32, OR comes with the 100-MP Maintenance Pack along with other necessary parts for maintenance.
Safety Precautions
Please complete all these steps before beginning the replacement process to ensure the safety of yourself and the chamber vacuum sealer.
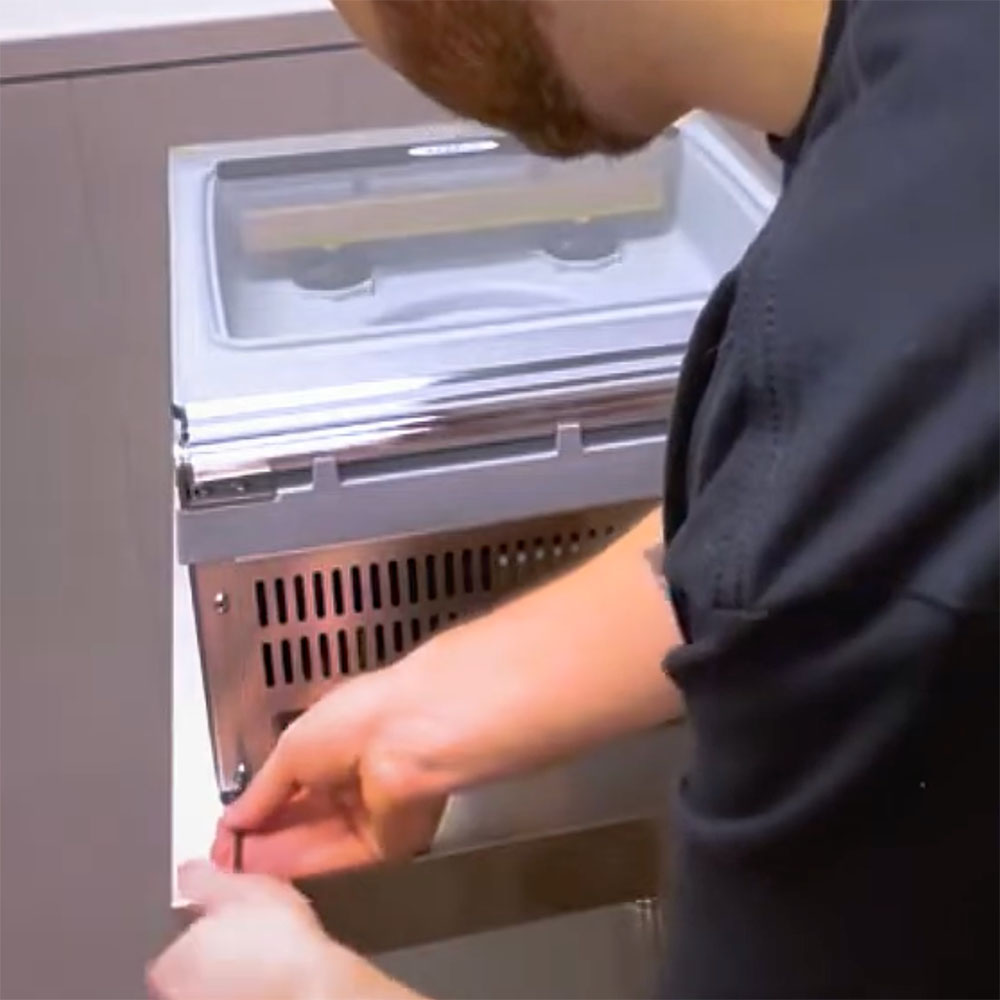
1. Remove all contents from inside the chamber of your Vac100 including filler plates as the body will be tilted upright.
2. Make sure to power off the chamber vacuum sealer and unplug the IEC power cable.
3. Ensure your unit is resting on a stable surface.
Let’s Replace the Exhaust Filter
Accessing the Internals of the JVR Vac100
To access the vacuum pump exhaust filter, you first need to access the internals of the machine.
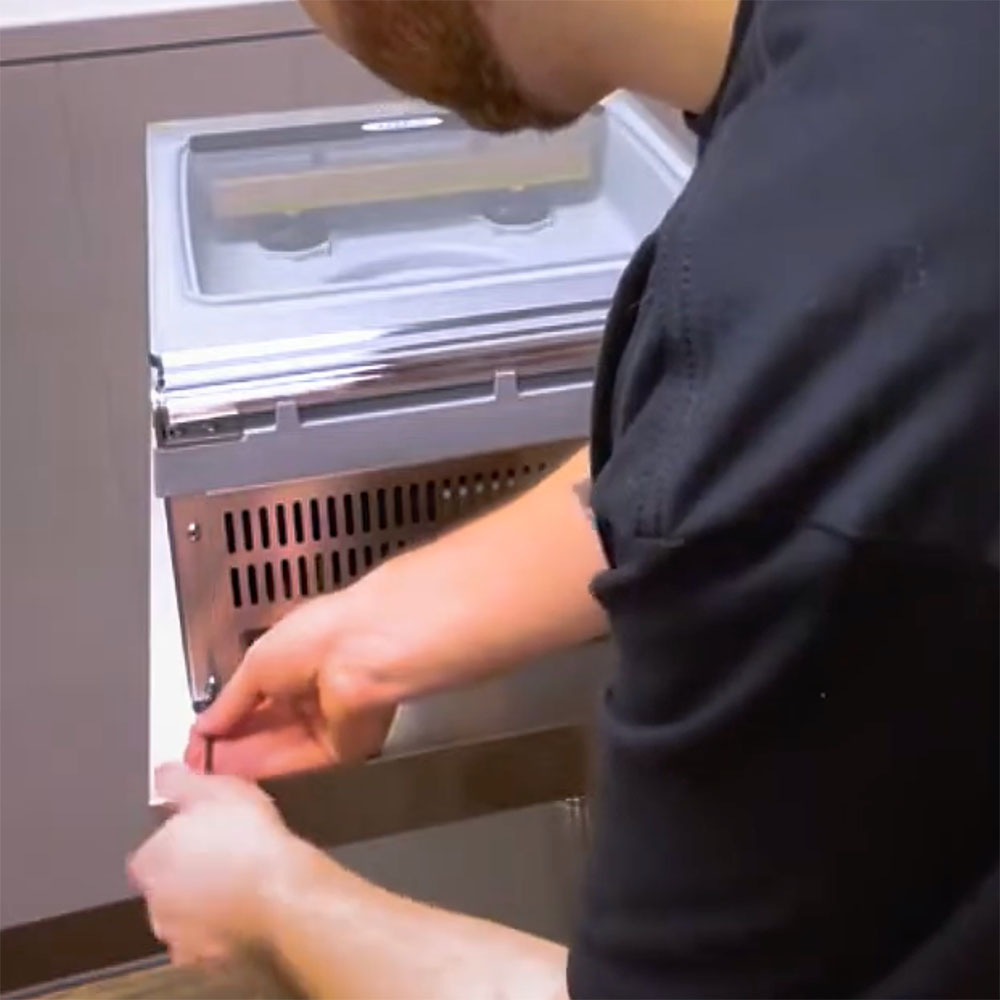
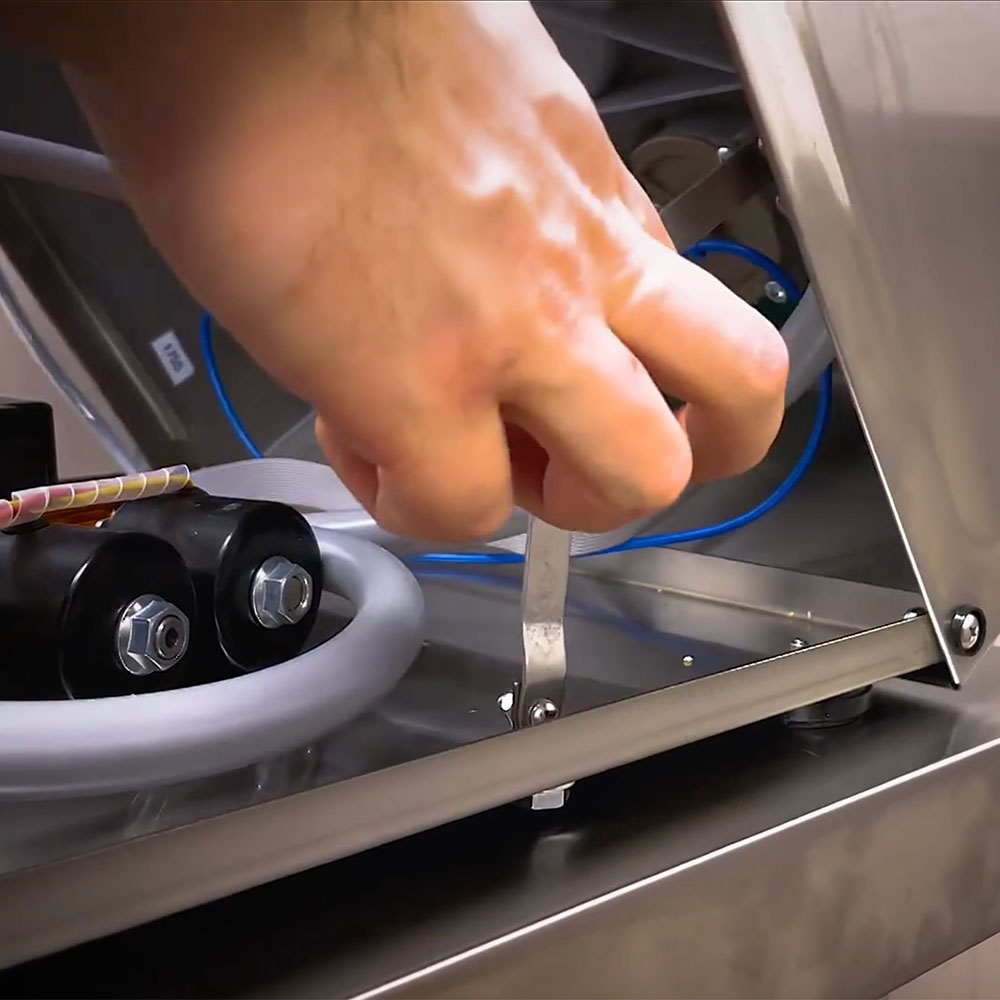
1. Use the Allen key (3mm) to remove the three Allen screws found on the back panel of the unit.
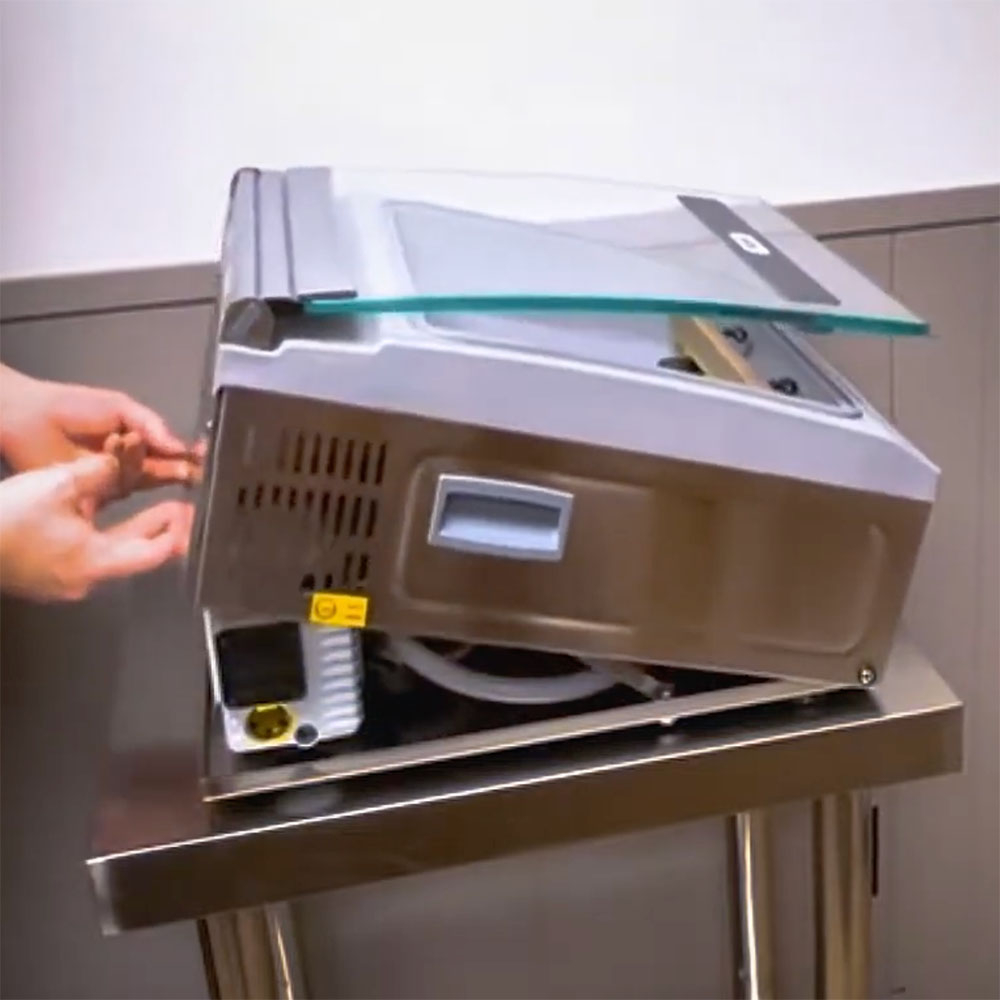
2. Once the screws are removed, slowly and carefully hinge the body of the machine forward.
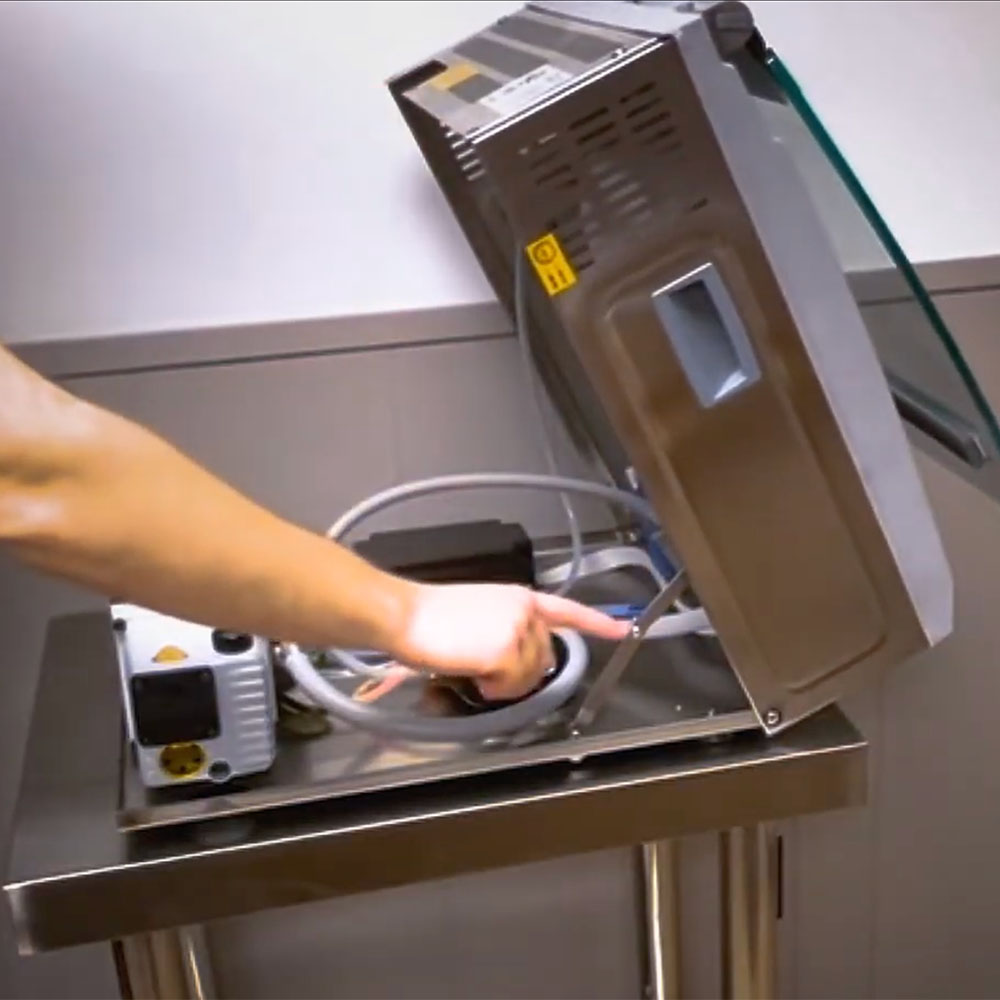
3. Press a finger against the hinging mechanism located on your right side from the back view to lock the hinged body in place.
Accessing the Exhaust Filter
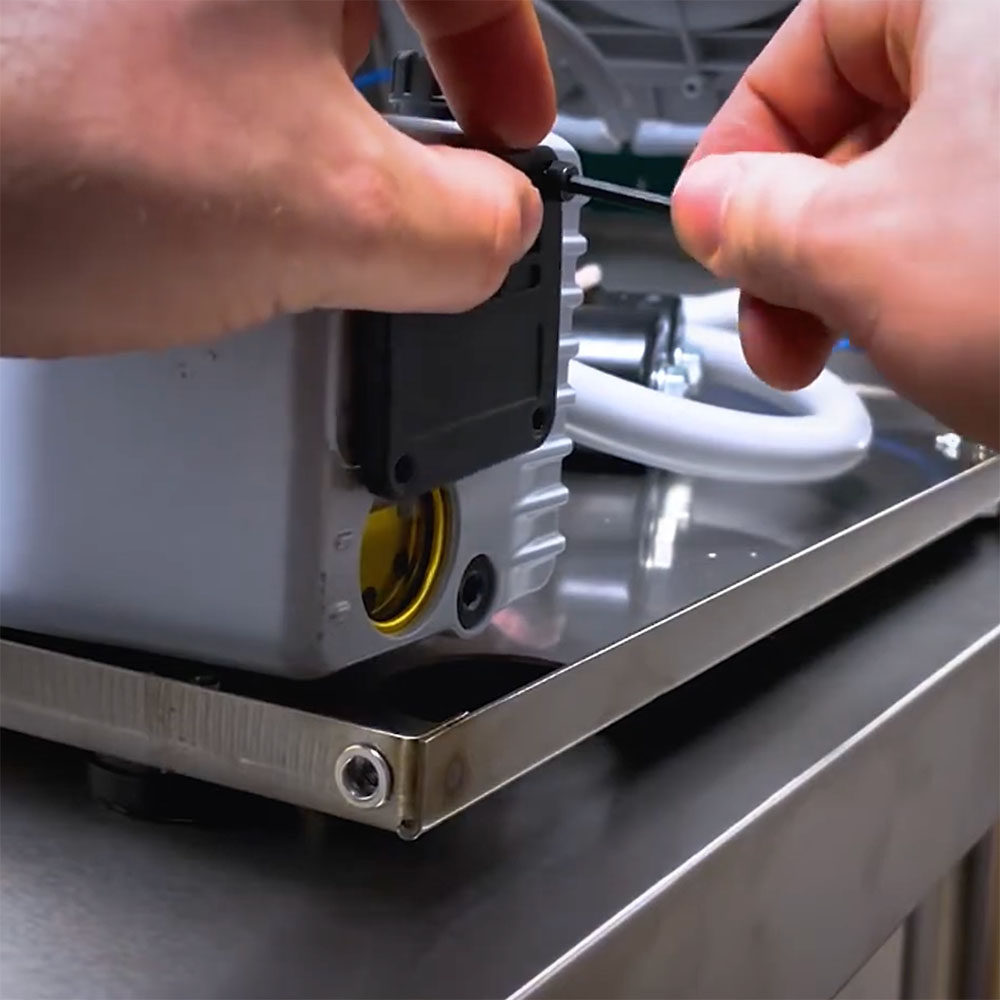
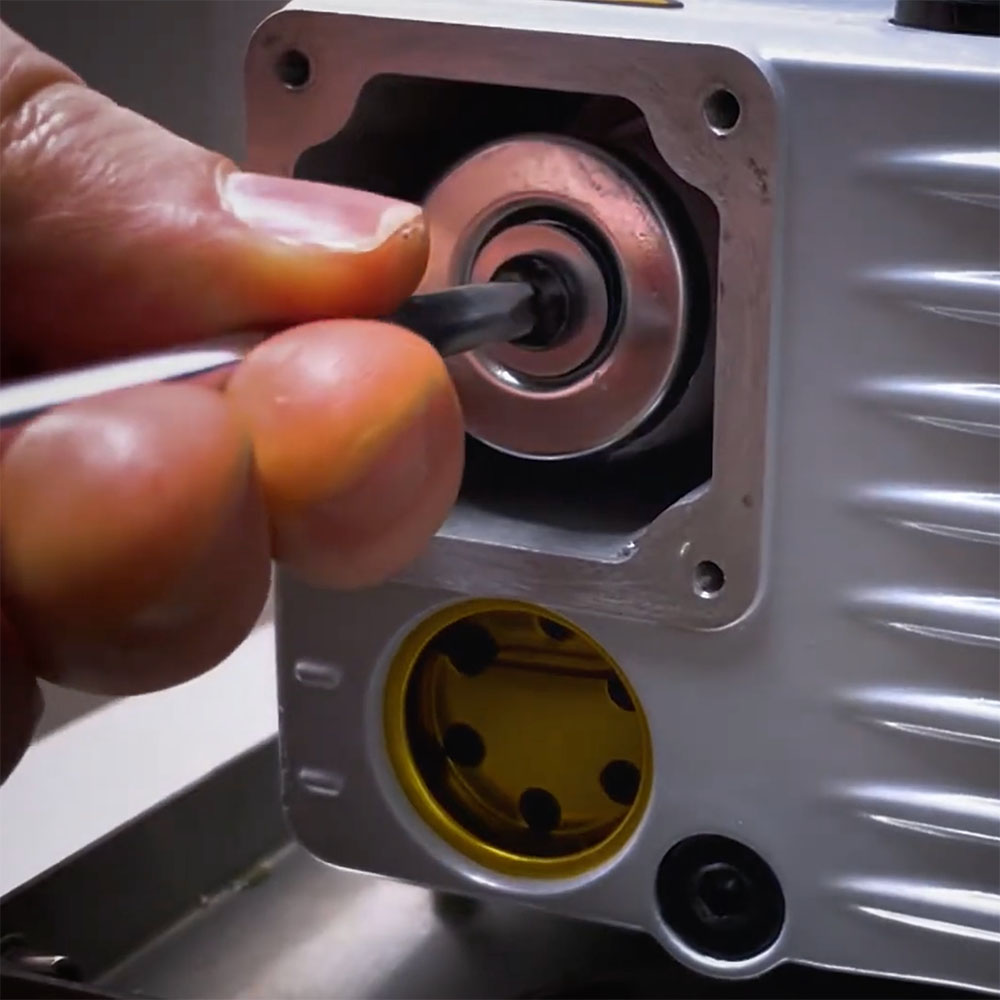
4. Use the Allen key (3 mm) to remove the black exhaust cover by unscrewing the four screws securing it. You can locate this cover on the vacuum pump right above the sight glass.
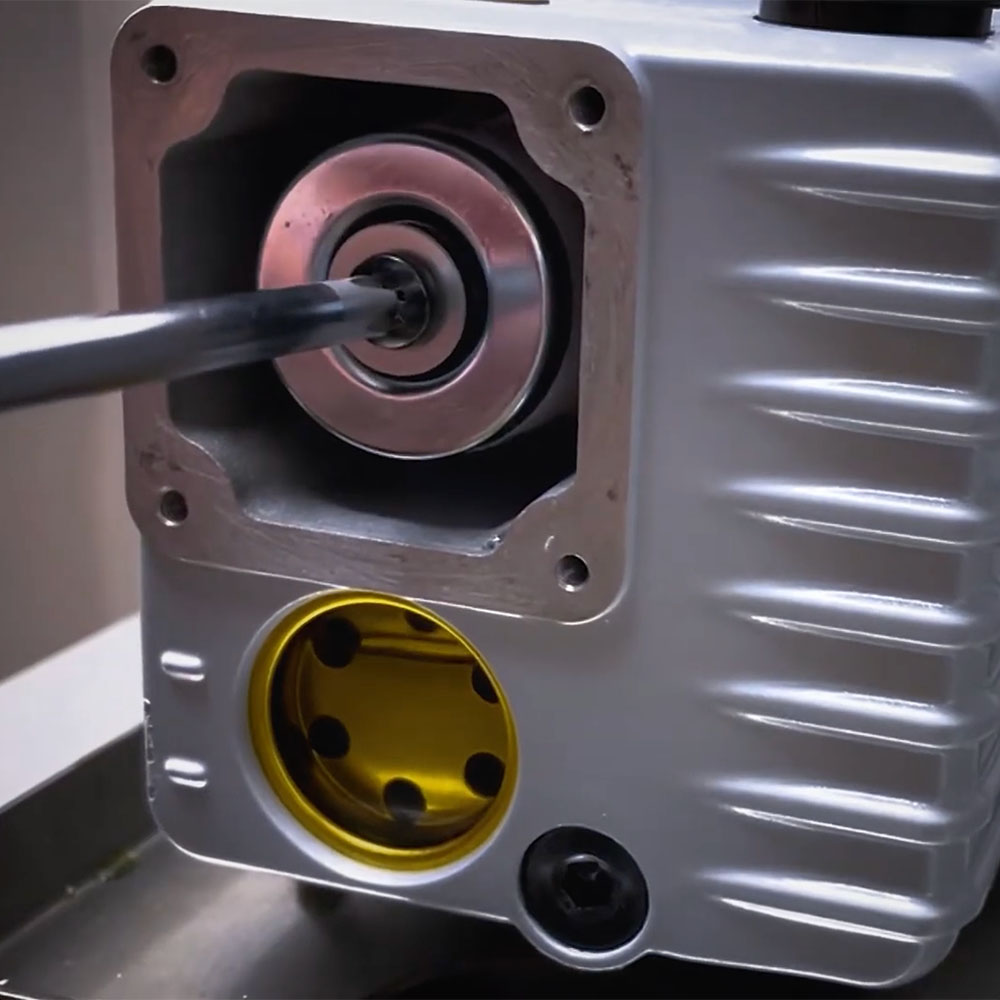
5. Once you have a view of the exhaust filter, use a #2 Phillips screwdriver to loosen the Phillips screw located at the center of the filter holding it in place.
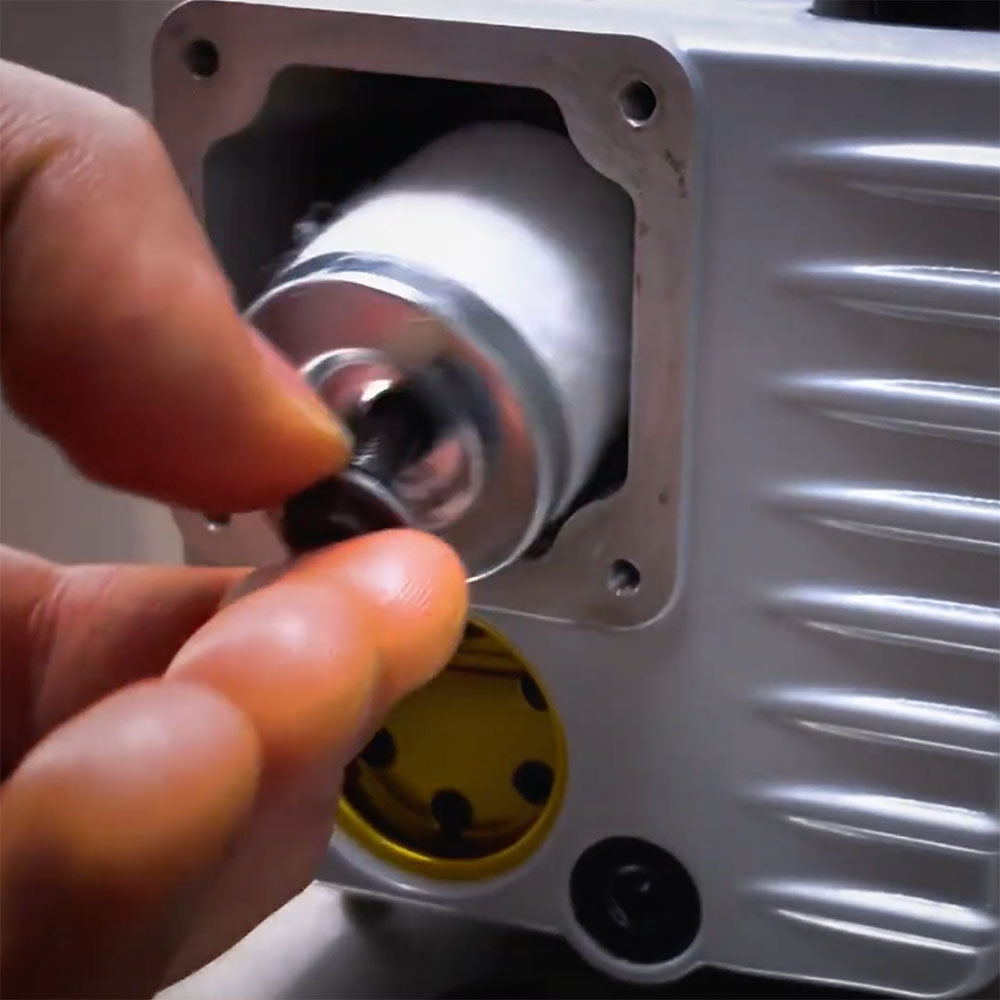
6. Remove and KEEP the screw and washer from the filter. Discard the old filter.
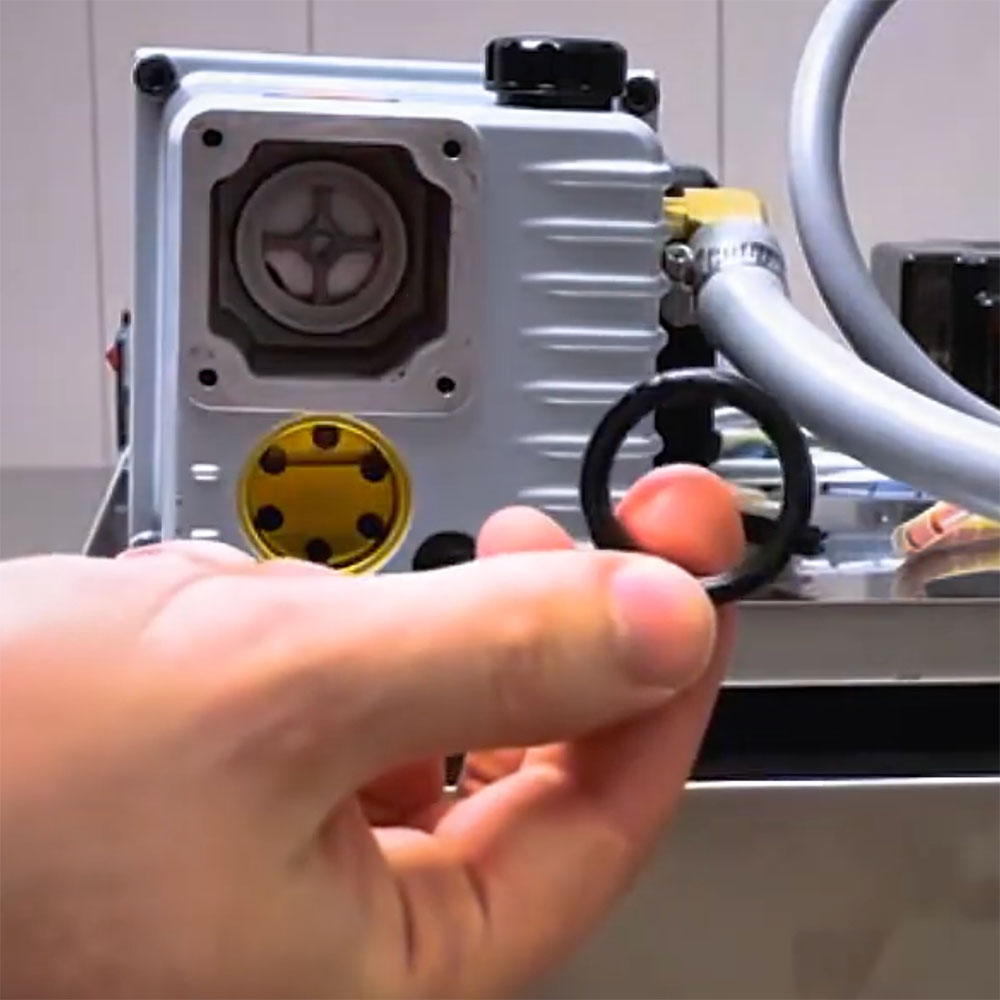
7. You can either use the old O-ring found on the base of the removed exhaust filter or simply use the new one that comes with the new replacement filter!
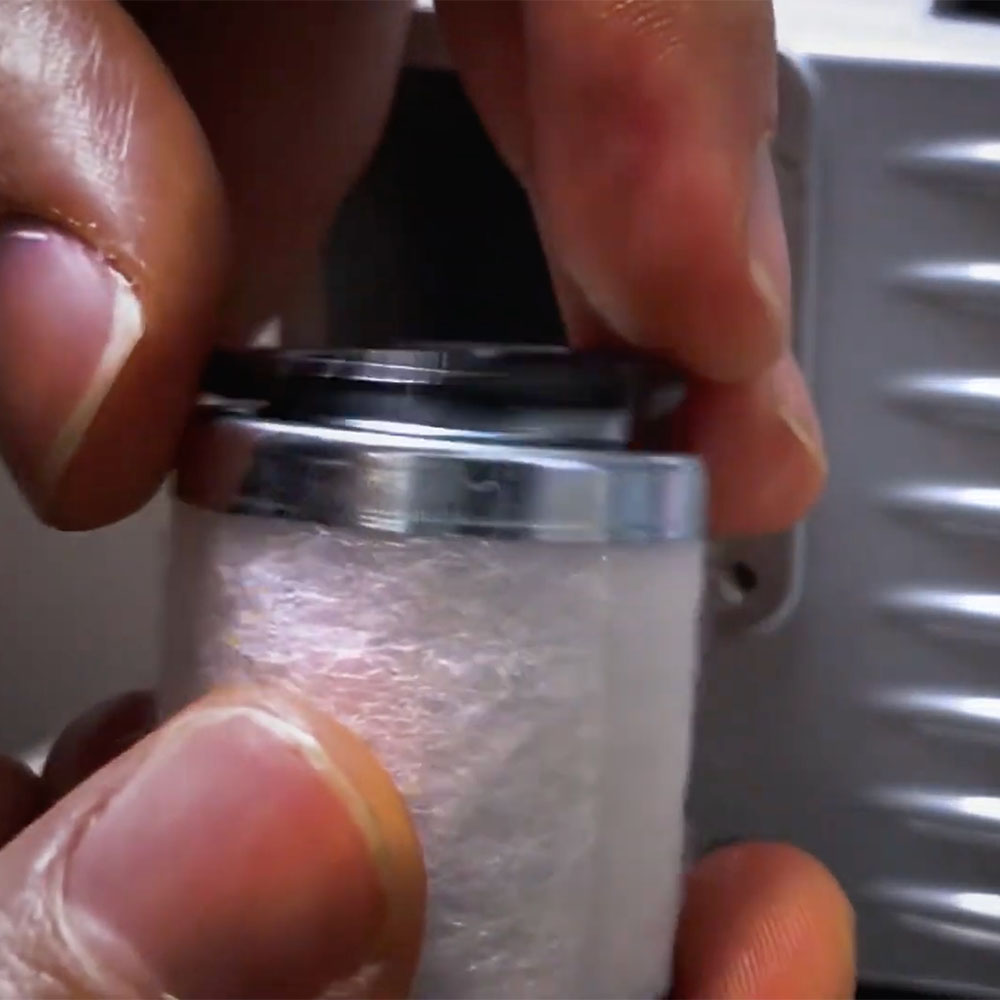
8. Place the O-ring on the new filter.
9. Insert the new filter in the pump and secure it with the pre-existing screw and washer using the #2 Phillips screwdriver.
The Final Steps
T

10. Secure the four screws holding the black exhaust cover with the Allen key (3mm).
11. Close the body of the chamber by loosening the hinging mechanism.
12. Reinstall the three screws at the back of the machine using the Allen key (3mm).
You’re all set!
Additional Information
Register your Vac100 to receive reminders on standard oil changes, pump exhaust filter changes, and more! Receive updates on your unit as well as general support. Register your Vac100 HERE.
Would you like to see a visual for the replacement process? Watch this video that takes you through the step-by-step procedure of replacing your Vac100 exhaust filter.
If you have any further questions about the replacement of the exhaust filter or about additional upkeep of your chamber vacuum sealer, do not hesitate to reach out! Our service team is always eager to help with years of experience! Give us a call during our business hours or email anytime.
Want to read more articles like “How to Change Pump Exhaust Filter (100-32): JVR Vac100” Click below!
.