
How to Test the Seal Transformer (410-62): JVR Vac410 & Vac610
“You will likely save time and money if you take the steps to identify the diagnosis right from the start.”
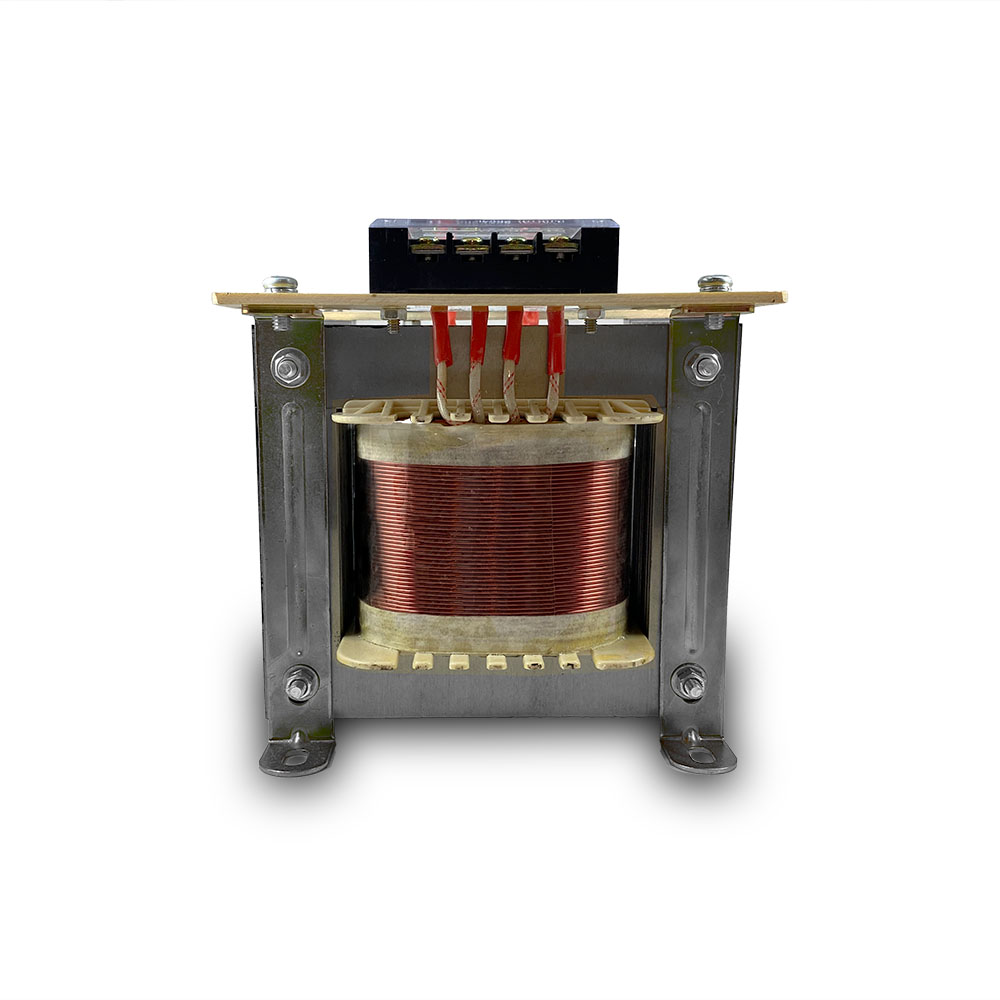
Superior seal integrity is among the most important functions of a vacuum sealer. Without a sound vacuum seal, air seeps right back into the vacuum pouch, making the vacuum cycle completely useless. If you are experiencing seal failure, we’ve got you! Today, we will go over how to test a major component of the seal system in your Vac410 and Vac610 chamber sealers – the large seal transformer. This will aid in the process of diagnosing your unit when experiencing seal failure.
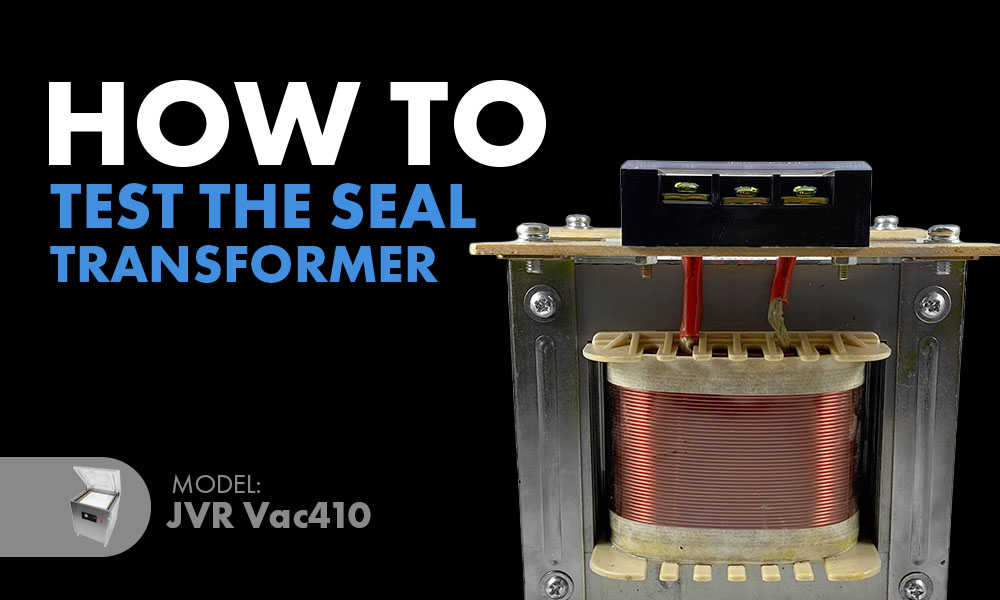
Purpose of the Seal Transformer
As an essential part of the power system, a transformer works to take the input power and turn it either into a higher or lower voltage to match the appropriate output before reaching its target. So instead of forcing unnecessary power through and killing the system, or missing enough power even to function, a transformer ensures the output power is just right to keep the system running smoothly. Transformers come in many different sizes, and each is manufactured to provide a customized function to fit the requirements of the system.
How does this apply to our Vac410 or Vac610 chamber vacuum sealer users? The seal transformer in your VacSeries unit steps the power down before heading to the seal bars in these units. This ensures the heat strips produce just enough heat for superior seal integrity without burning up. It feeds two seal bars and is wired in a series.
The Series:
Seal Transformer Input
Seal Transformer Output
First Wire
First Seal Bar
Second Wire
Second Seal Bar
Seal Transformer
This completes the series.
When to Replace the Seal Transformer
The seal system in a chamber vacuum sealer includes many components. Therefore, if you are experiencing seal failure, then it does not necessarily imply the problem lies with one singular part. You may benefit from checking for a burnt or broken seal heat wire first, as this is the most convenient part to inspect and the cheapest to replace. Overall, ensure you go through the processes to help rule parts in or out before purchasing one that might not be the problem. You will likely save time and money if you take the steps to identify the diagnosis right from the start.
Feel free to call our service technicians to help properly diagnose your unit.
Tools Needed
#2 Phillips Screwdriver
Voltmeter
How to Test the Seal Transformer
1. Remove the back panel using the #2 Phillips screwdriver.
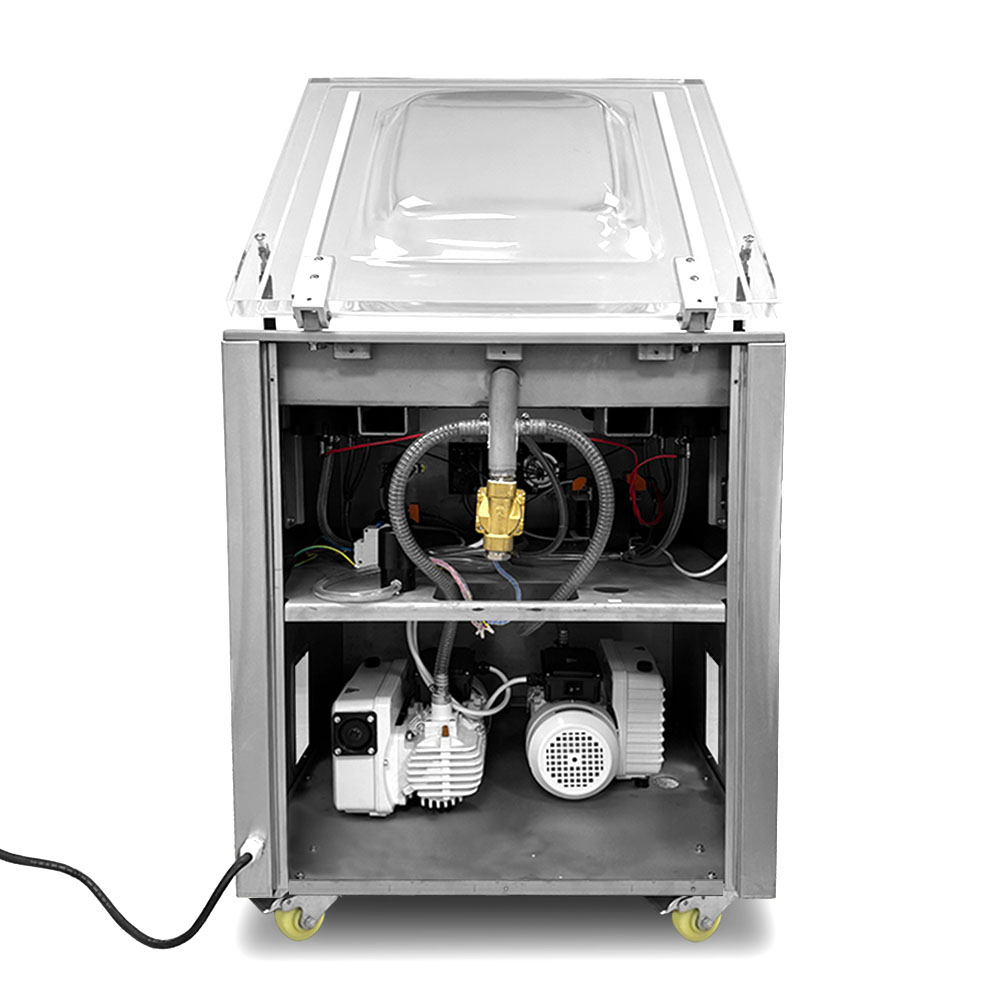
2. Obtain the Voltmeter.
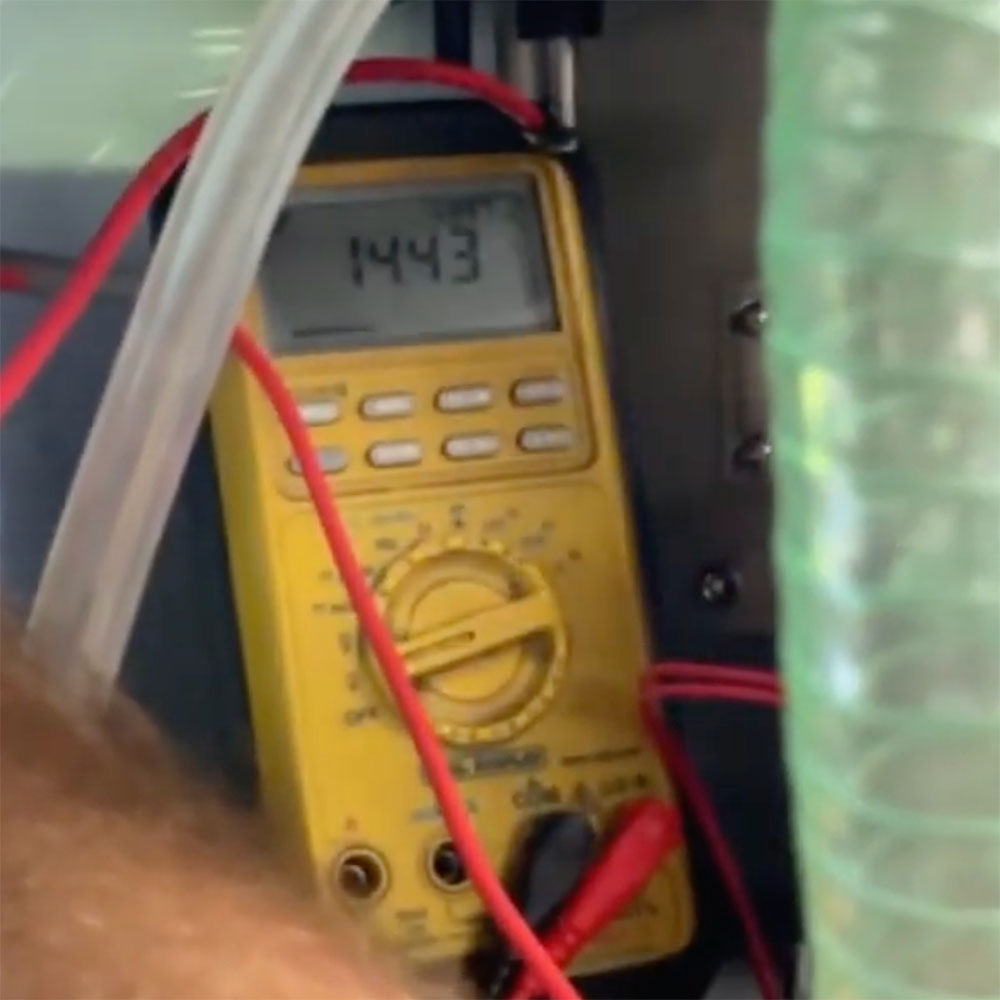
3. Feed 220 Volts into the input end (black and white wires). Your Voltmeter should read approximately 204V.
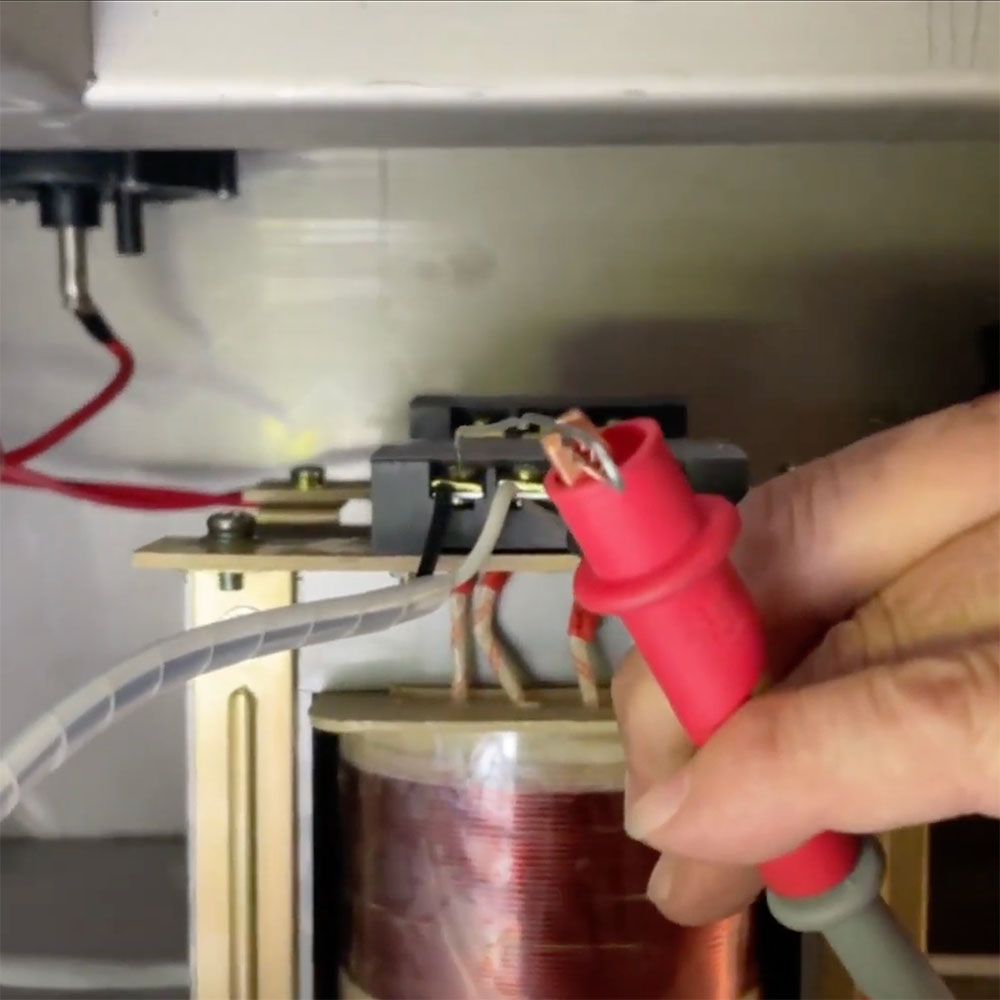
4. Now test the output side (directly behind the input end). The Voltmeter should read approximately 16V.
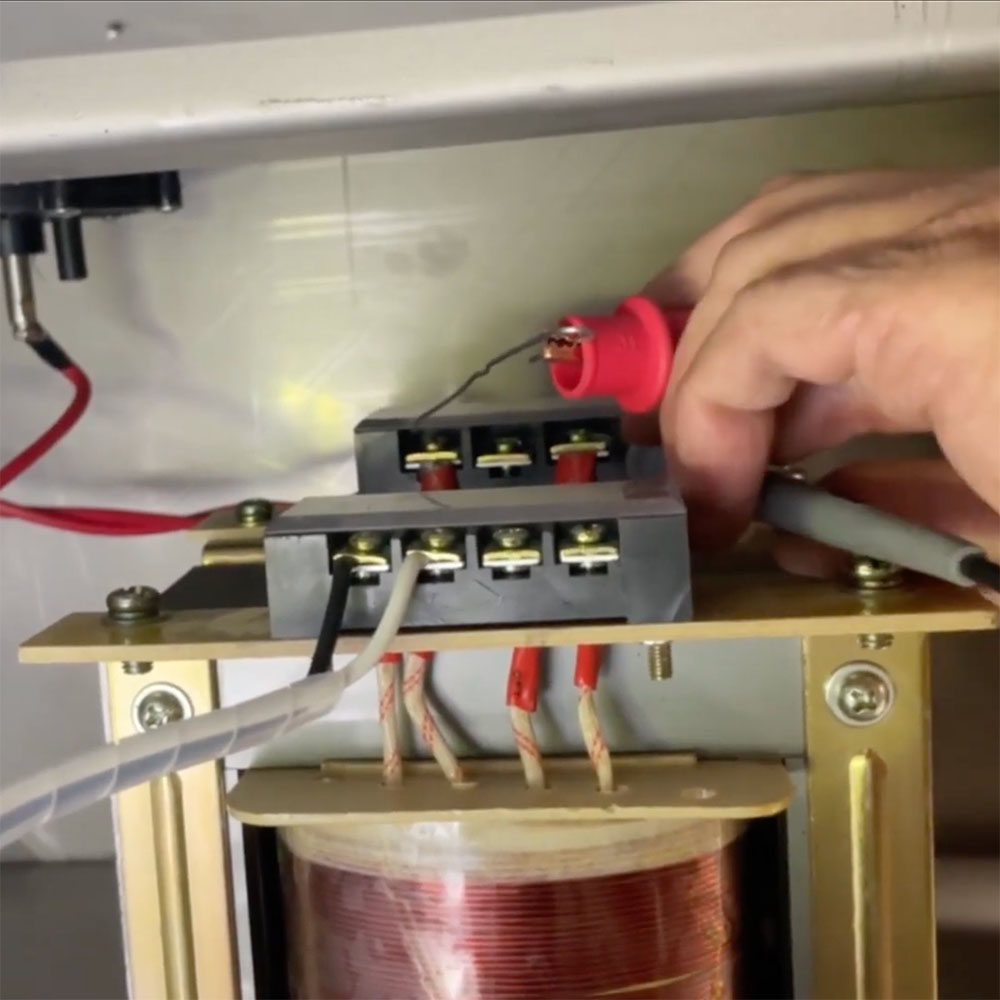
NOTE: If both input and output seem sound, it’s possible you could have a bad connection at one of the seal cylinders, or a heat wire could be broken on the seal bar.
Additional Information
Review the video below, created as a helpful in-action process to use as a visual reference. We always have service resources readily available on our website and YouTube channel.
Please feel free to give us a call if you need help diagnosing your machine. Our team here at JVR Industries is always ready to help. No automated systems here – when you call, you will talk directly to a human right from the start! Additionally, you can visit our VacSeries parts category and browse the replacement parts or other vacuum packaging products we have readily available. We look forward to hearing from you.
Want to read more articles like “How to Test the Seal Transformer (410-62): JVR Vac410 & Vac610” Click below!
.