How To Adjust Lid Spring Assembly (610-42): JVR Vac610 – Dual Chamber Vacuum Sealer
“Our team here at JVR Industries takes pride in having more than 50 years of experience…“
Looking to adjust the lid spring assembly on your Vac610? Thankfully, lid spring maintenance for your dual chamber vacuum sealer is extremely simple. Continue reading below to follow along with these quick and easy steps on lid spring adjustment!

When To Adjust
Notice your JVR Vac610 lid slamming down or resting too high off the deck? Finding resistance when lifting the lid? It may be time to adjust the lid springs. Our team here at JVR Industries takes pride in having more than 50 years of experience, and one of our service technicians would be more than happy to help you. You can contact us by email at service@jvrinc.com or by phone at 716-206-2500.
Tools And Materials Needed
#2 Phillips Screwdriver
Two 14mm wrenches, preferably one thin
Time Required
Estimated to be about a 15-30 minute process
Precautions
Make sure your Vac610 is in a clean, open environment before servicing.
Power off your unit and disconnect from the power supply.
Steps To Adjust the Lid Spring Assembly in Your Chamber Sealer
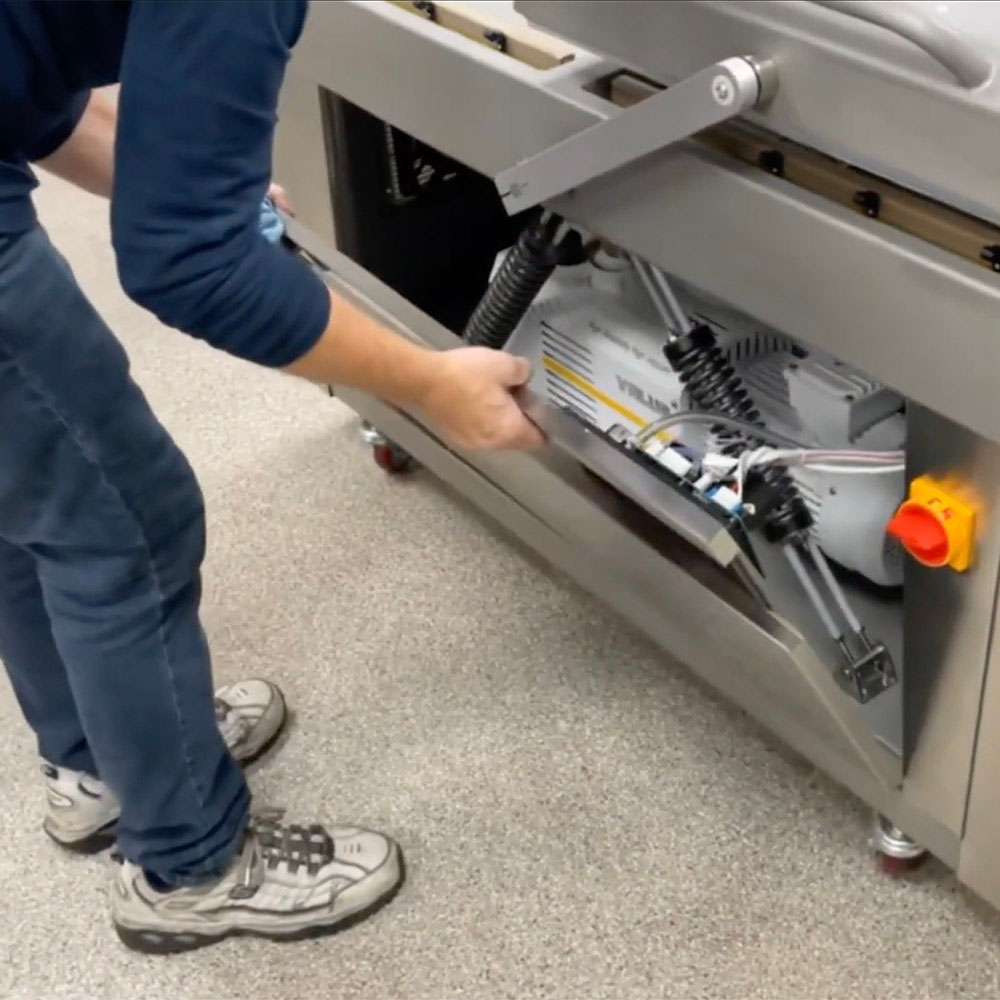
Remove the Front Panel
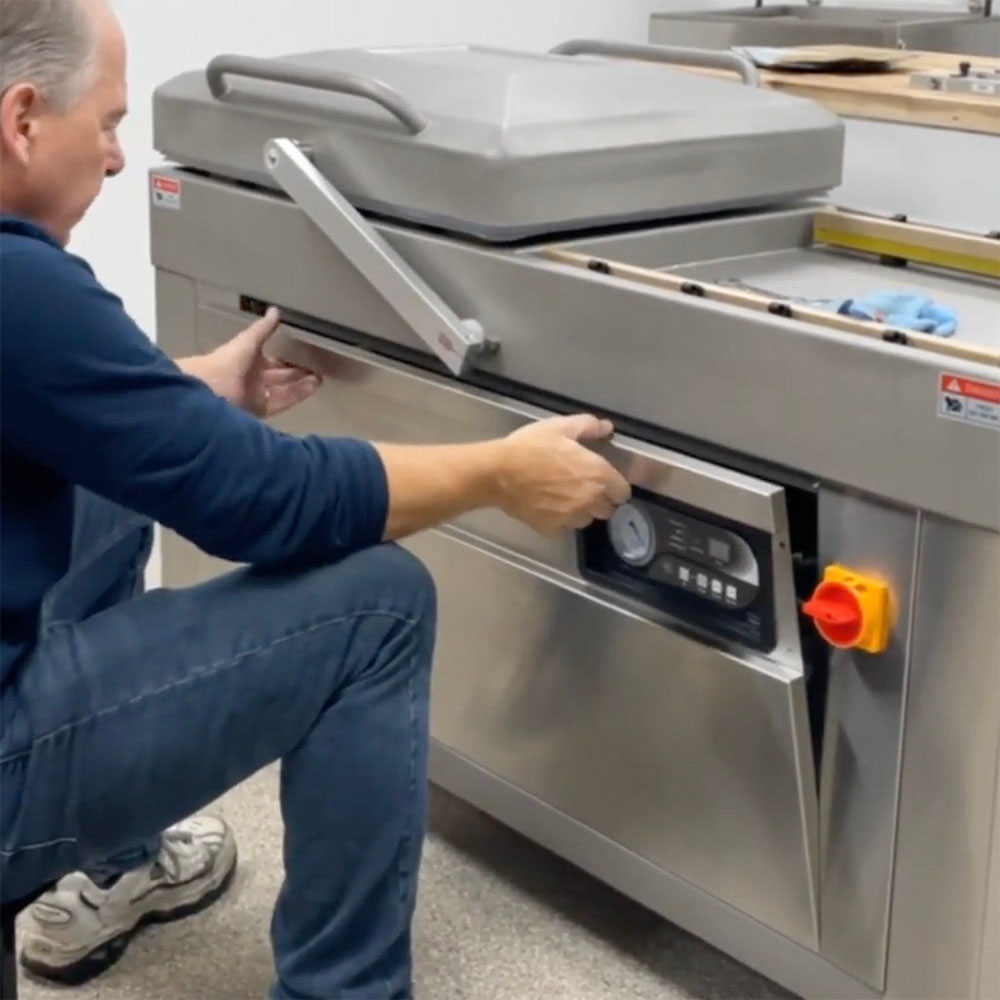
1. Disconnect the four screws attaching the front panel of your Vac610. These are located in the four corners of the top panel.
2. Gently lift up and out, removing the front panel.
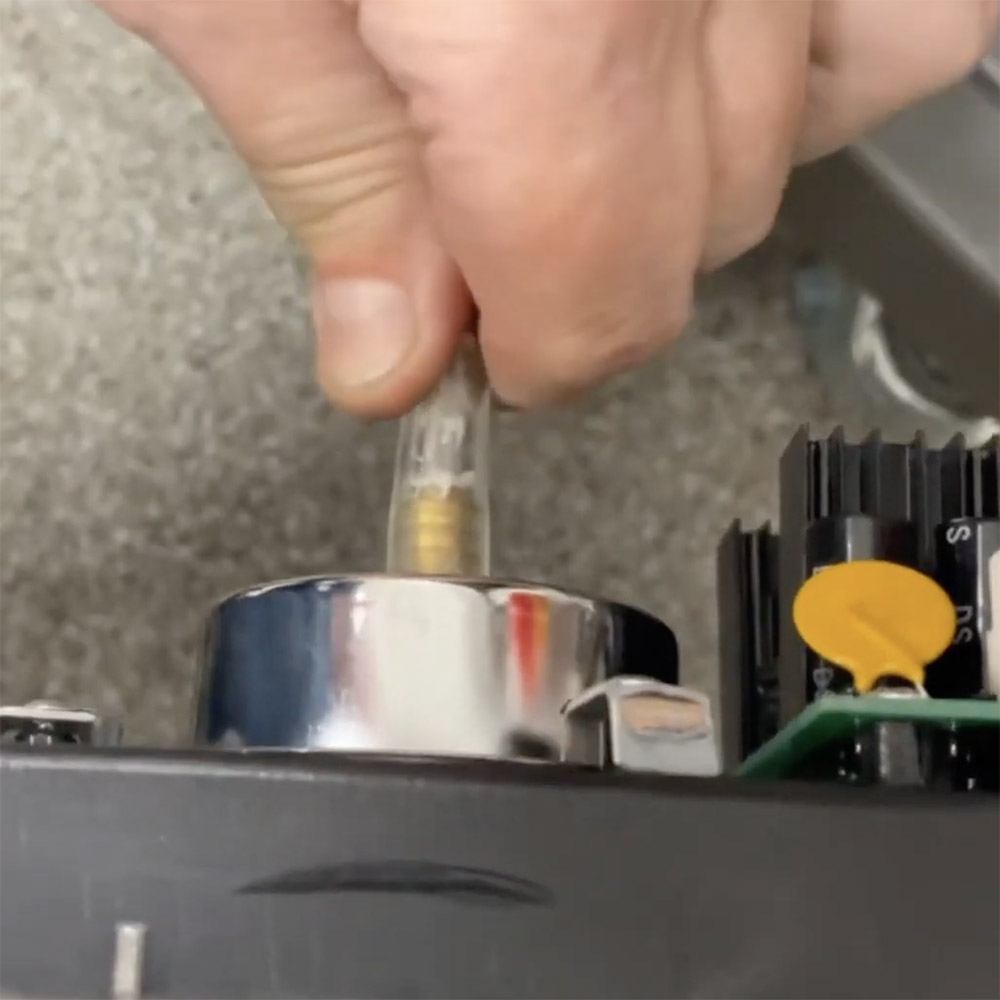
3. Once removed, disconnet the hose attached to the vacuum gauge on the front panel.
4. Place the front panel slightly off to the side, being mindful of the wires attaching it to the body of the machine.
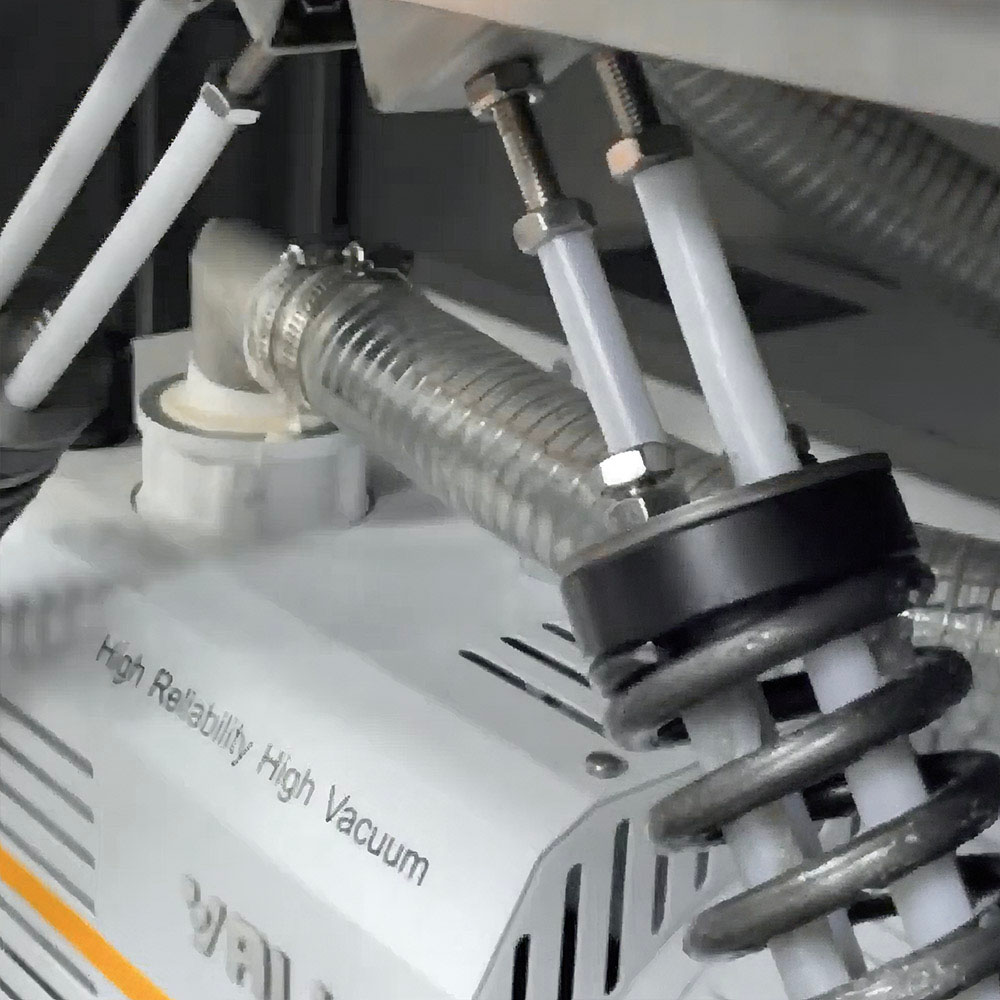
The Lid Springs
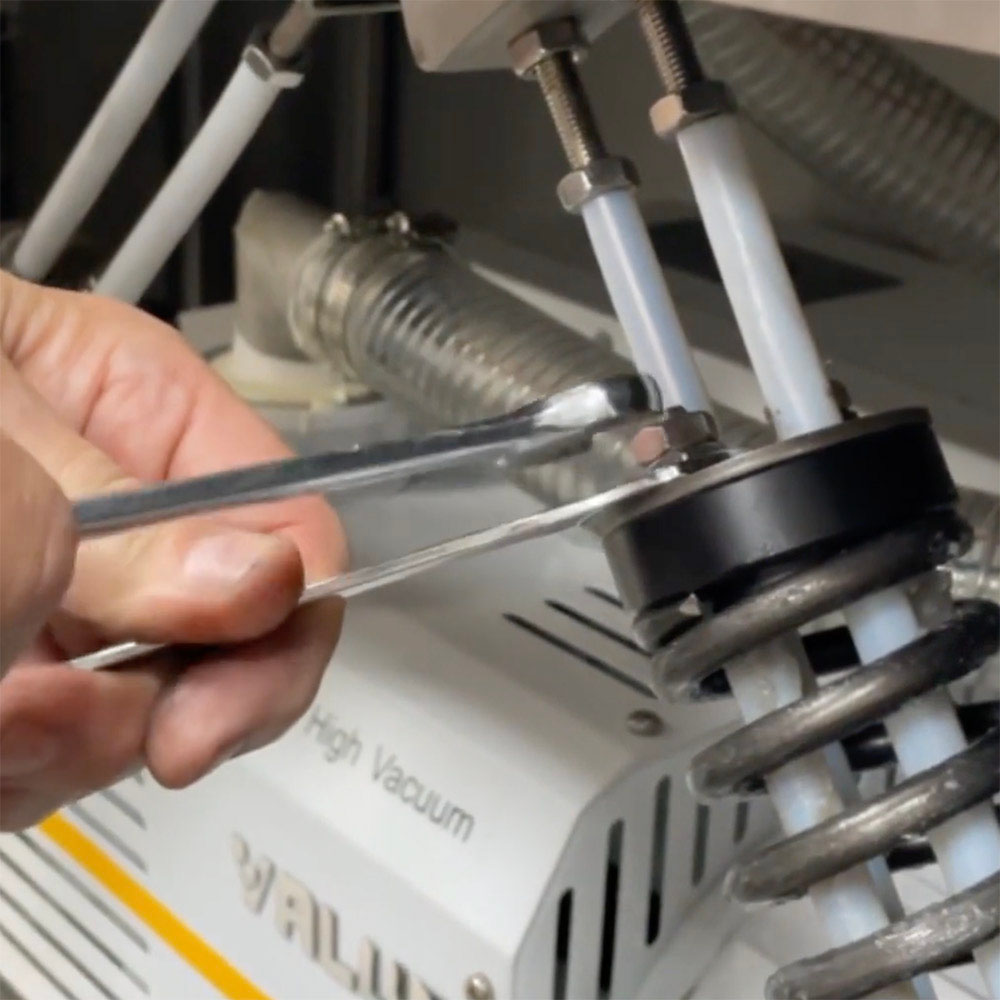
5. Next, focus your attention to the tops of the lid springs. You will see two sets of two nuts attached to the top of each spring.
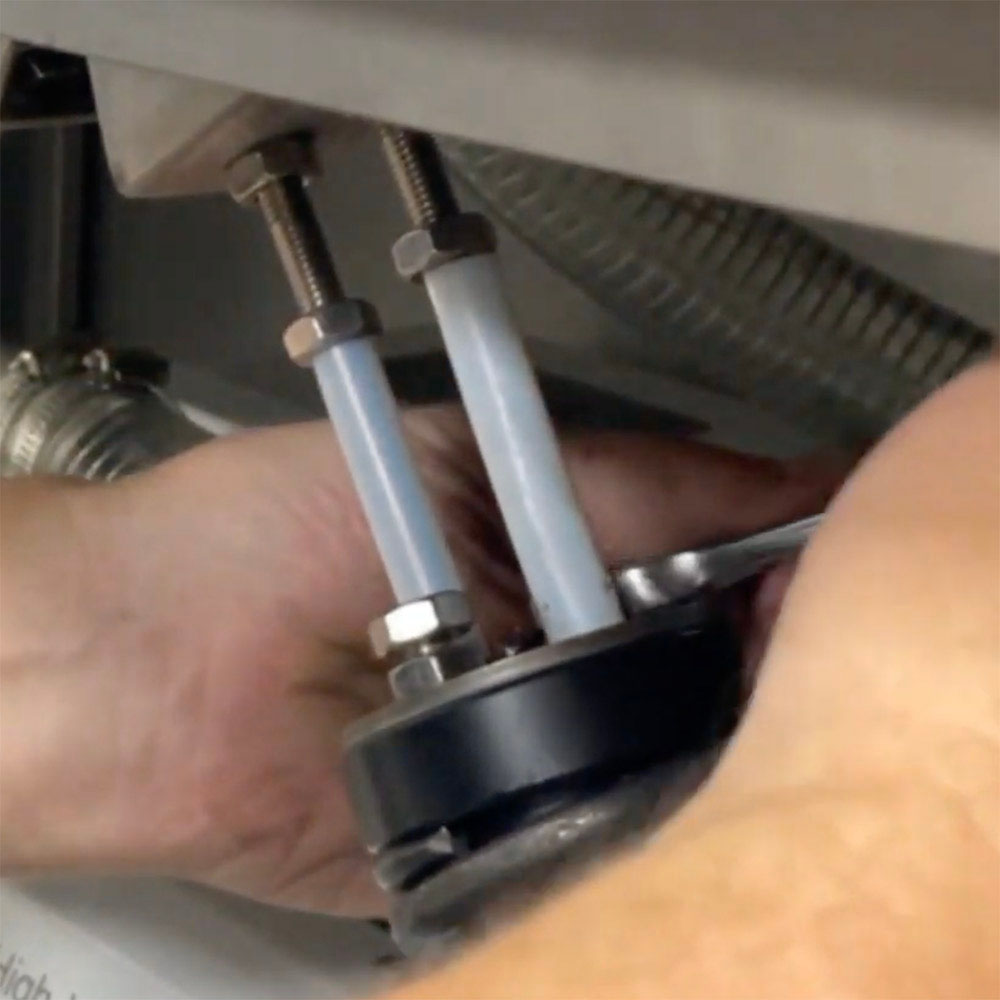
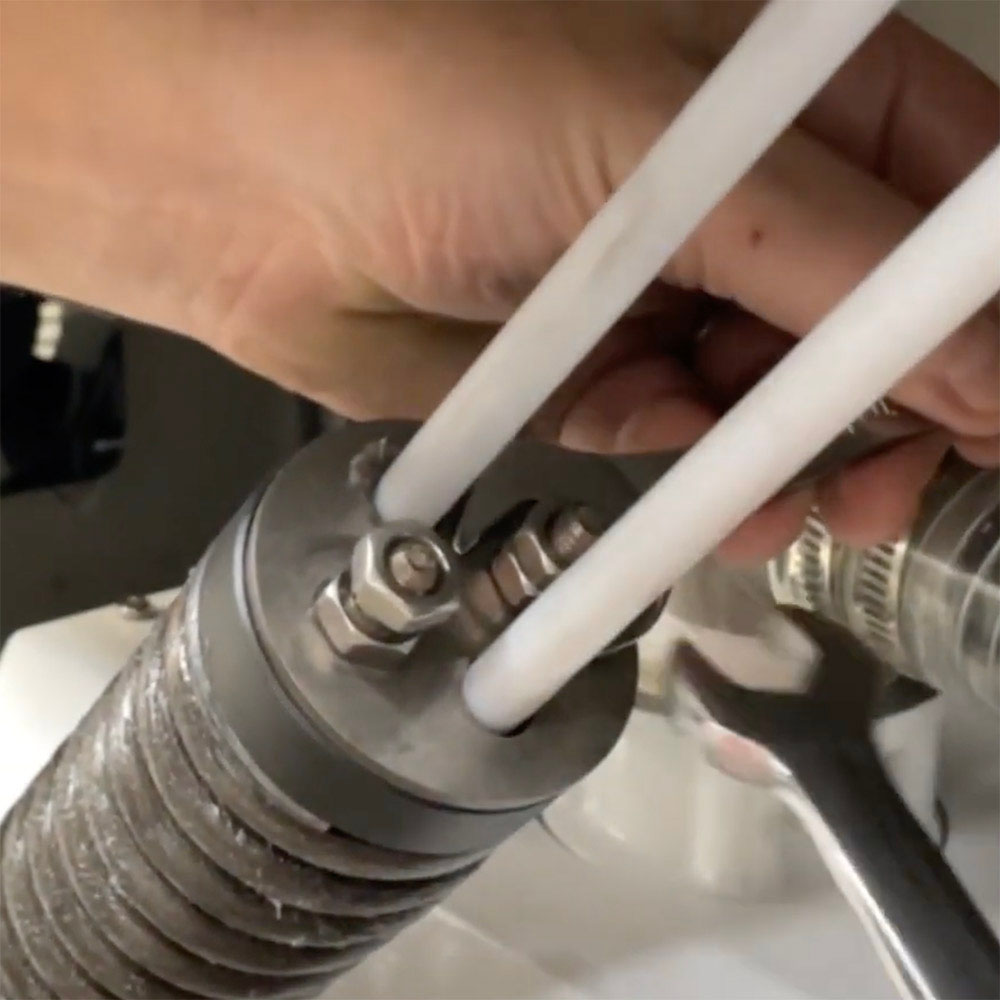
6. Take your thin 14mm wrench and hold the lower nut in place while using the other wrench to loosen the top nut. Do this for both sets of nuts on the spring.
7. Repeat on the other spring.
Making Adjustments
8. Now you can make adjustments based on your Vac610’s needs. To reduce tension in your springs (reduce lid lift), rotate the lower nuts on each spring counterclockwise. To increase the tension in your springs (increase lid lift), rotate the lower nuts on each spring clockwise.
9. Whatever actions you take on one set of two nuts, be sure to do to the other set on the spring.
10. Repeat on opposite spring.
11. Adjust until desired result: upon pressing lid down, lid then lifts slightly off of machine about one and a half to two inches. You should hear a click from the lid switch in the back as the lid lifts up off of the deck.
Finishing Up
12. Once you’ve properly adjusted the springs, retighten the top nuts on each spring. Hold the lower nut still with the thin 14mm wrench and tighten the top nut down with your other 14mm wrench.
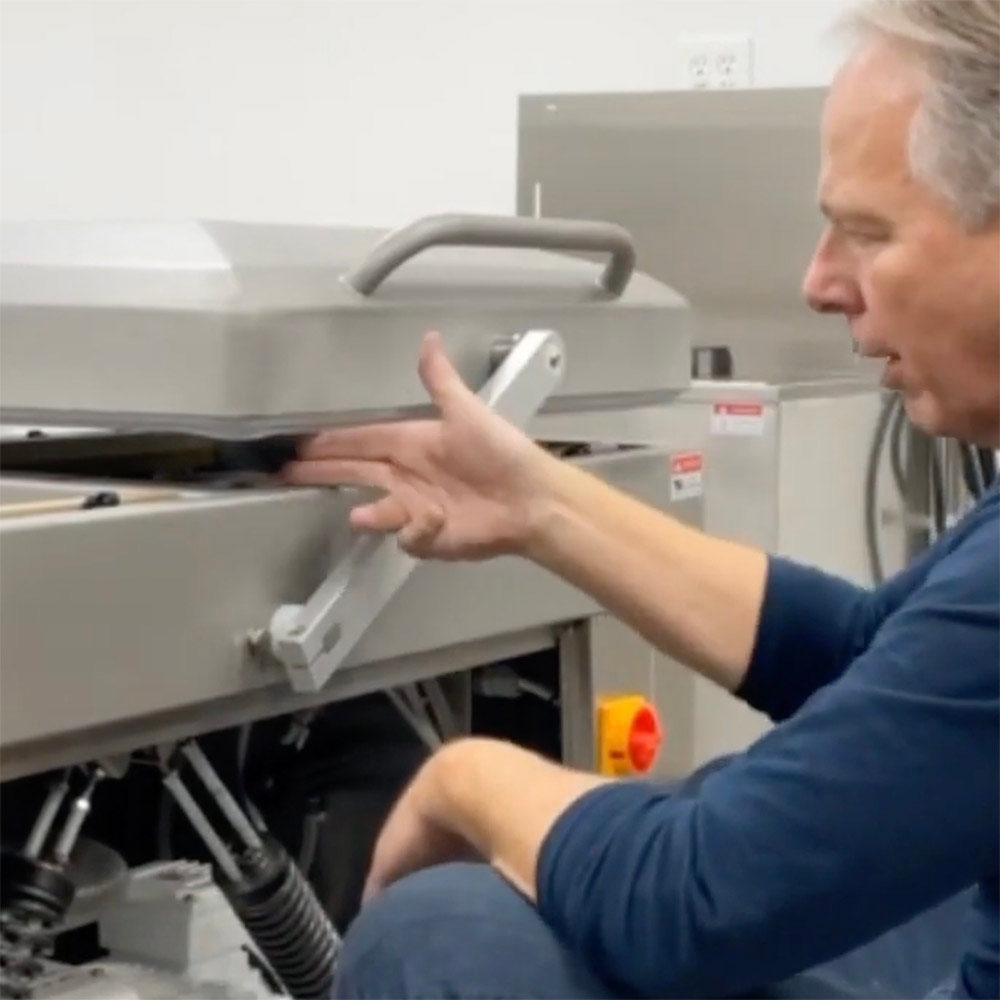
13. After you’ve tightened the top nuts down, retest the lid by closing it on one side, then the other.
14. Reattach hose to vacuum gauge on the back of the front panel.
15. Carefully reinsert front panel and screw it back into place. Enjoy your now smoothly functioning chamber vac!
Questions?
Self-servicing your chamber sealer is easy with JVR’s extensive set of video and written instructions. Contact our service technicians who are always available to provide customers with optimal packaging experiences to ensure package seal integrity.
For more tutorials and information, check out our YouTube channel. There we have a wide selection of part replacement, educational, and promo-related content on our chamber sealer’s! Call, email, or try our new LiveChat option on our website, where real people are available to help you with any of your chamber vacuum needs.
Want to read more articles like “How To Adjust Lid Spring Assembly (610-42)” Click below!
.