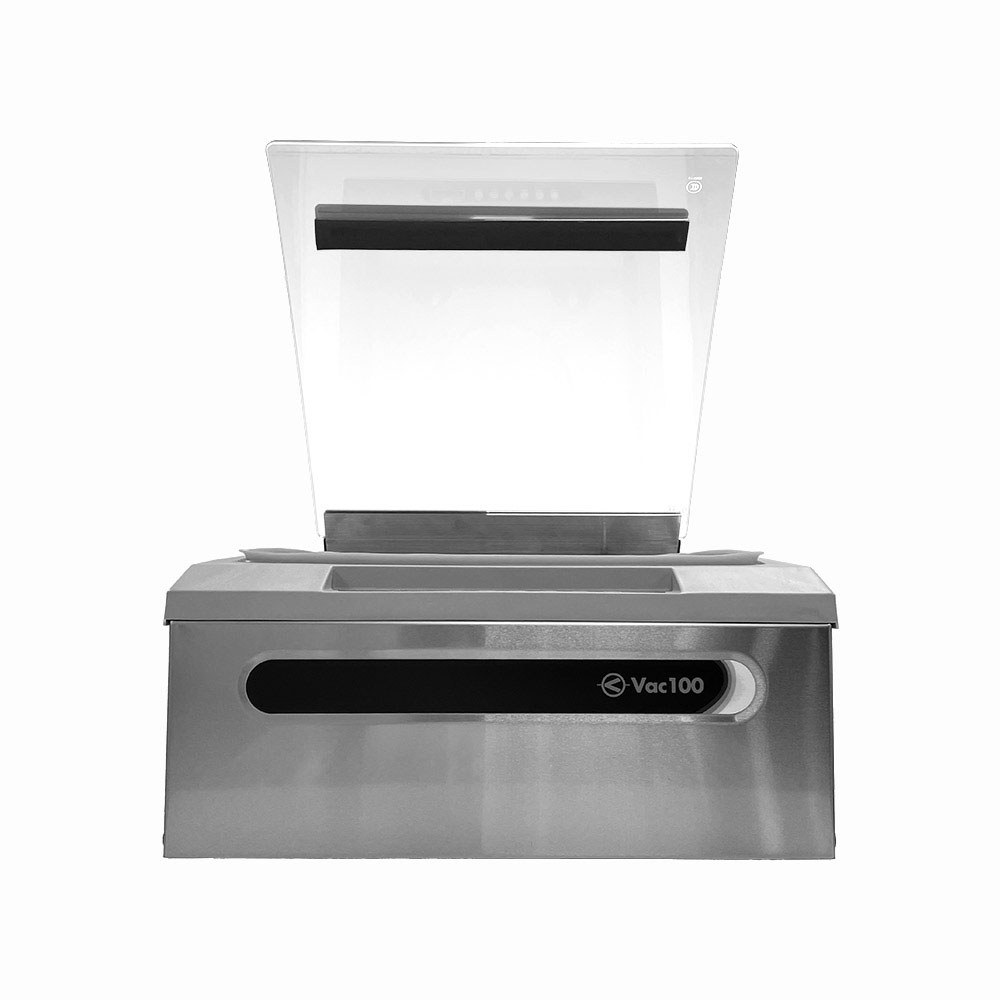
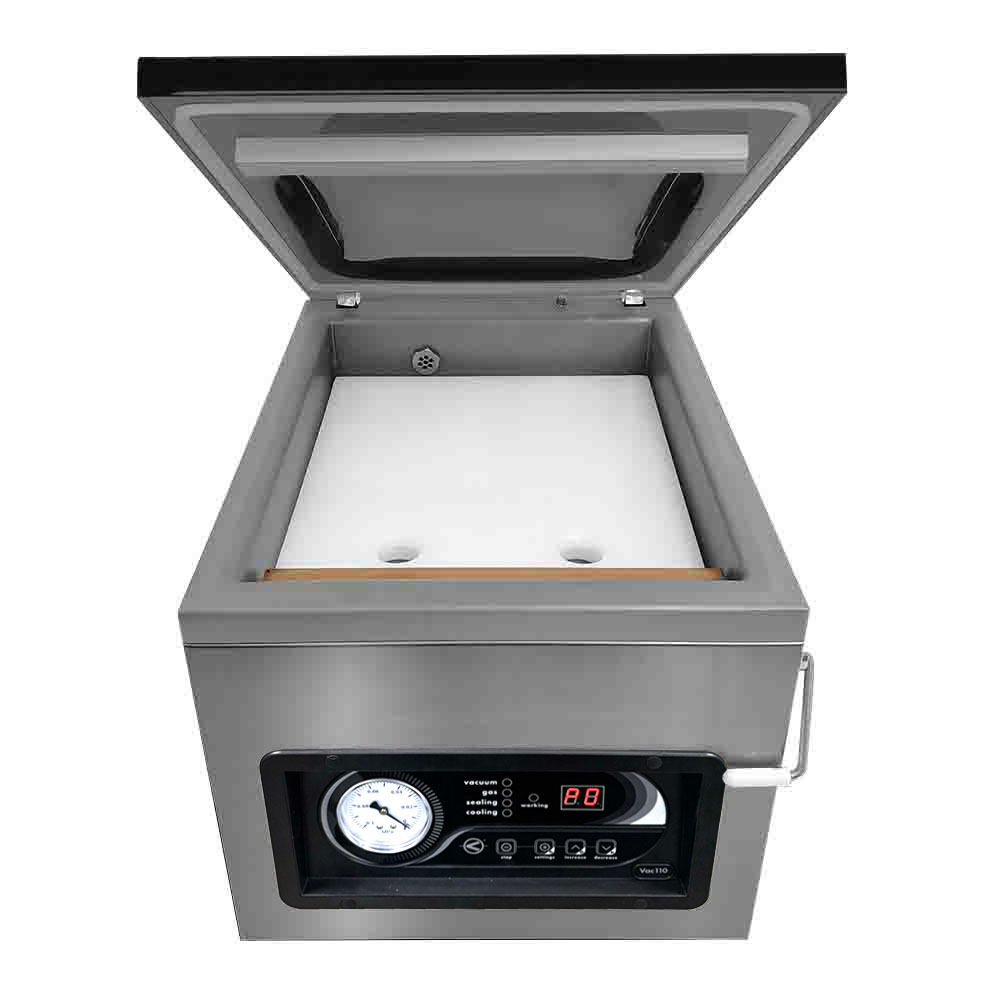
How To Replace Seal Bar Lift Pistons (100-25): JVR Vac100 – Chamber Vacuum Sealer
“Self-maintenance is pretty easy when it comes to the JVR Vac100!”
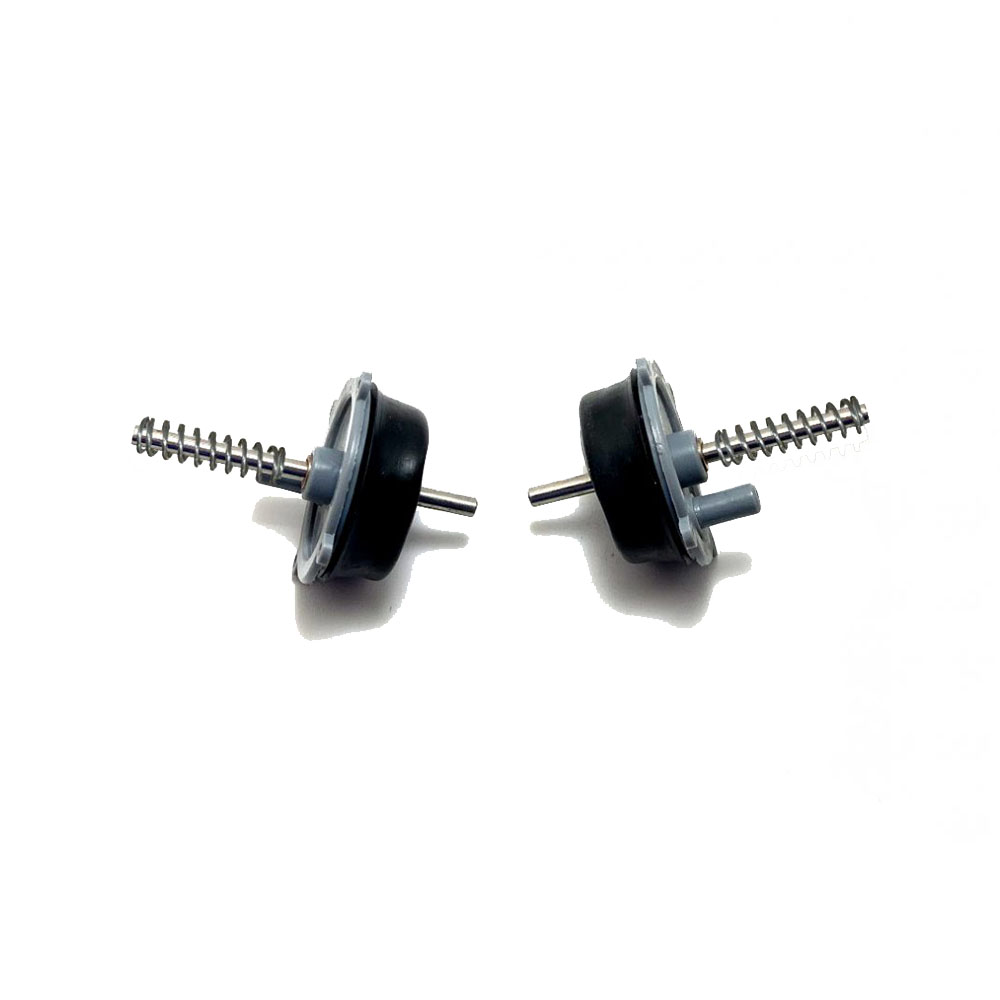
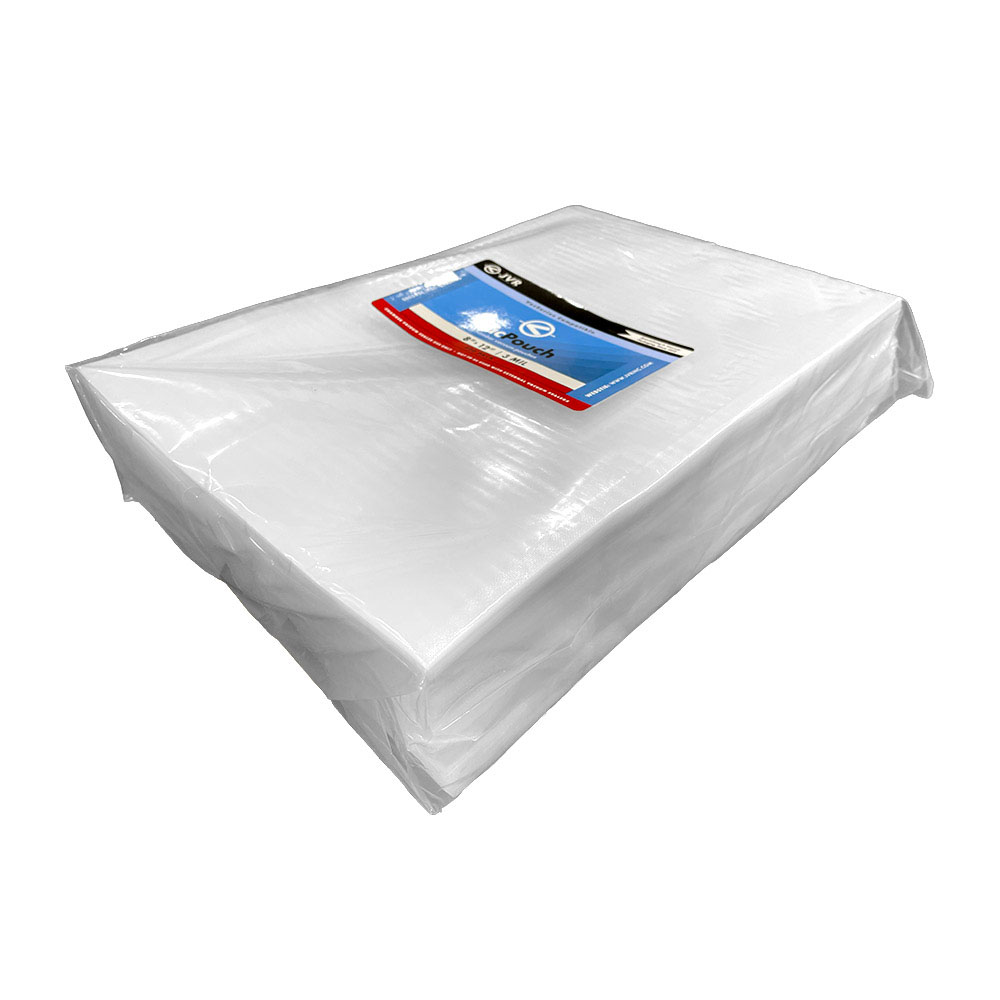
If the vacuum bags are not sealing effectively, the unit will fail to keep food fresh. Additionally, this will limit other endeavors such as sous vide, marination, and the use of retort seal bar accessories. Seal failure could imply a leak in the seal bar piston, impairing the ability of the positive and negative air flow to operate in tandem for even force along the seal bar. Let’s get started with the replacement of the seal bar piston (AKA seal diaphragm assembly).
NOTE: Vacuum leaks can result from various factors, including the seal bar (100-15), lid chamber gasket (100-10A), lift piston (100-25), and hose loosening. Please contact us if you require assistance with diagnosing the issue.

Tools Needed
Allen Key
Nut Driver / Small Pliers
#2 Phillips (stubby works best)
Safety Precautions
CAUTION: The unit will remain plugged in during the testing process. Everything, electrically, is well insulated. Regardless, remain cautious.
Ensure the Vac100 is on a stable counter.
How to Test for the Faulty Seal Bar Piston
NOTE: Before beginning the process, take note of the lowest vacuum you can achieve with everything attached (e.g., 0.298 MPa).
Accessing the Seal Diaphragm Assemblies
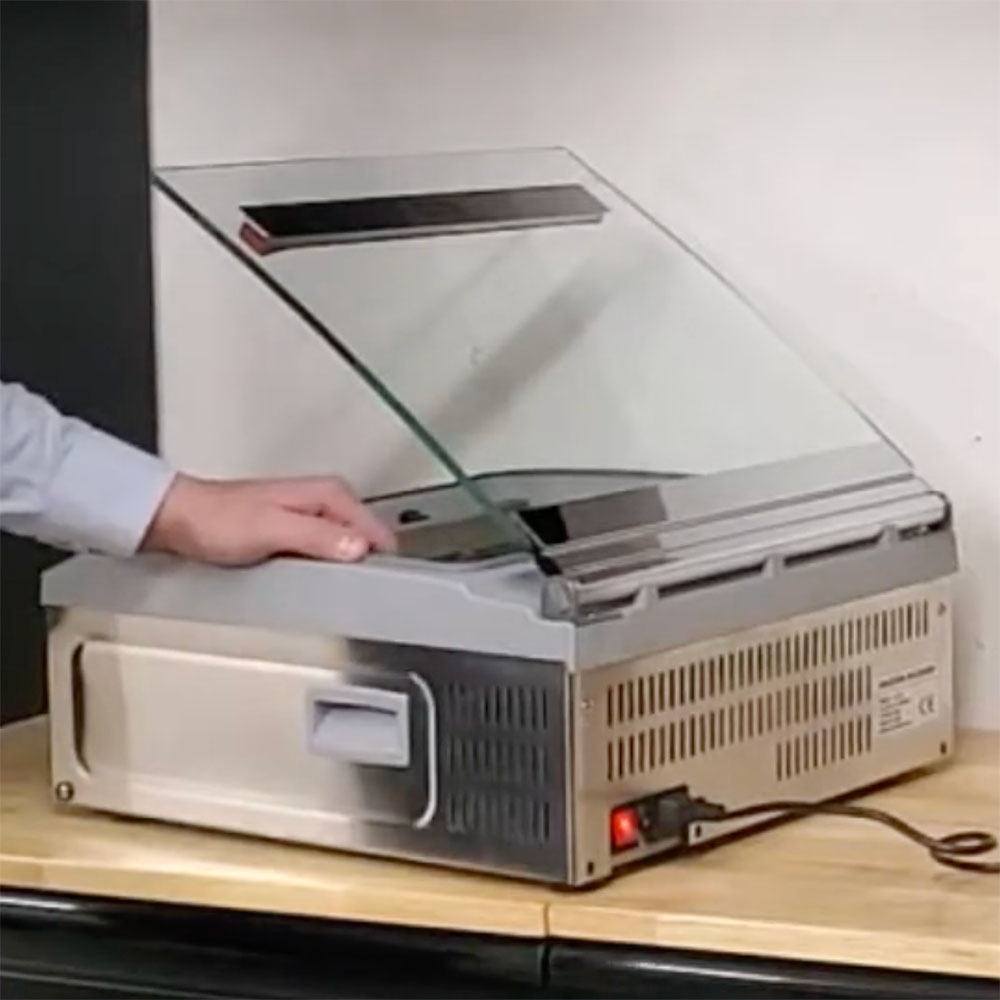
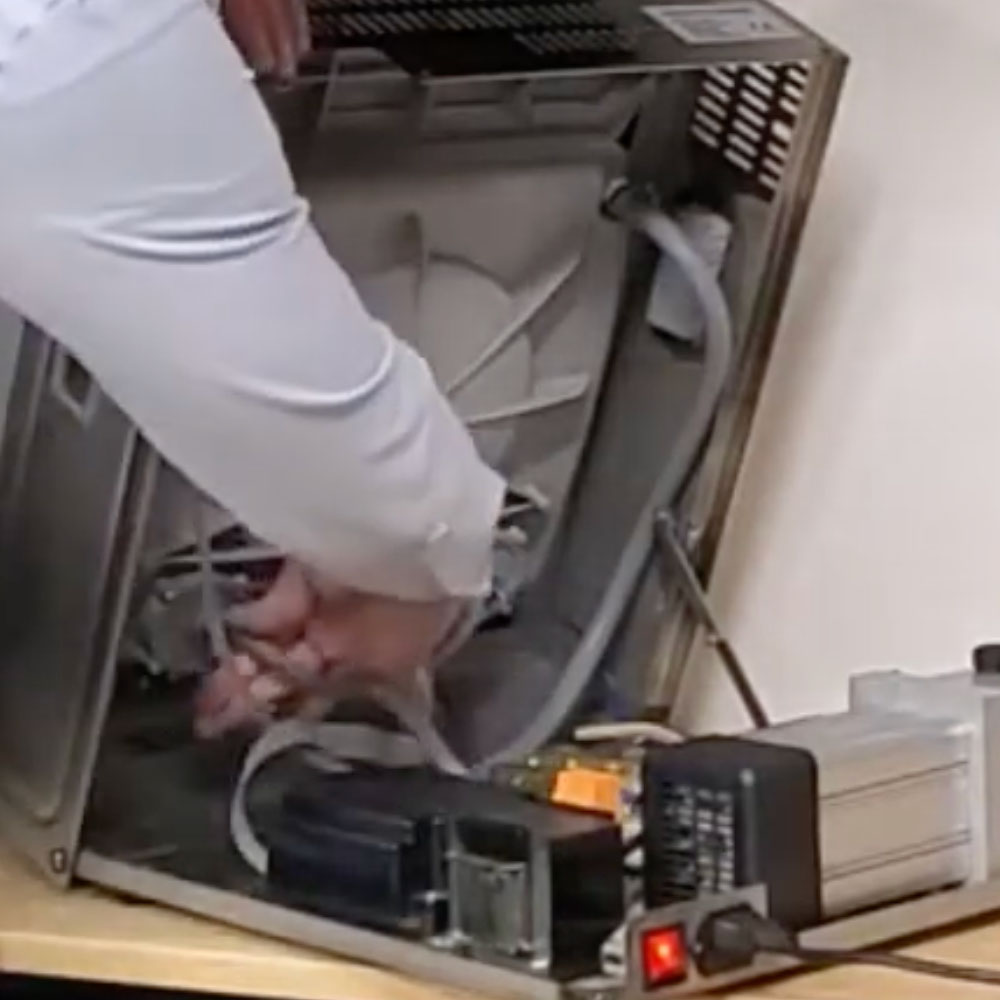
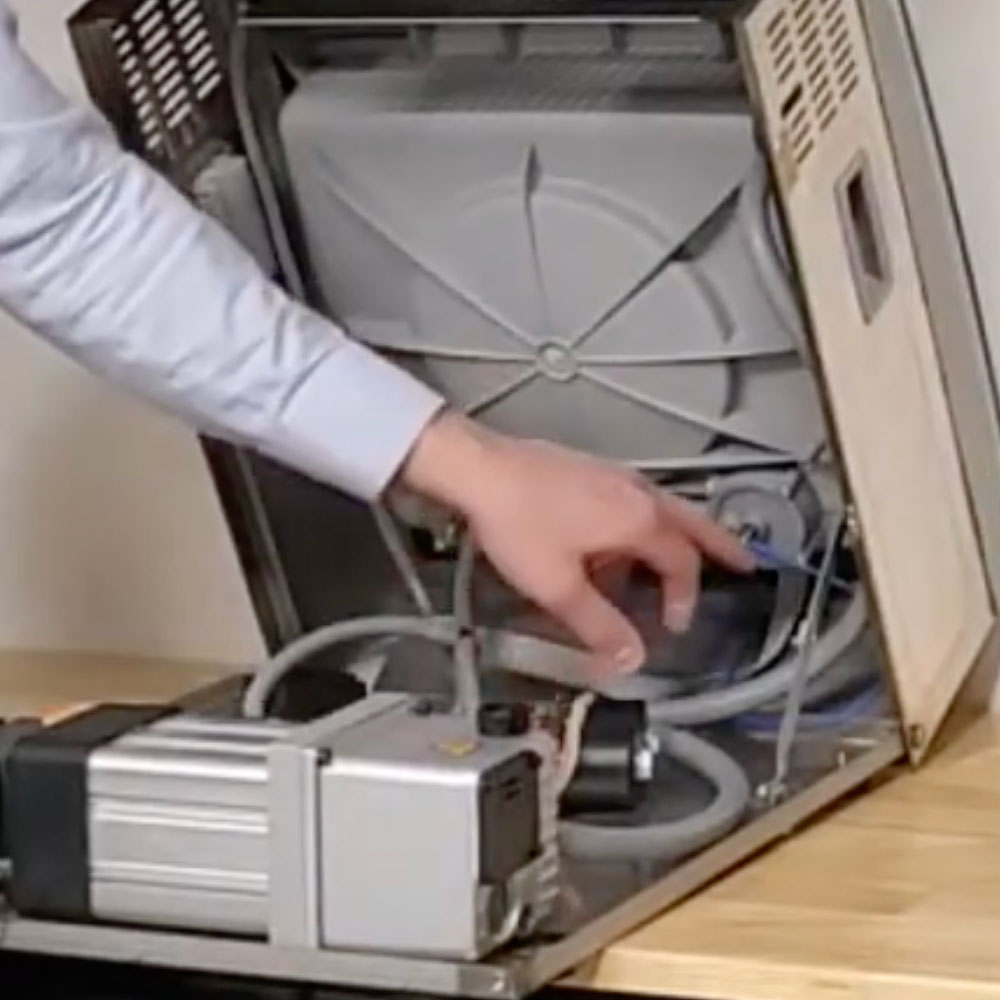
- Orient the Vac100 so you can access the back.
- Use the Allen key to remove the bottom three Allen screws from the back panel.

- Ensure the chamber is empty of filler plates, etc., then tilt the external body forward.
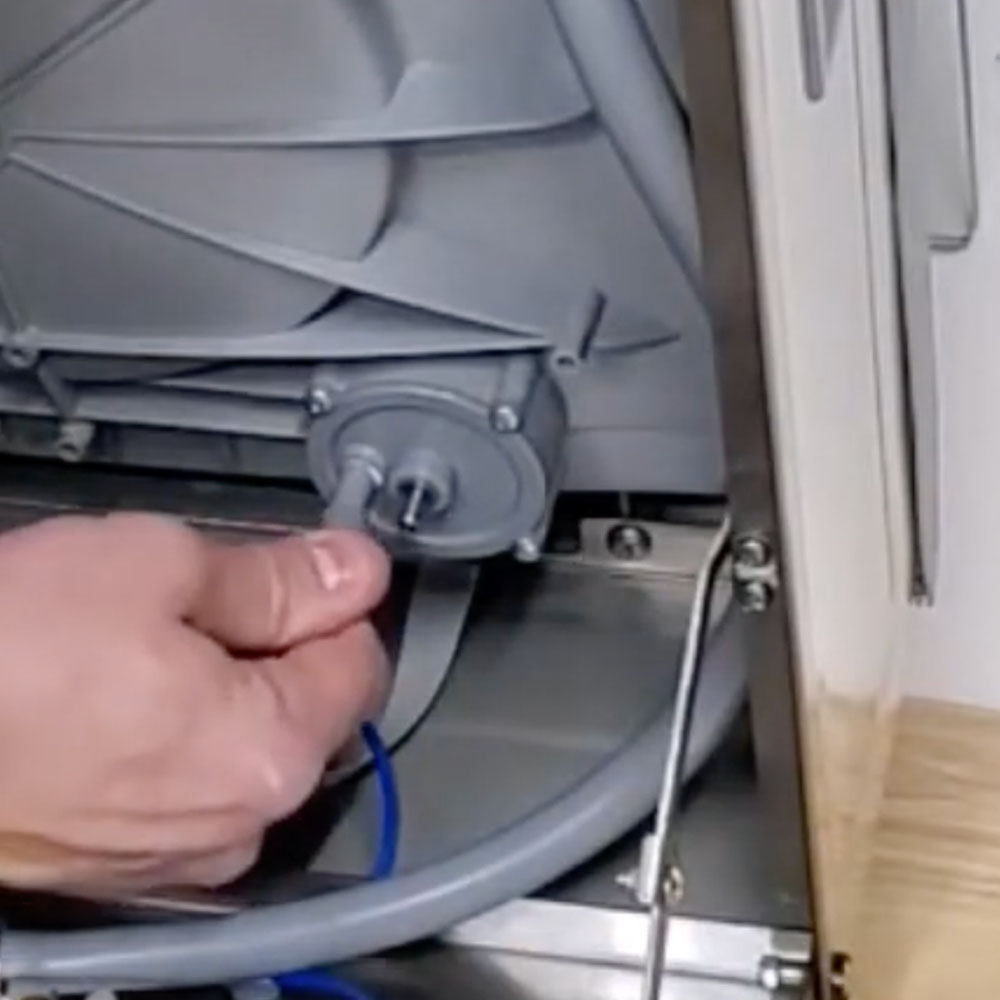
- Notice the hose that goes from the valve assembly, then splits to each of the seal diaphragm assemblies (two gray, plastic components).
Run a Test Cycle
- Remove one of the hoses.
- CAUTION: Do this with control, as your hand might spring back, causing an injury.
- Set the vacuum cycle time to the same as you normally would when packaging.
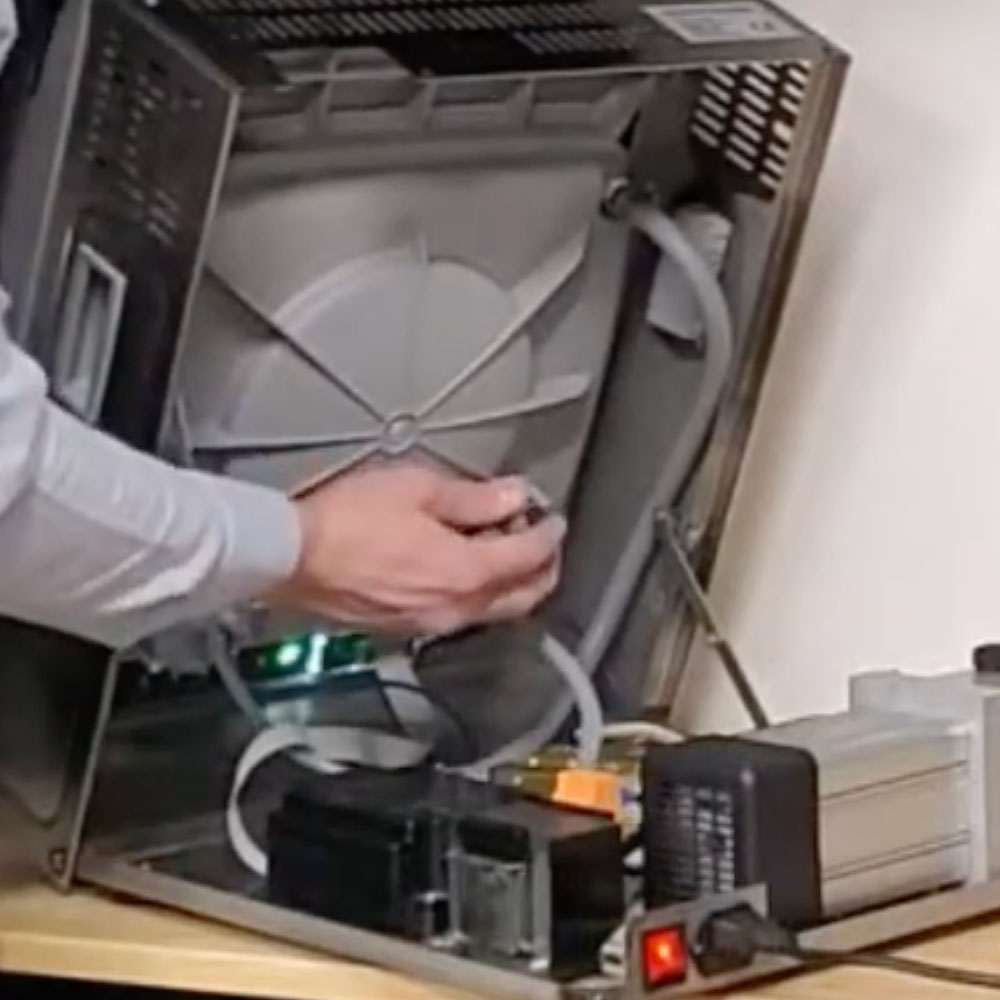
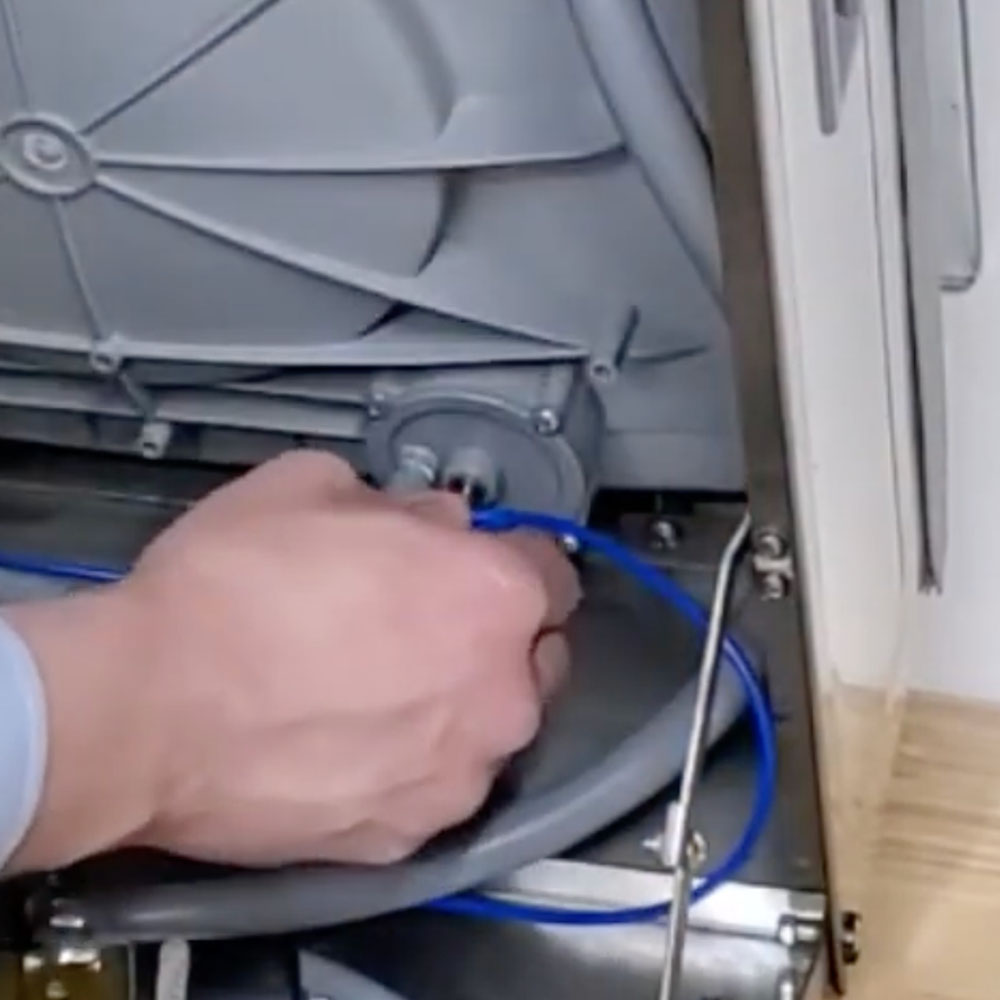
- Close the chamber lid to begin the vacuum cycle, then block the end of the hose with your finger.
- Check the vacuum level on the control overlay. If the vacuum improves when you block the hose, then you have identified the seal bar piston with the leak.
- Reset the hose you just tested.
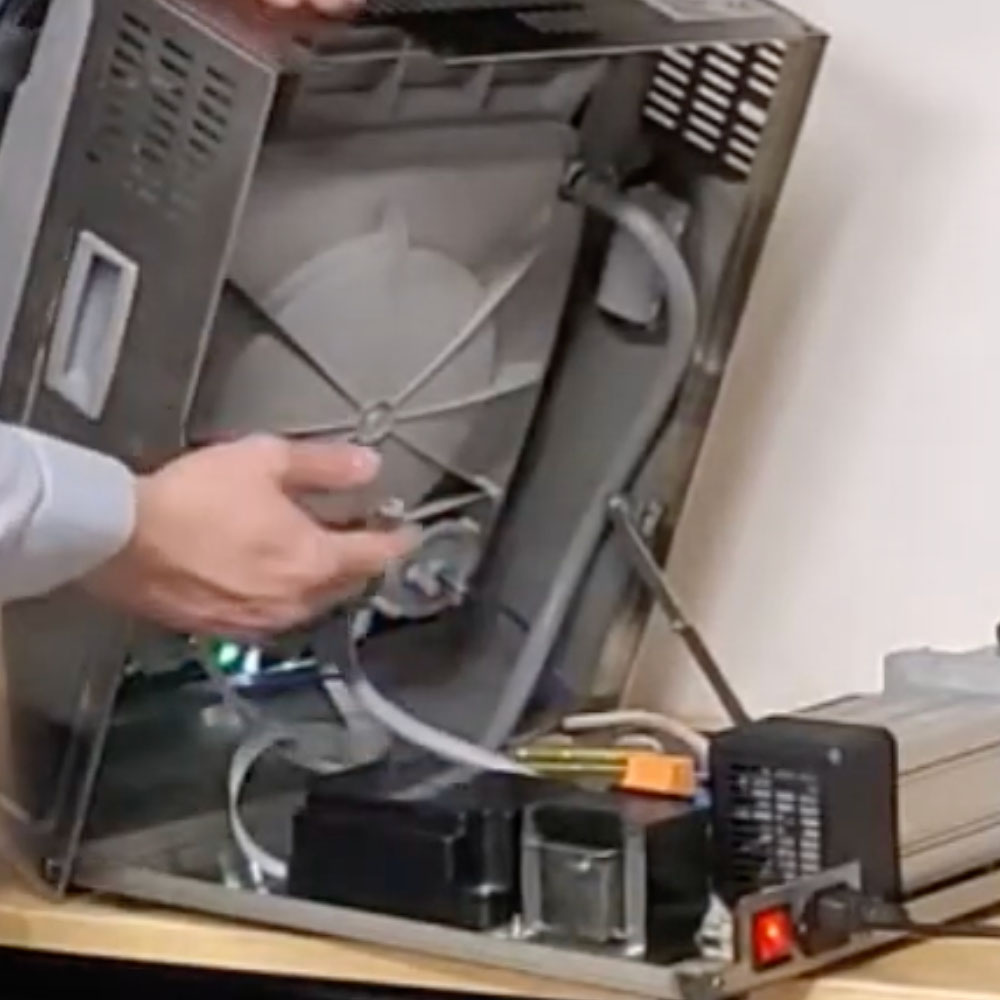
- REPEAT this process with the other hose.
- Once you have identified the faulty lift piston, it’s time to replace it.
Replacing the Seal Bar Lift Piston
Removing the Old Seal Bar Piston
- Disconnect the unit from its power supply and move the cable out of the way.
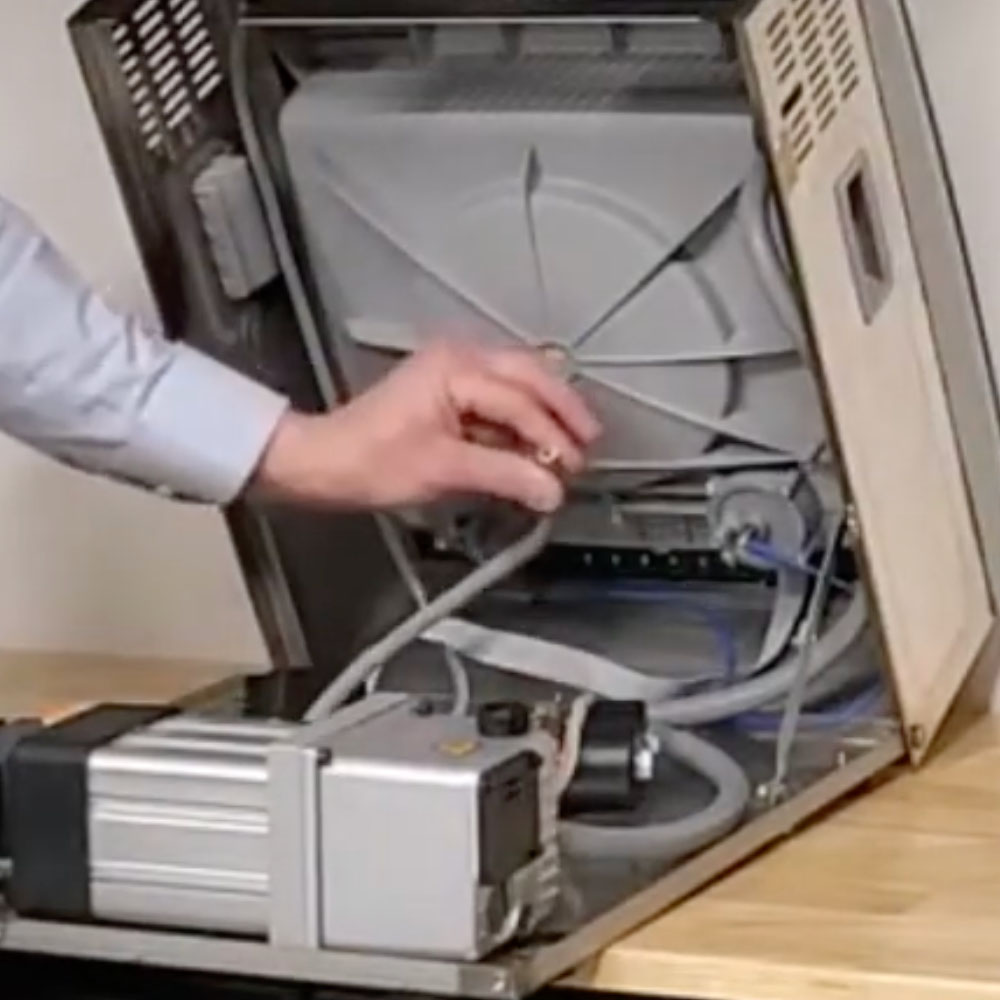
- Position the unit so you can easily access the seal bar lift pistons from the interior.
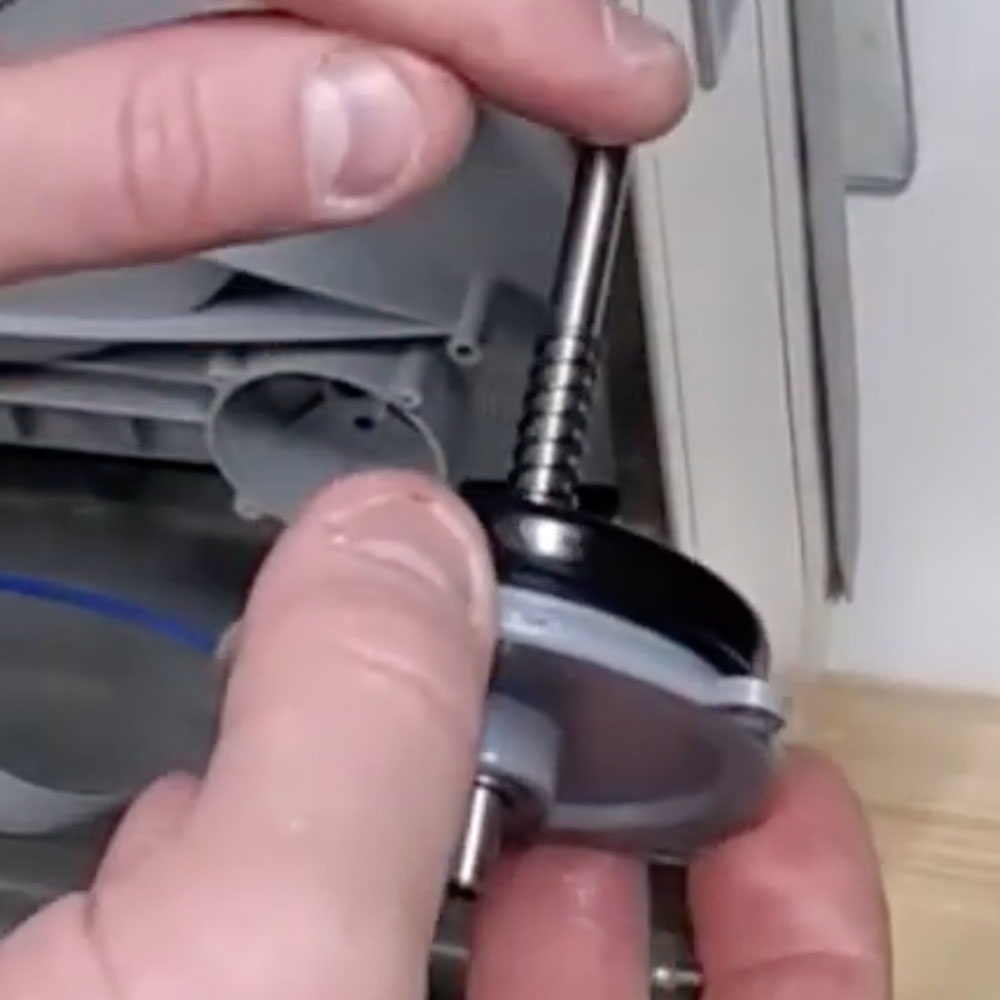
- Disconnect the gray hose from the piston.
- Remove the seal bar from inside the chamber.
- Use the nut driver/pliers to disconnect the 7mm electrical connection (keep the screw).
- Use the #2 Phillips screwdriver (stubby) to remove the screws securing the list piston.

- Wiggle the old seal bar lift piston out. DON’T LOSE THE SPRING.
Installing the New Seal Bar Piston
- Wipe the shaft of the new seal bar piston and apply a small amount of vegetable or mineral oil to prevent seal damage.
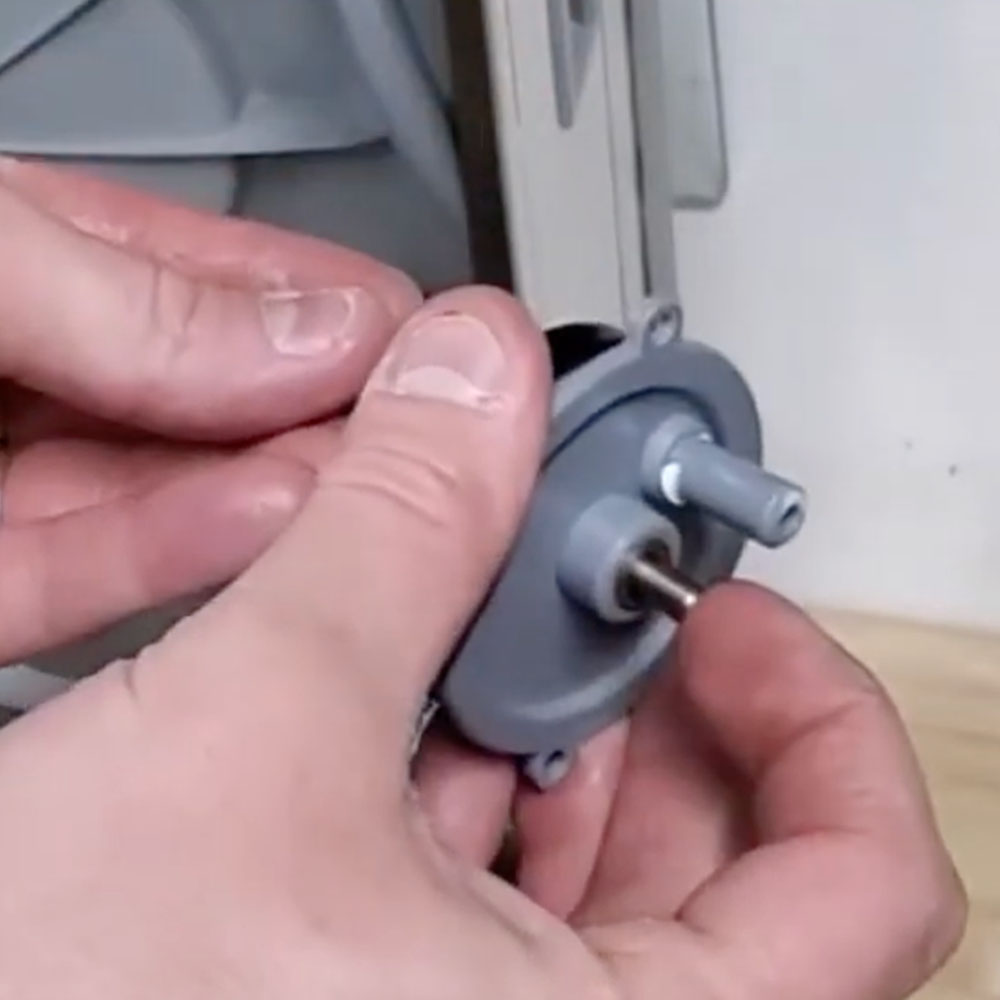
- Slightly push in the short end of the piston while inserting it into the housing. This creates a buffer zone.
- NOTE: This avoids the diaphragm forcing itself down and jamming during the process. The seal diaphragm will not fully seat in the housing, causing leaks during the vacuum-seal cycle.
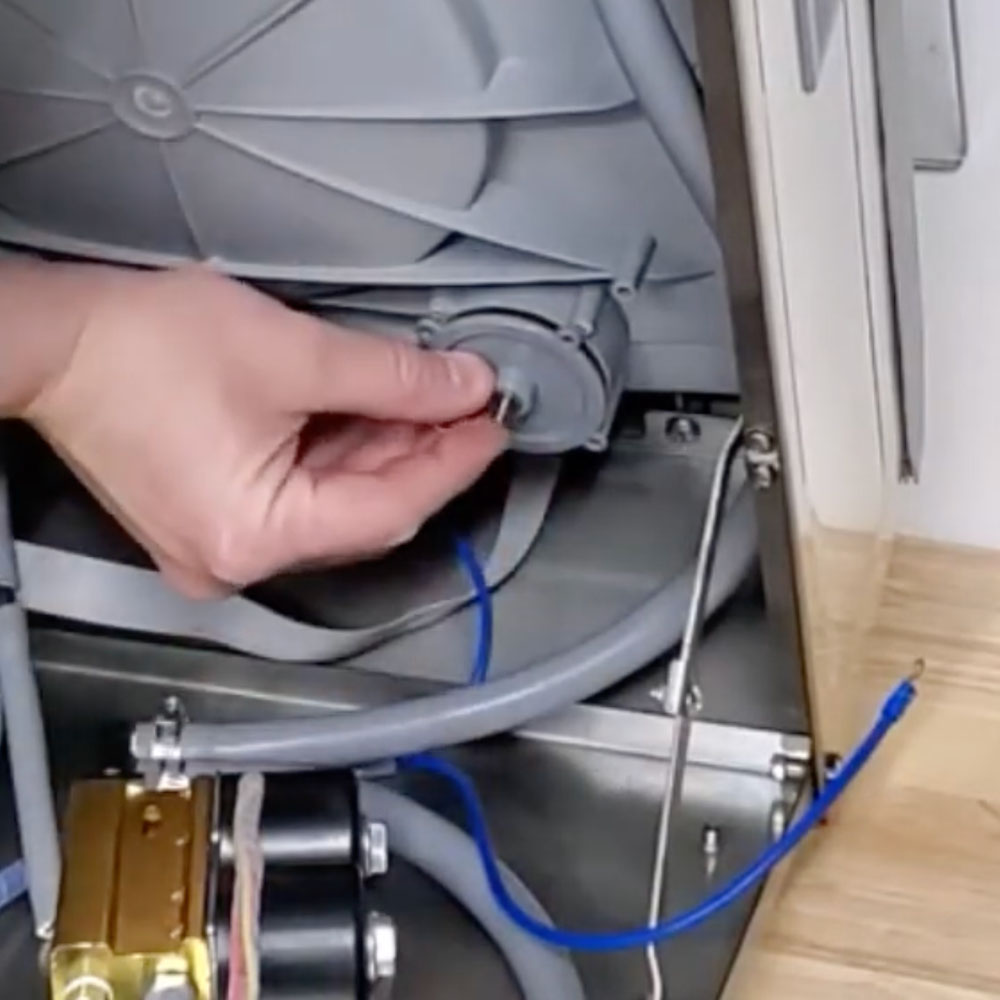
- Wiggle the seal bar piston into the housing, being careful to keep pressure on the shaft.

- Secure with the four screws.
- Reattach the gray hose.
- Hand-thread the terminal, then secure with the 7mm nut driver, enough so it won’t spin off.
Test Again
- We would suggest reconnecting the unit to its power source and re-testing the Vac100.
- If you are still getting a leak during the vacuum cycle, it is likely the diaphragm was not seated properly in the housing during installation.
- Once you have confirmed that the new seal diaphragm works, you can close up and secure the external body with the Allen screws.
Questions?
Self-maintenance is pretty easy when it comes to the JVR Vac100! However, feel free to call or watch the video below for further assistance. If you have further questions about the replacement process, please feel free to give us a call. Our service technicians have ample experience servicing vacuum packaging machines, some with over 30 years!
For additional VacSeries replacement service videos, check out our JVR Industries YouTube channel. We also provide a variety of additional means of contact options include email, LiveChat, and phone!
Want to read more articles like “How To Replace Seal Bar Lift Pistons (100-25): JVR Vac100 – Chamber Vacuum Sealer” Click below!
.