How To Install 2nd Generation VacSeries Control Board (110-501, 310-501, 410-501, & 610-501)
“The controls installation process is an extremely simple task…“
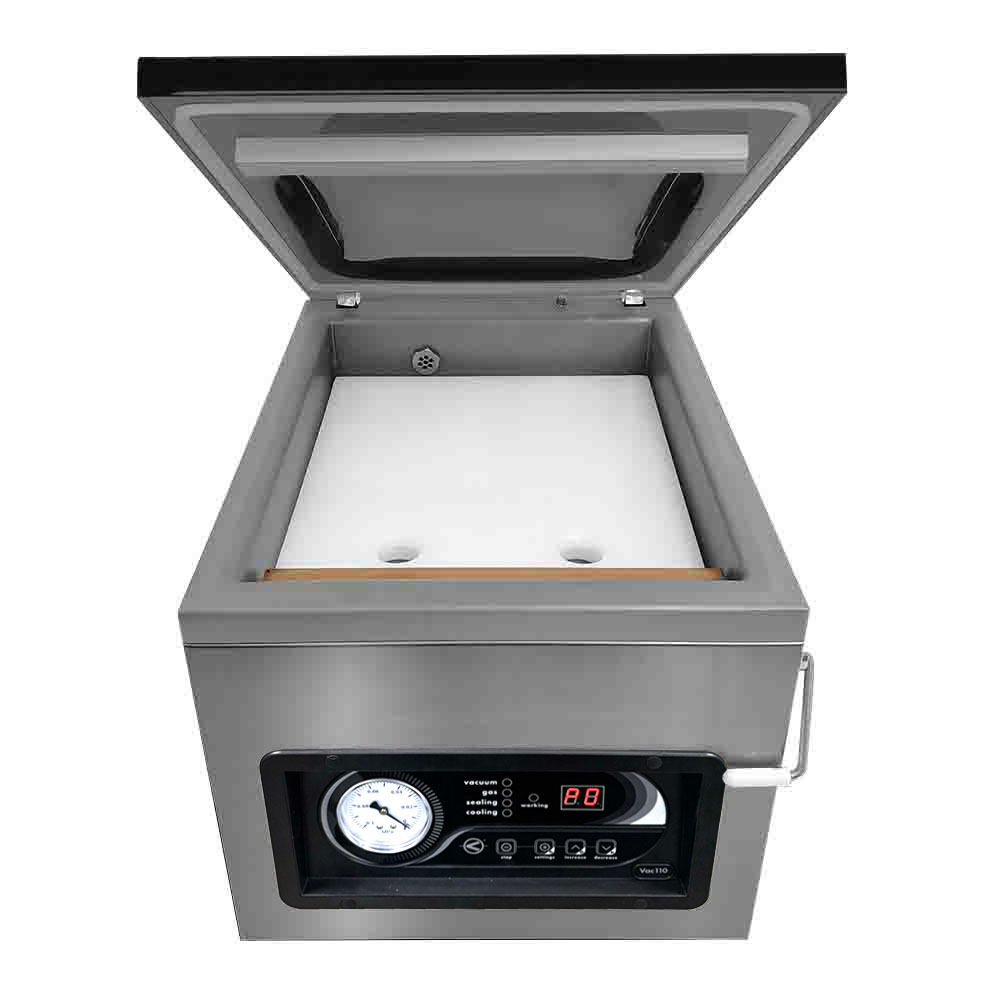
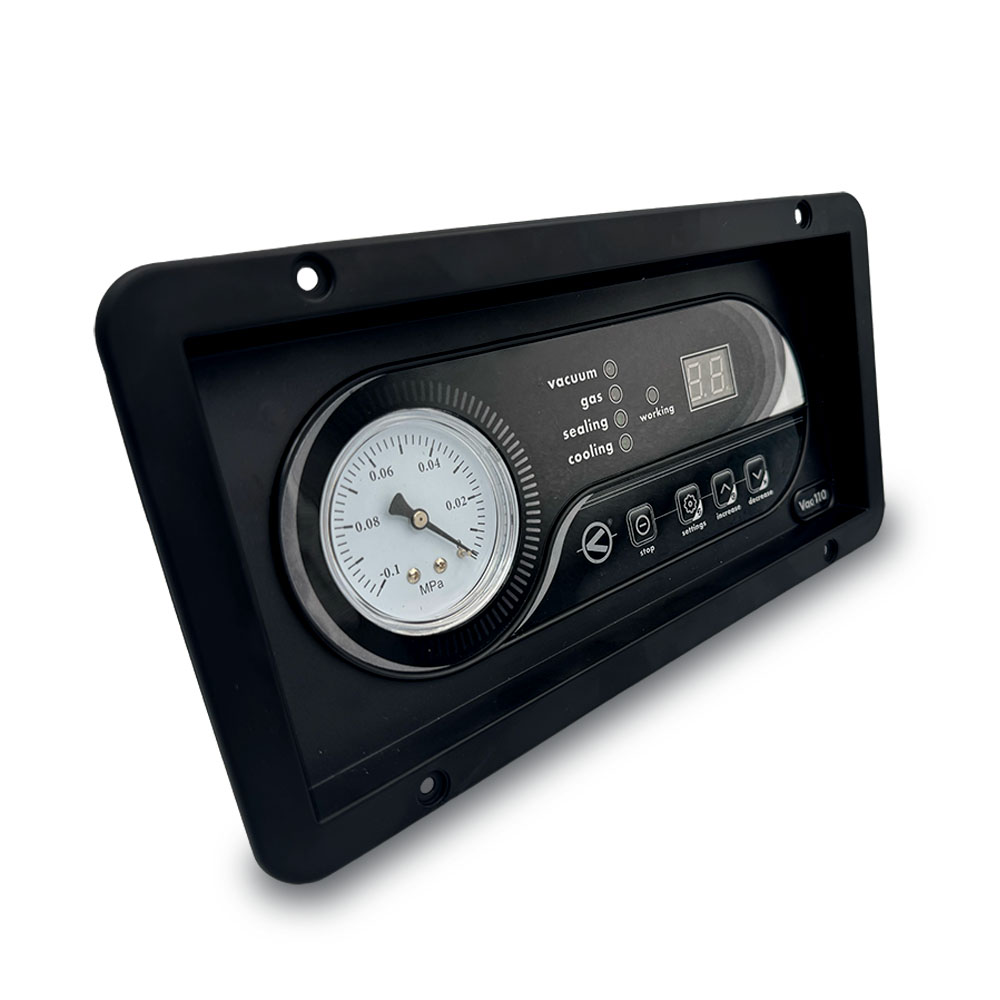
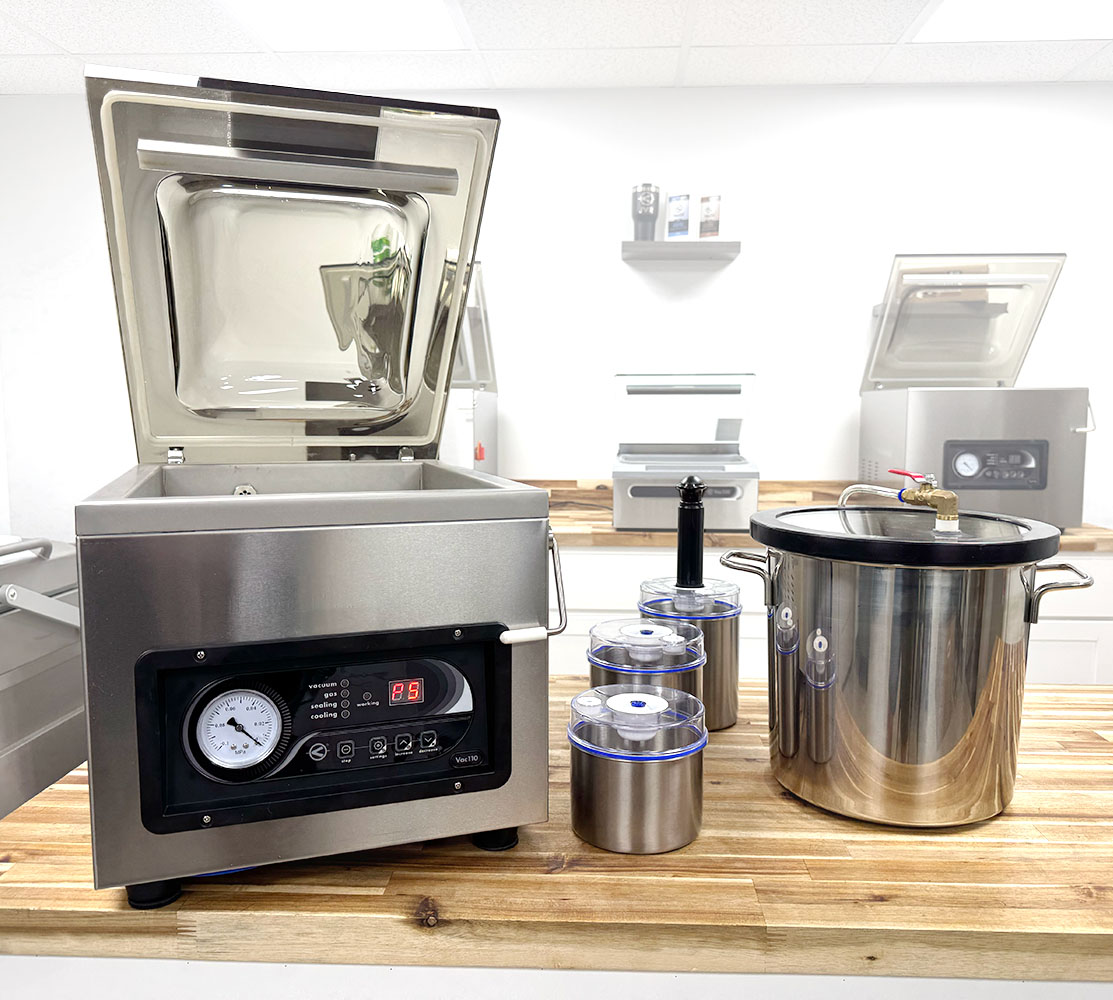
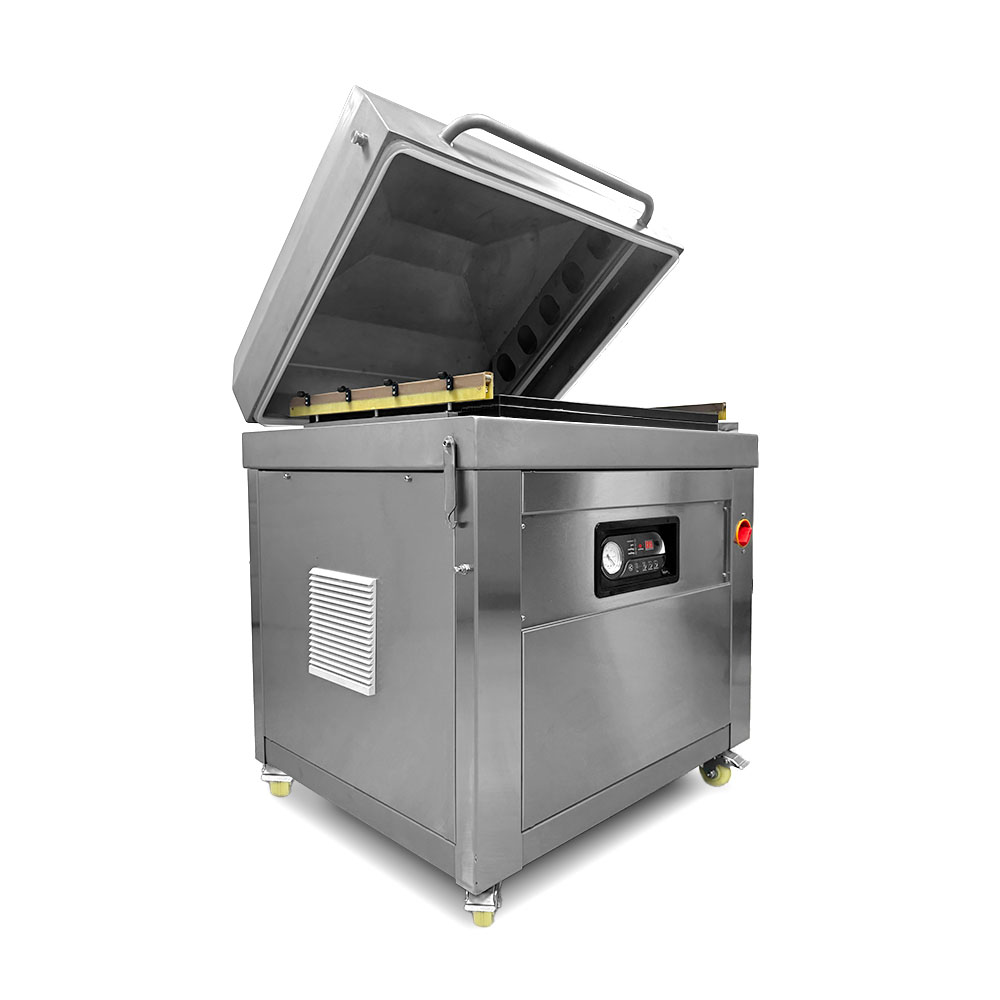
Recently, we have had the pleasure of announcing the game-changing upgrades now available on our JVR Vac110, Vac310, Vac410, and Vac610 chamber vacuum sealers. These included the new control panel and the accessory port. The cool thing was, if you already own a Vac110 – Vac610, you can actually install the panel yourself to get the upgrades on a unit you already own! The controls installation process is an extremely simple task and comes down to just setting aside a few minutes. Let’s get started!
Preparation
Set aside about 5-10 minutes.
Tools Needed
#2 Phillips Screwdriver
Pick / Flathead Screwdriver
Steps to Install the Controls, 2nd Generation
Removing the Old Controls
1. Power down the unit and unplug it from the power source.
2. Use the pick or flathead screwdriver to remove the 4 screw caps on the control panel.
3. Remove the 4 screws securing the control panel using the #2 Phillips.
4. Pull away the control panel from the face of the unit.
5. You should see 4 wires. Use the pick or flathead screwdriver to press the disconnect piece on the back of the wires and pop them off.
NOTE: The number of notches on each wire will match the number of pins on the panel.
6. Remove the vacuum hose by rotating in a cyclical motion while simultaneously pulling.
Installing the New Controls
7. Secure the vacuum hose to the back of the vacuum gauge on the new panel.
8. Press the wires back onto the corresponding connection points. Make sure you hear the click for each one!
9. Place the panel onto the face of the unit.
10. Secure the four screws and screw caps.
You’re all set to use the new features for an enhanced vacuum packaging experience!
Questions?
There you have it! Stay tuned next week for a rundown on the new and updated control panel operation. In the meantime, if you have any questions for us, feel free to call us during our business hours or email us anytime. We look forward to hearing your thoughts on the new upgrades!
Want to read more articles like “Controls, 2nd Generation: Installation” Click below!
.