
How To Replace The Vacuum Pump Capacitor (100-31): JVR Vac100
“…replacing your vacuum pump capacitor may be the simple and inexpensive way to get your vacuum pump up and running again.”
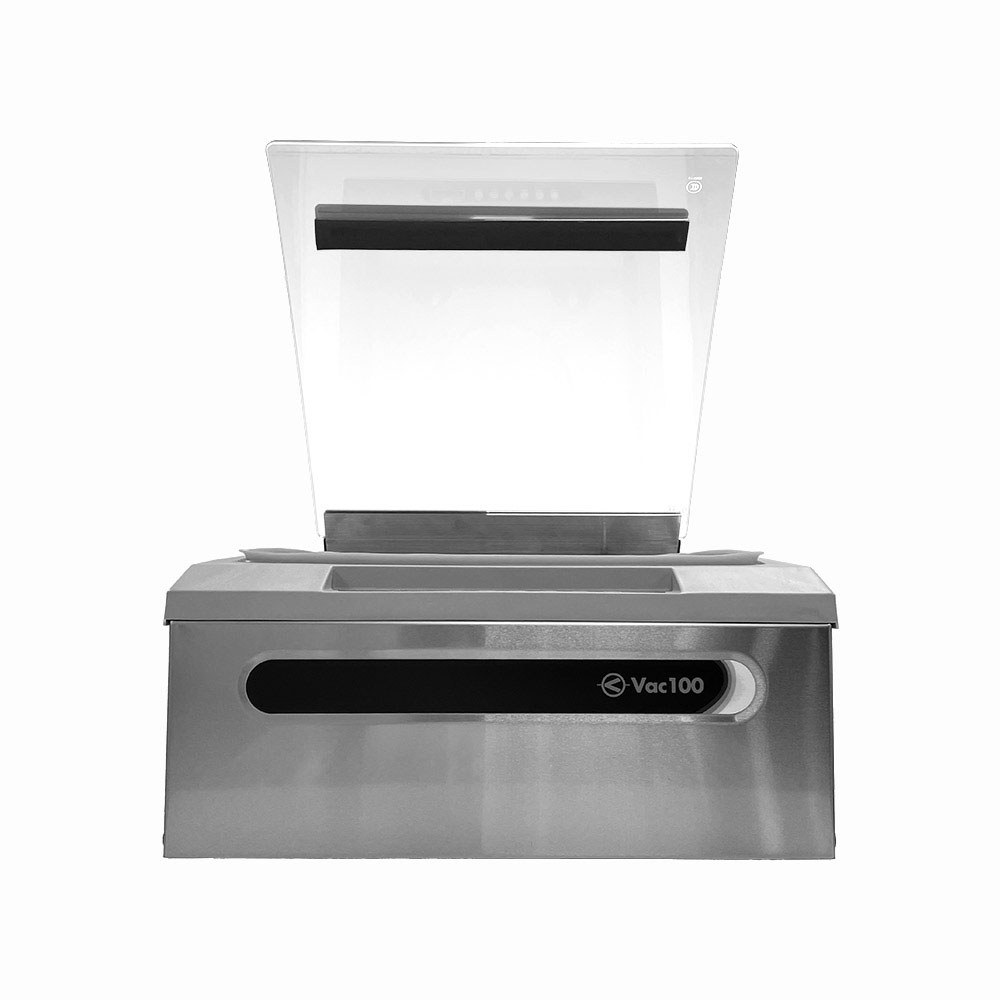
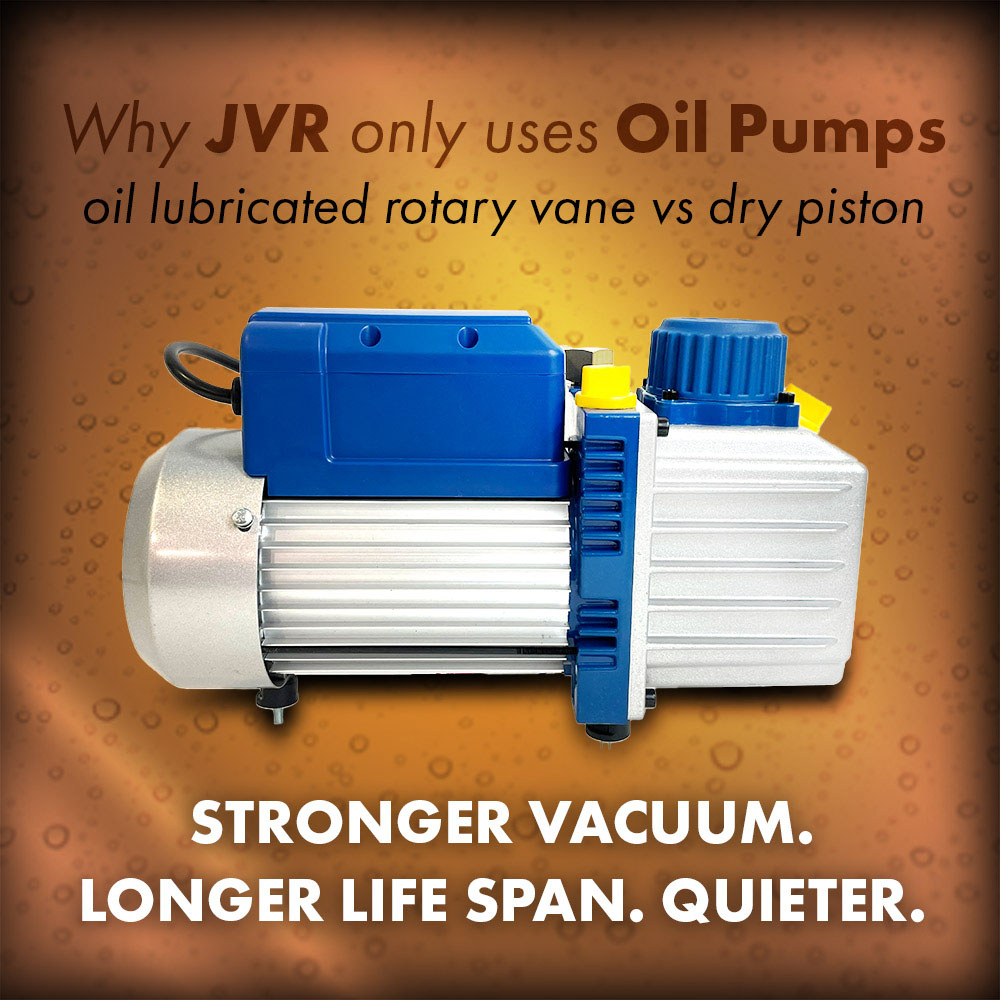
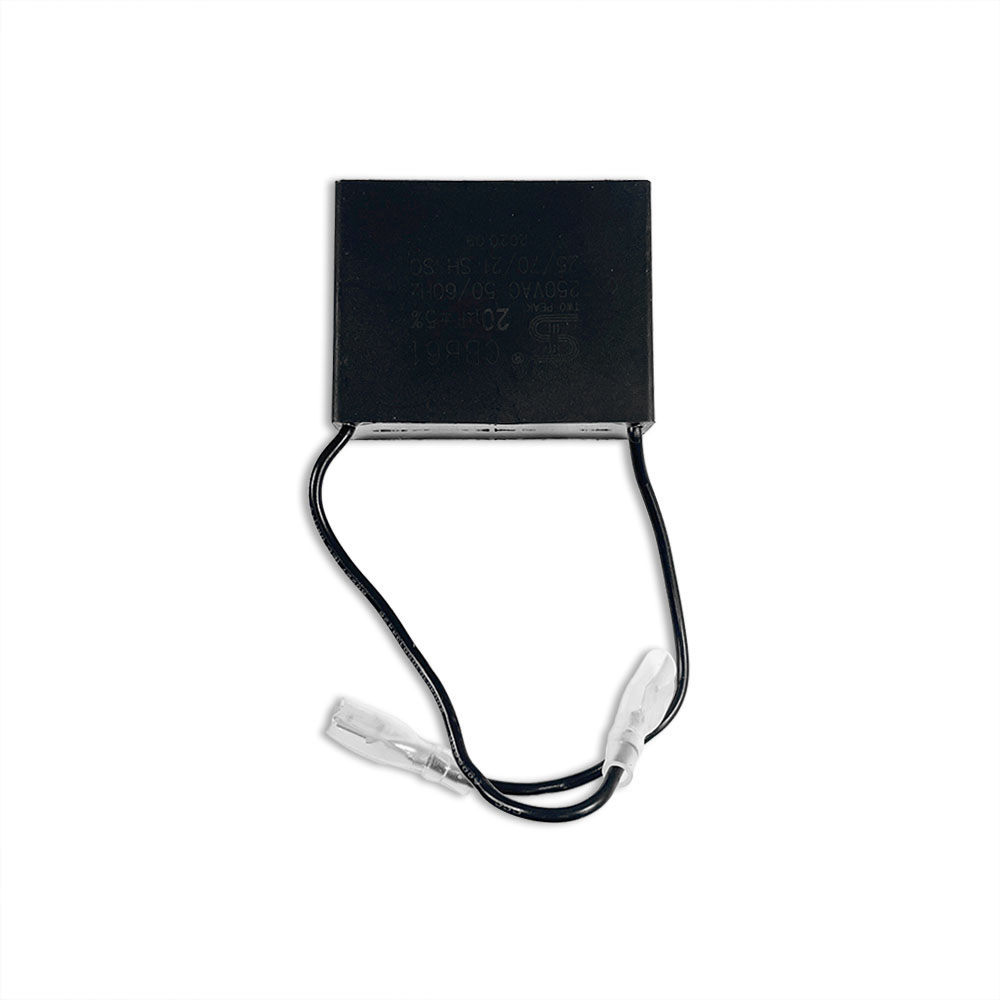
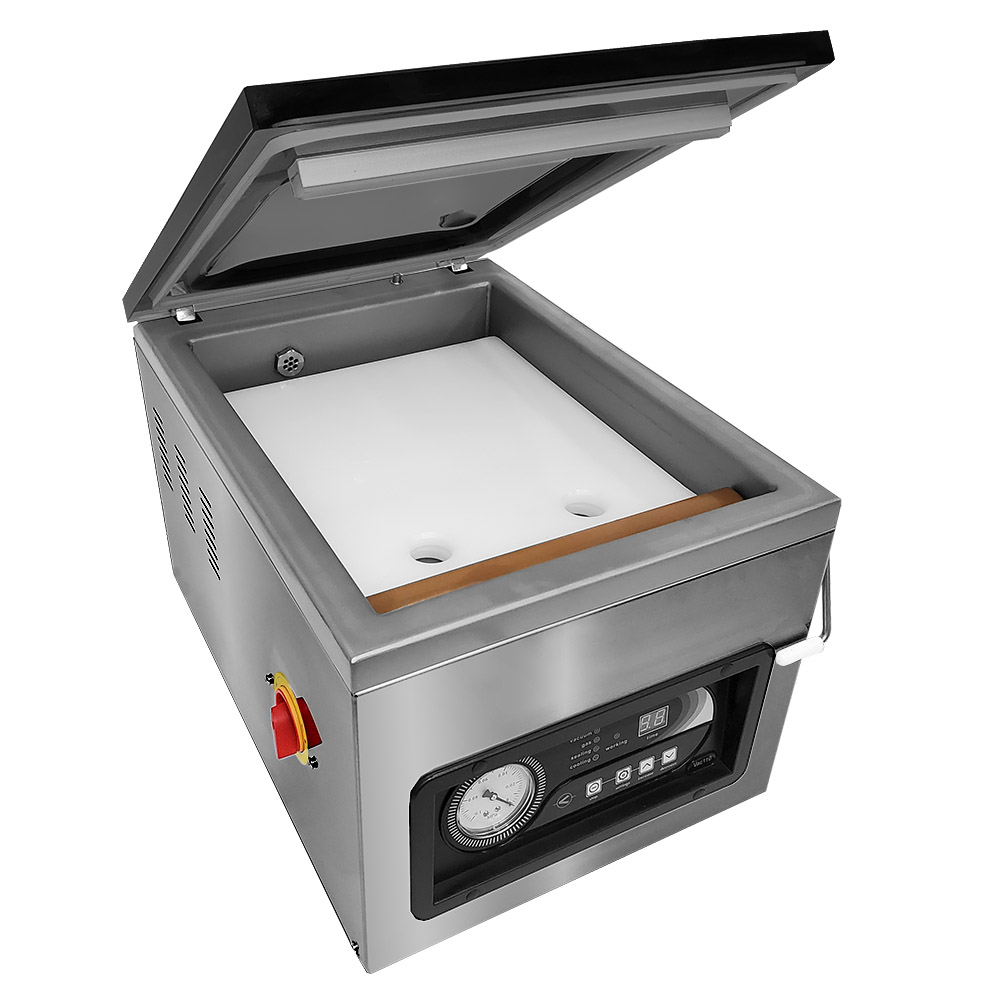
The Vac100 chamber vacuum sealer is manufactured with many features to make your vacuum packaging process as convenient as possible. One of these features includes the vacuum pump capacitor. Vacuum pumps can fail to rotate internally in some very rare instances due to premature capacitor failure, and buying a replacement may be the simple and inexpensive way to get your vacuum pump up and running again. Doing this vacuum pump maintenance repair may save on other maintenance costs down the road.
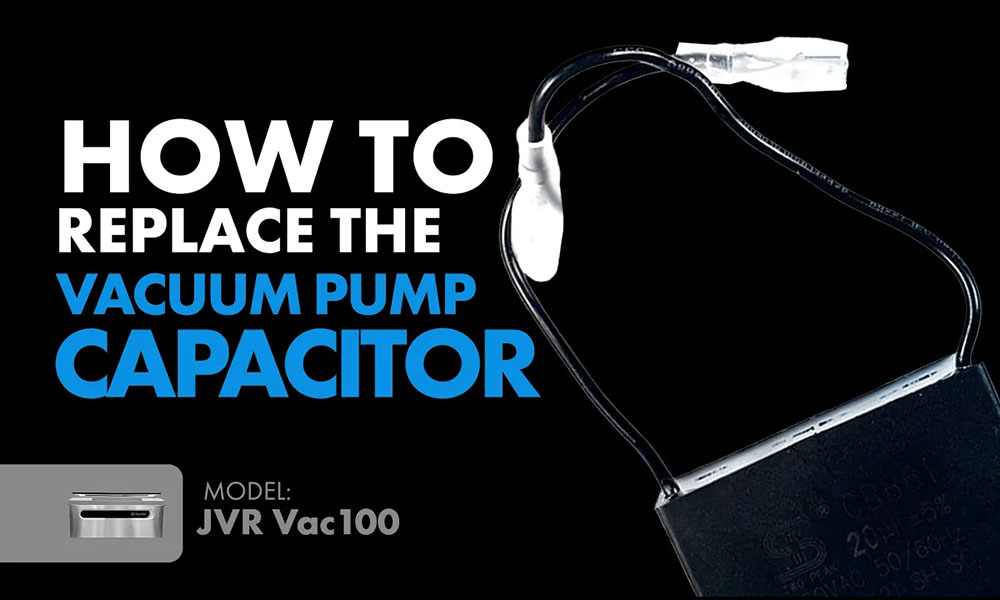
When to Know Your Capacitor Needs Replacing for Vacuum Pump Repair
If you’re unsure whether your capacitor needs replacement, contact one of our service experts to help determine the cause of your vacuum pump malfunction.
Tools Needed for Pump Service
3 mm Allen wrench
Pair of scissors
Number two Phillips screwdriver
Safety Precautions
Unplug the unit from any source of power.
Set the unit on a stationary counter with some extra space.
Clear the chamber of filler plates or other items that could fall when the body is hinged forward.
Service Plan: Steps to Replace the Vacuum Pump Capacitor
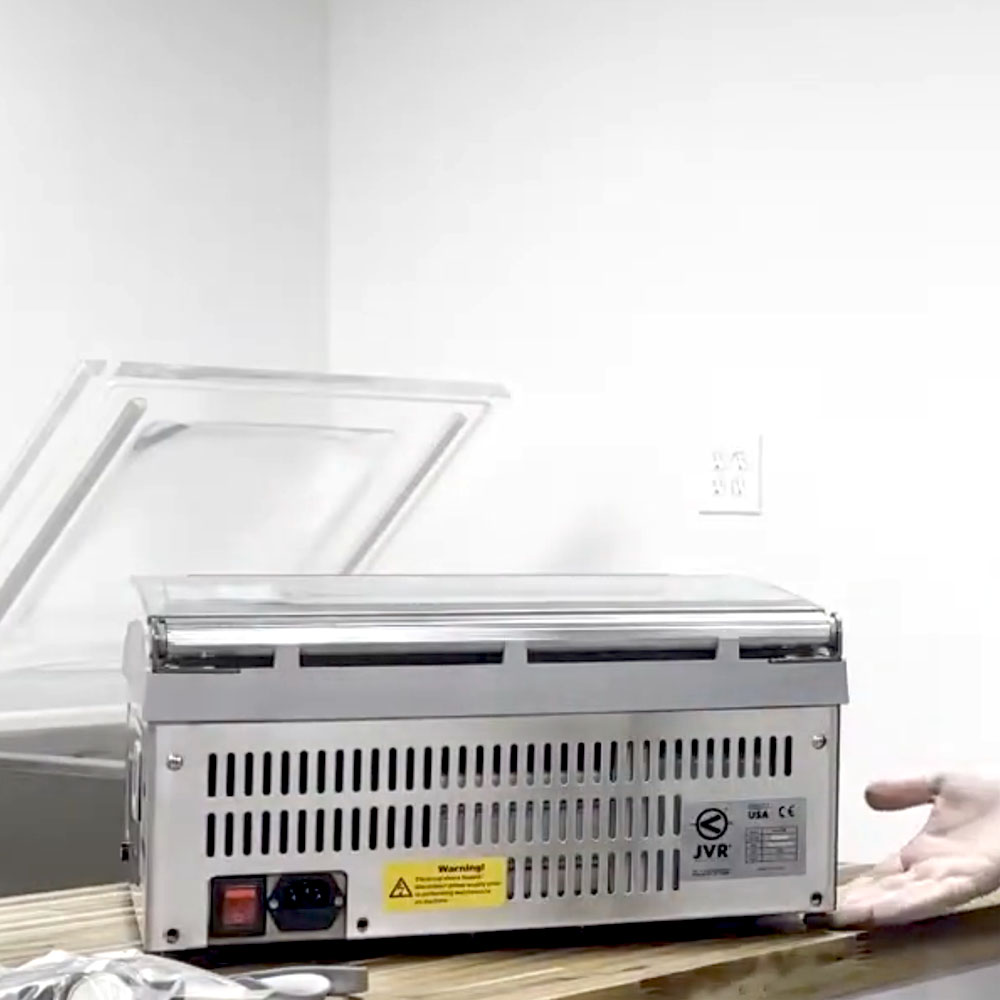
1. Firstly, remove three Allen screws on the base of back panel. Lift the body forward and lock the hinge mechanism into place.
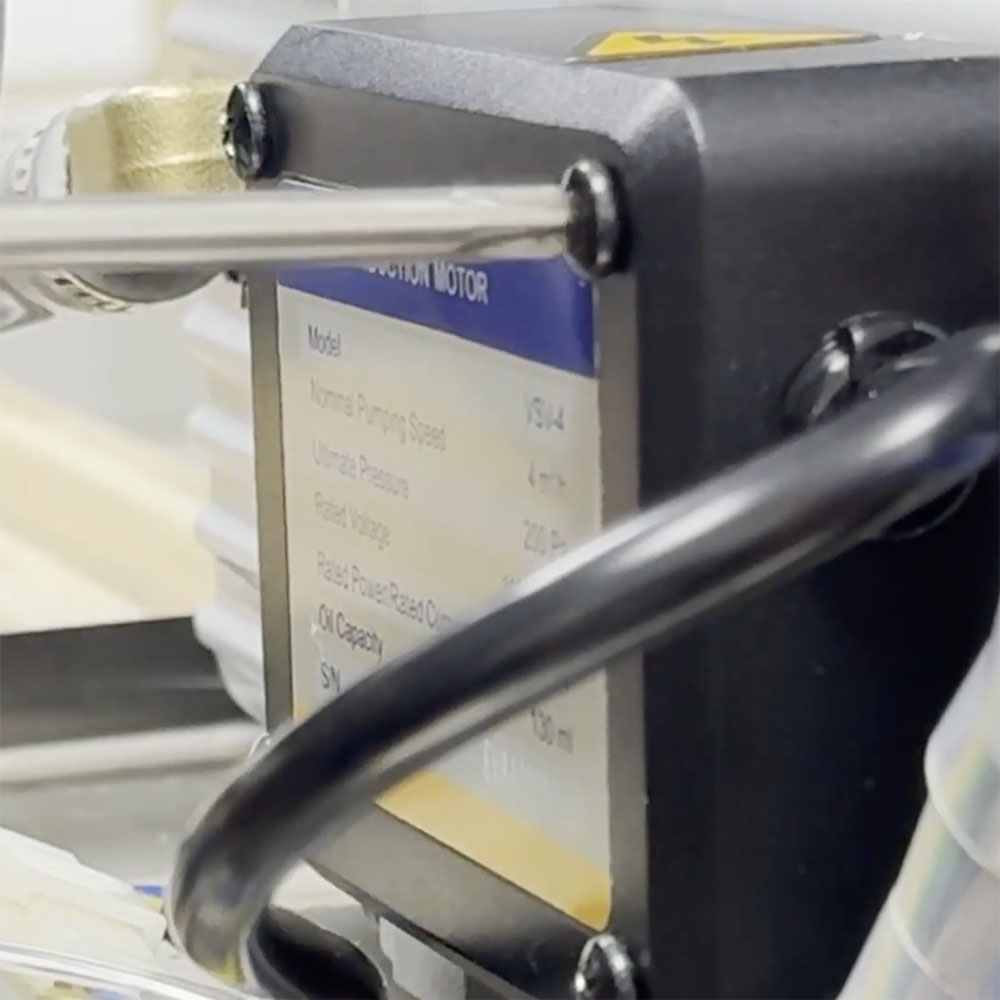
2. Secondly, use a number two Phillips screwdriver to remove four screws on black box of vacuum pump.
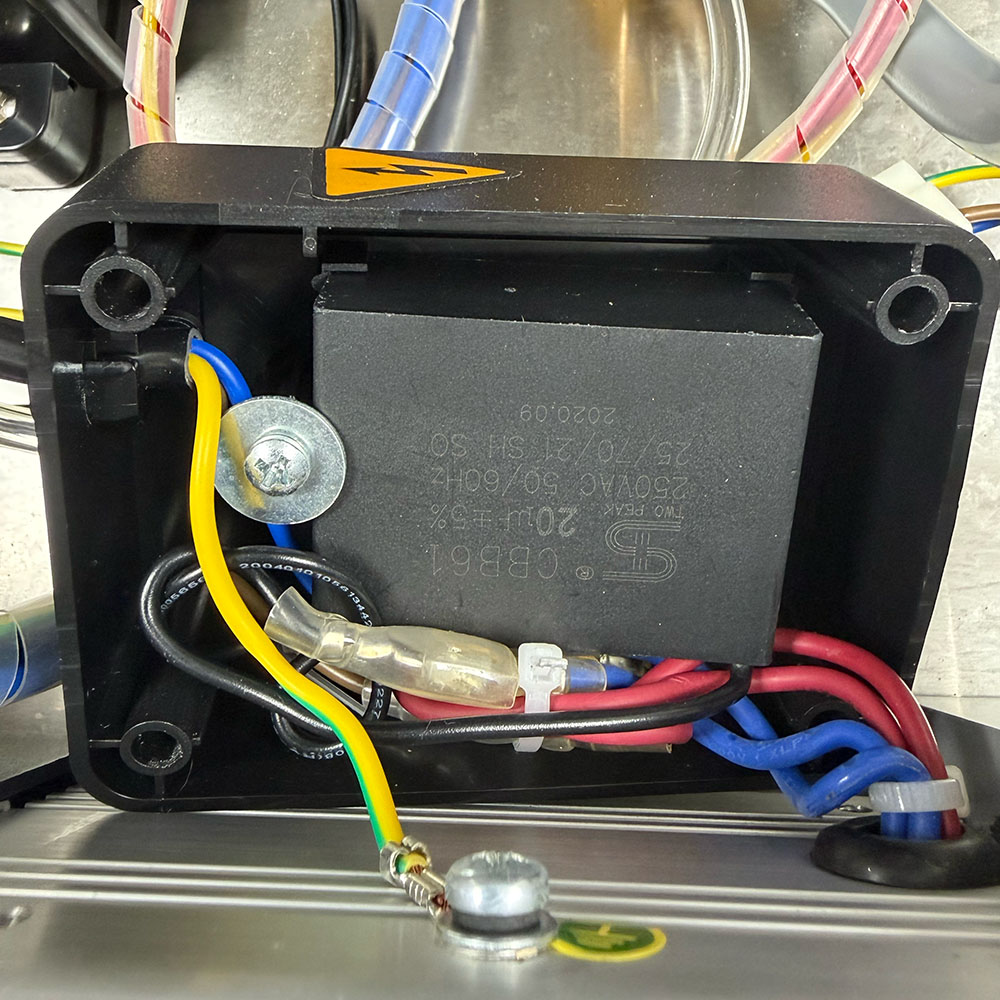
3. Then, once you’re inside the black box, you’ll see the capacitor. (NOTE: It’s the little black box inside the black compartment.)
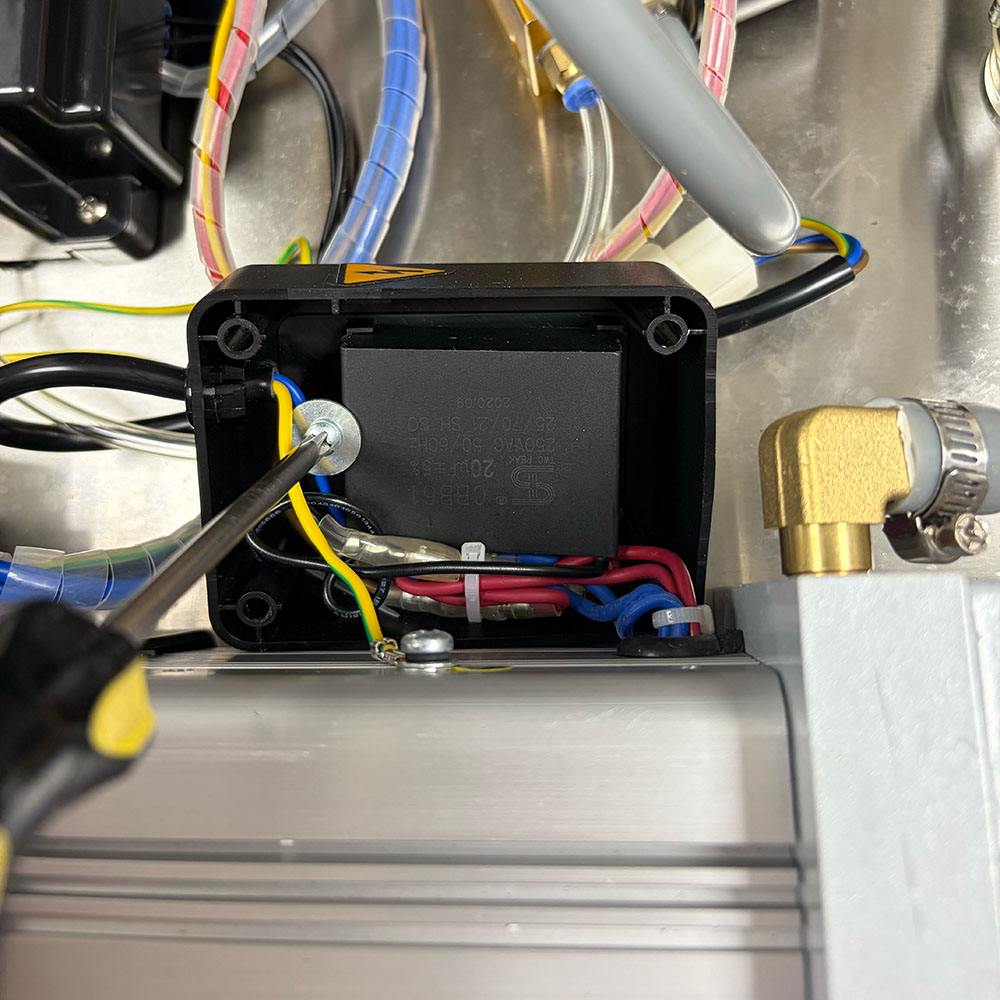
4. There will be a number two screw and washer. Use a number two Phillips screwdriver to pop that off and set that to the side.
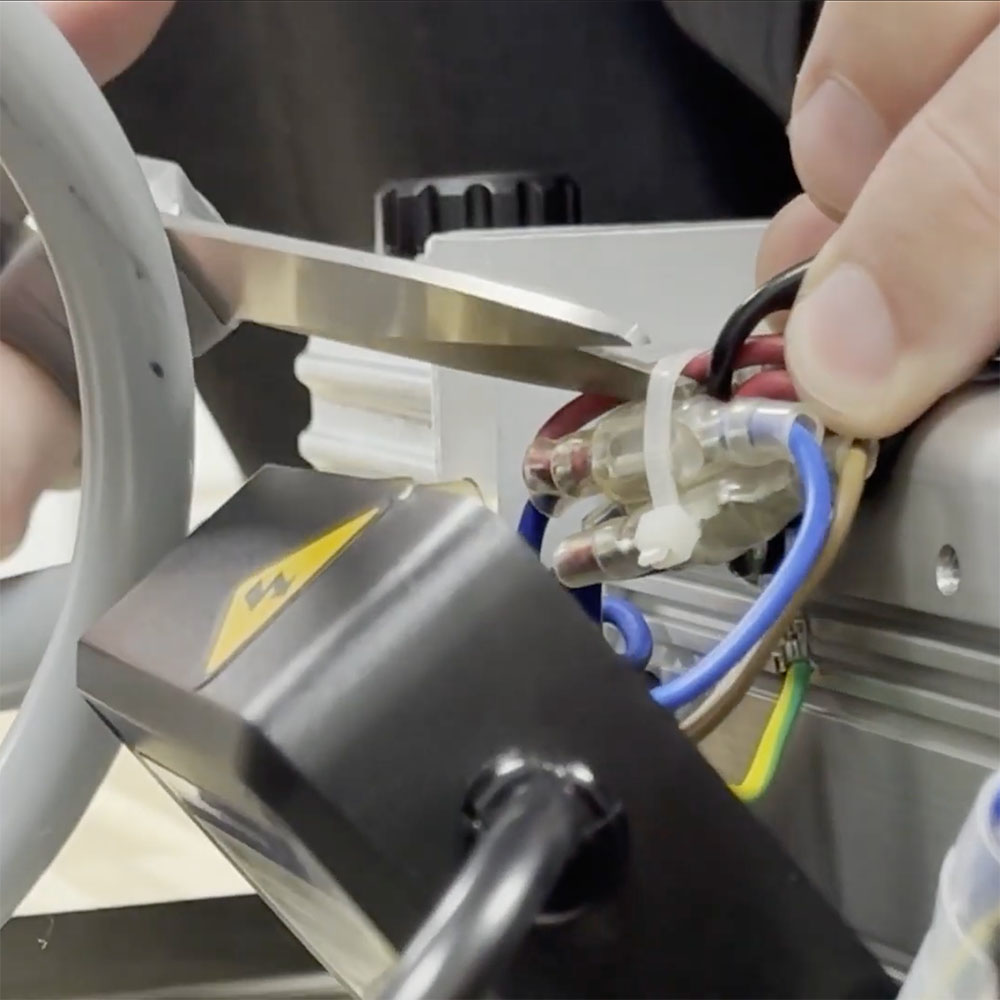
5. Remove capacitor. There will be two black wires running from the capacitor. Trace these two black wires into the bunch of wires. (NOTE: You may need to use scissors to cut the zip-tie holding the bunch of wires together. You may be able to work around this depending on how it was set-up, although cutting the zip-tie will make the replacement process easier.)
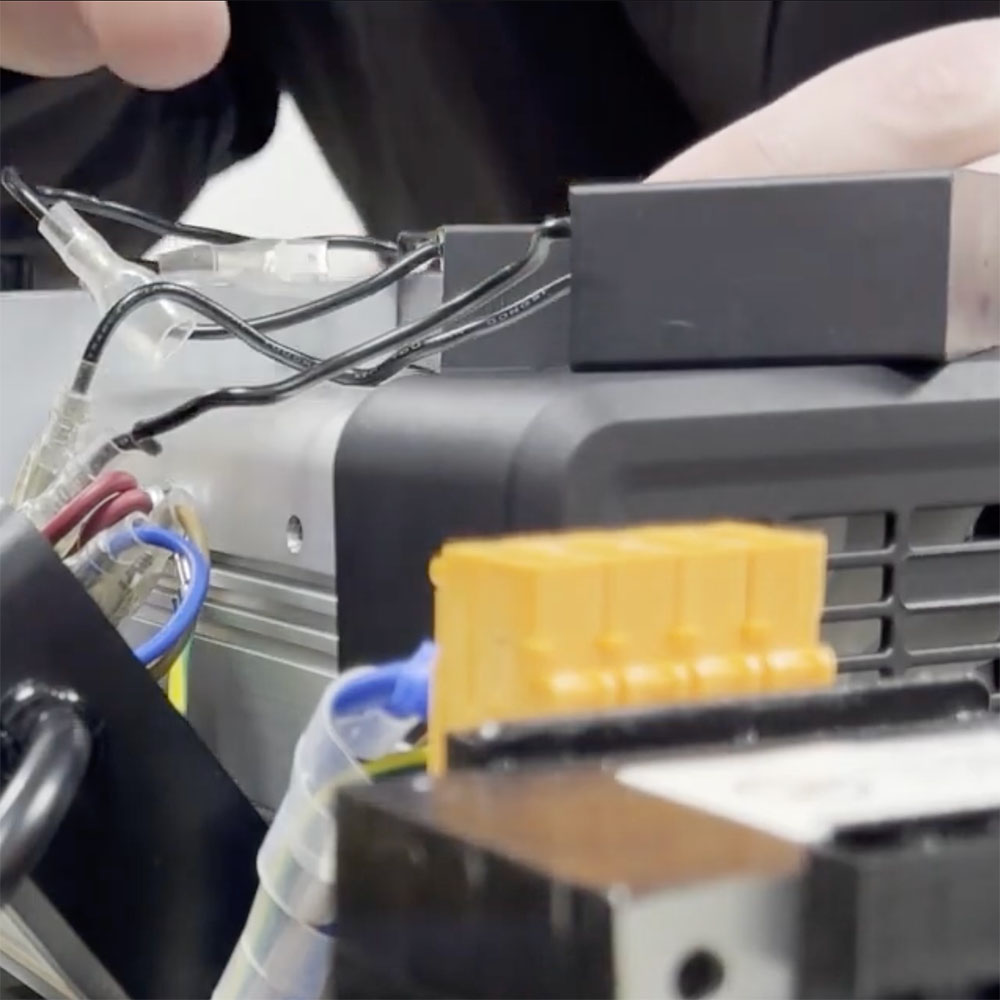
6. Grab your new replacement capacitor. Look for the text on one of the sides of new capacitor and set it next to the old capacitor so you can see where it will hook up.
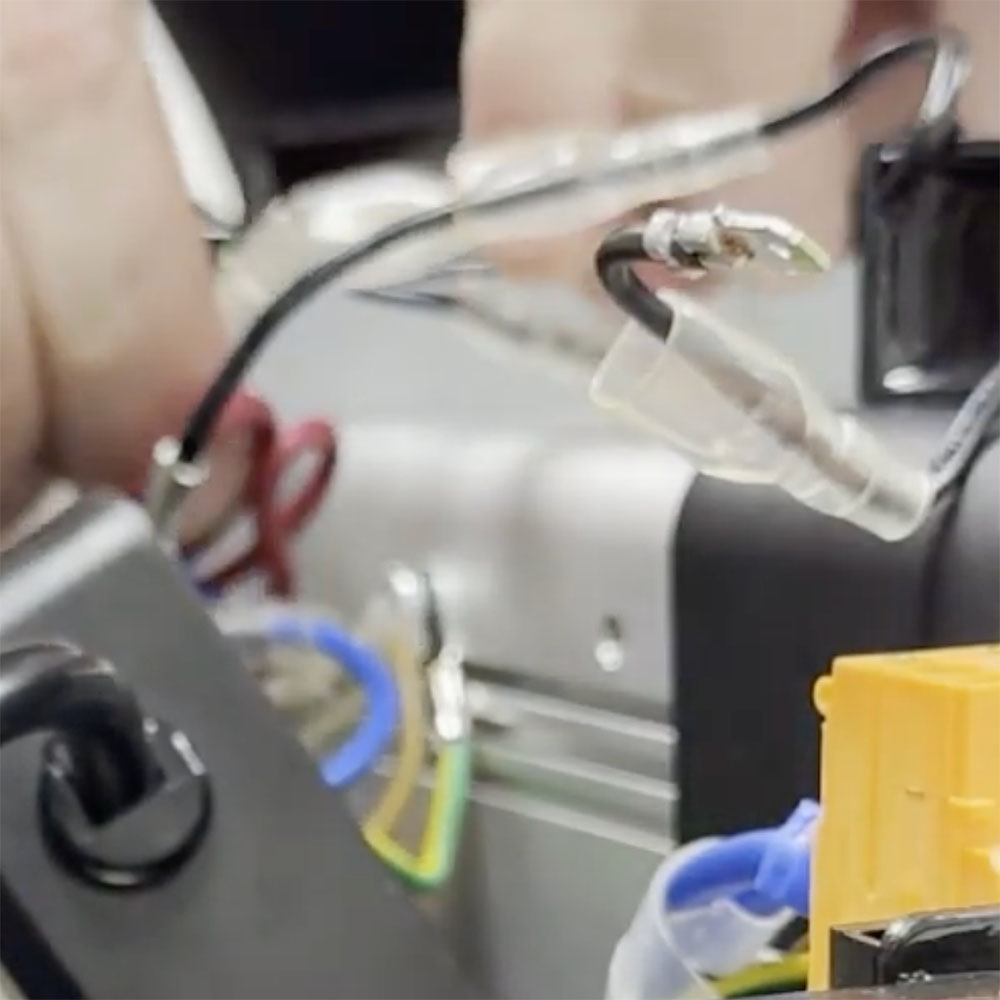
7. Untangle and pull apart the two black wires of the old capacitor, separating them from the bunch of wires. Pinch the female end (on the width of the wire), and pull the male end out.
8. Next, you will take the same side wire of the new capacitor and pop it on in it’s place.
9. Repeat last step for other side. (NOTE: If you had trouble getting the new wires back on after getting the old ones off, you may have opened up that channel a little bit too much. To solve this issue, you could just take pliers to crimp that back onto the male end of the wire.)
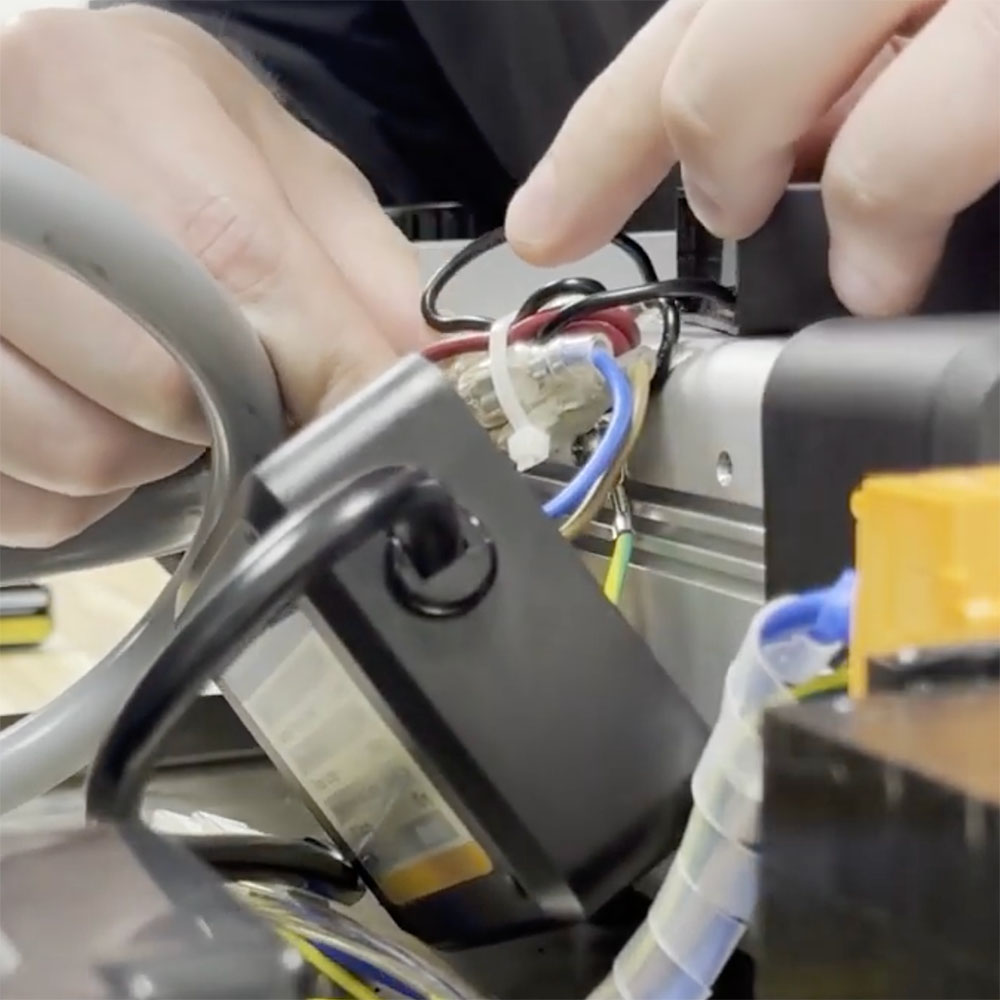
10. Once that is complete, grab the bunch of wires and zip-tie them back together.
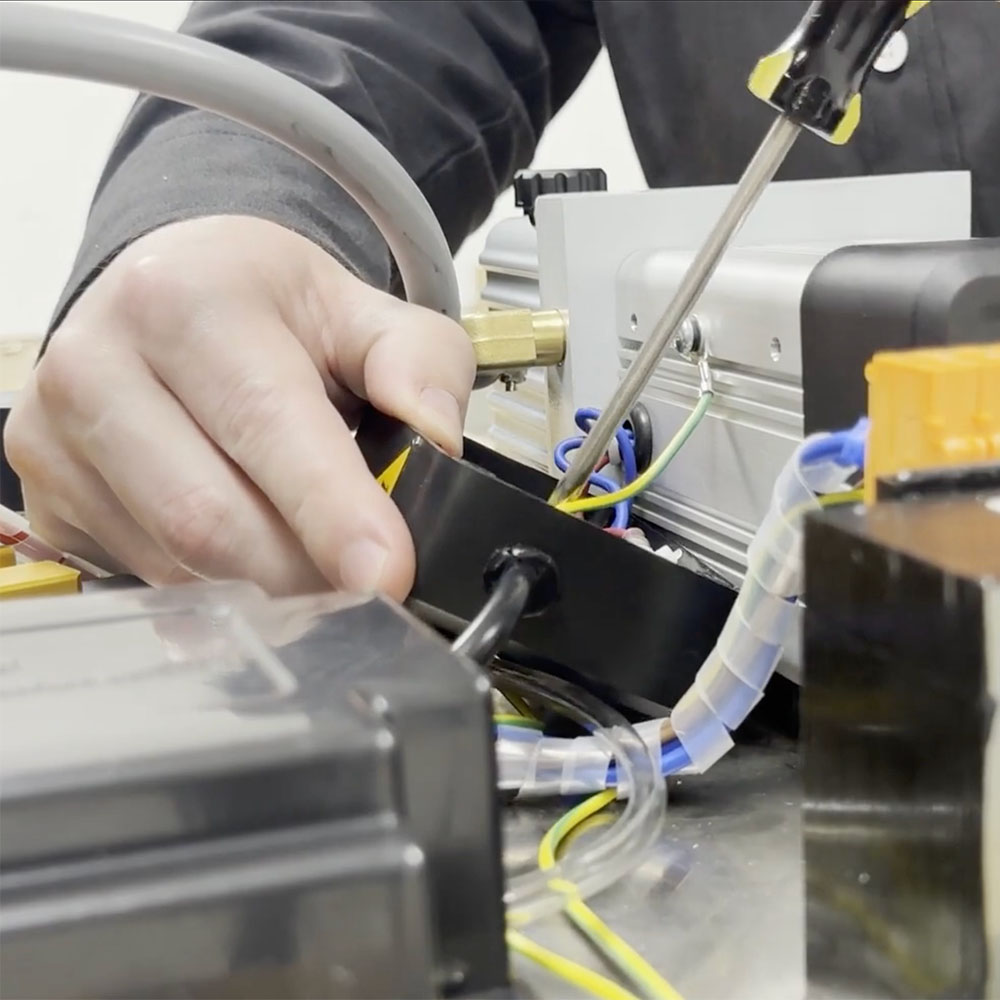
11. Drop new replacement capacitor into the black compartment, screw it back on, and you’re ready to go
Questions for our Service Technicians
Have questions about the replacement process? We will be glad to help you out! Give us a call to talk directly to a service technician or email us at JVR@jvrinc.com.
Want to read more articles like “How To Replace The Vacuum Pump Capacitor (100-31): JVR Vac100” Click below!
.