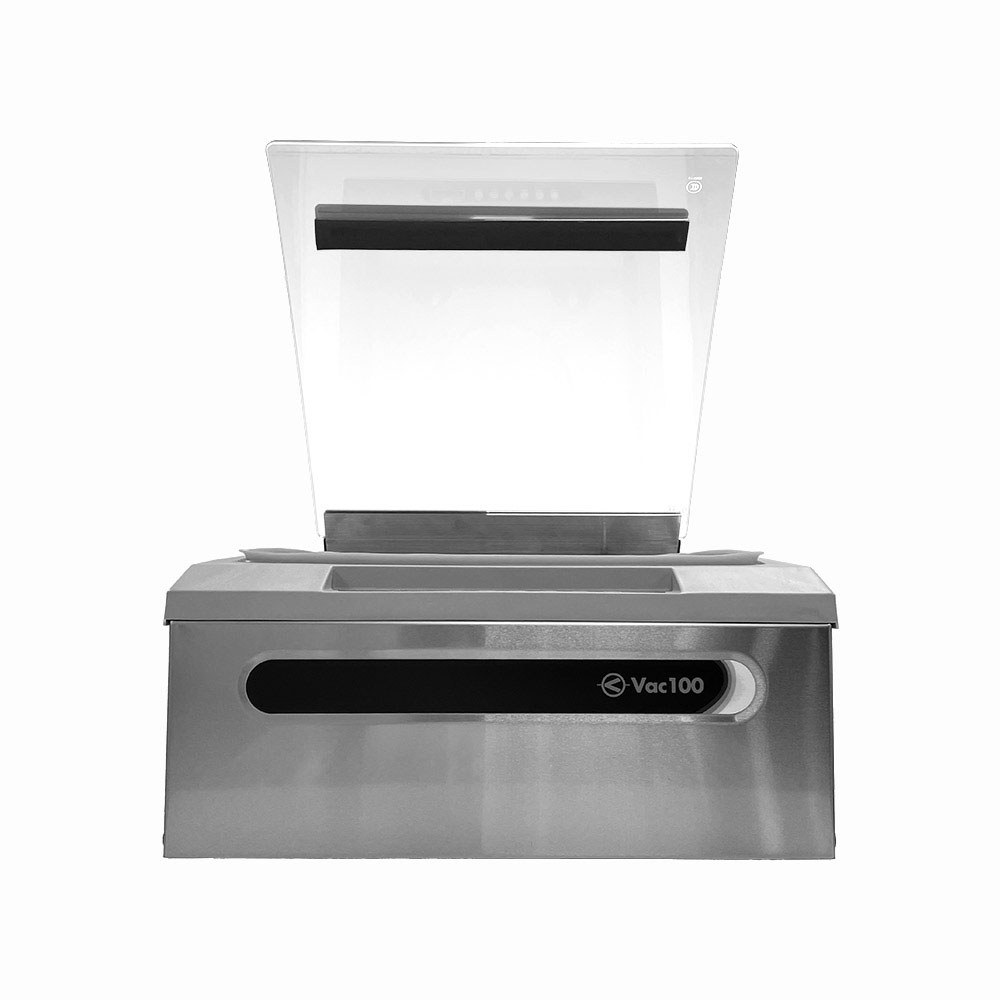
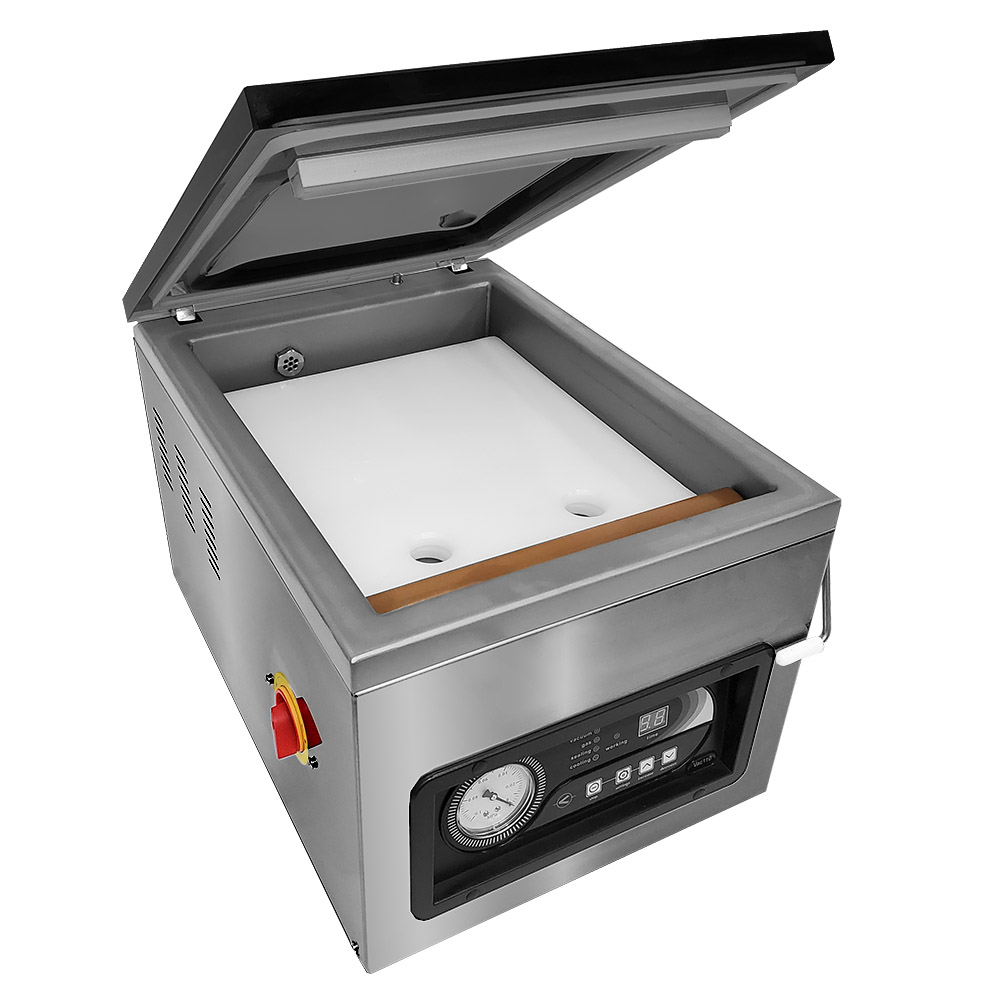
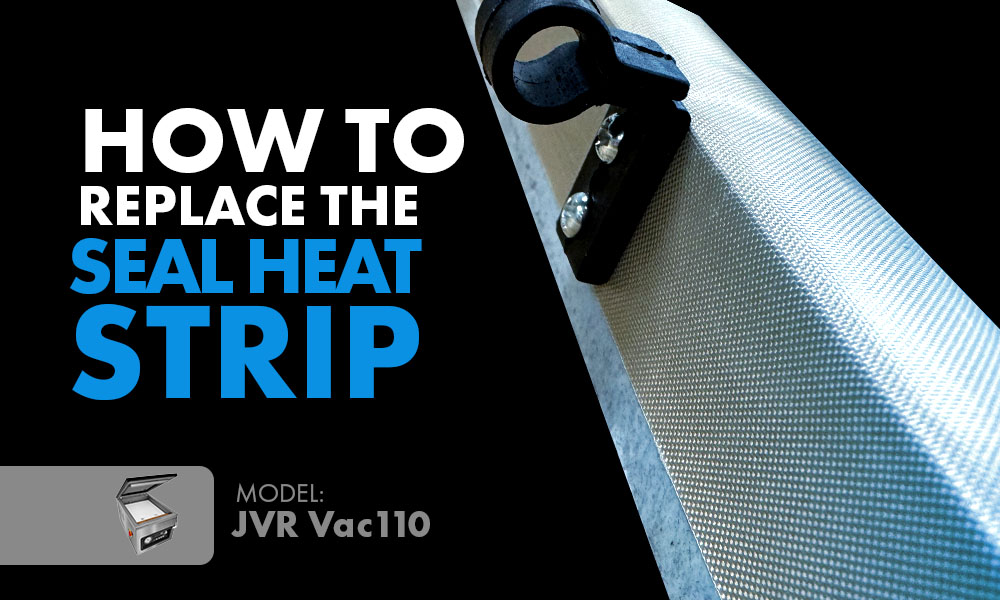
How To Replace The Seal Heat Strip (110-17): JVR Vac110
“A properly functioning heat strip is a crucial piece of equipment to provide that superior seal integrity.”
Did your Vac110 seal bar heat strip crack under the pressure of responsibility like we all do when tax season comes around? Don’t fret! Today, we will step through how to easily replace the seal heat strip on your Vac110 chamber vacuum sealer.
Importance of the Heat Strip to Vacuum Sealing
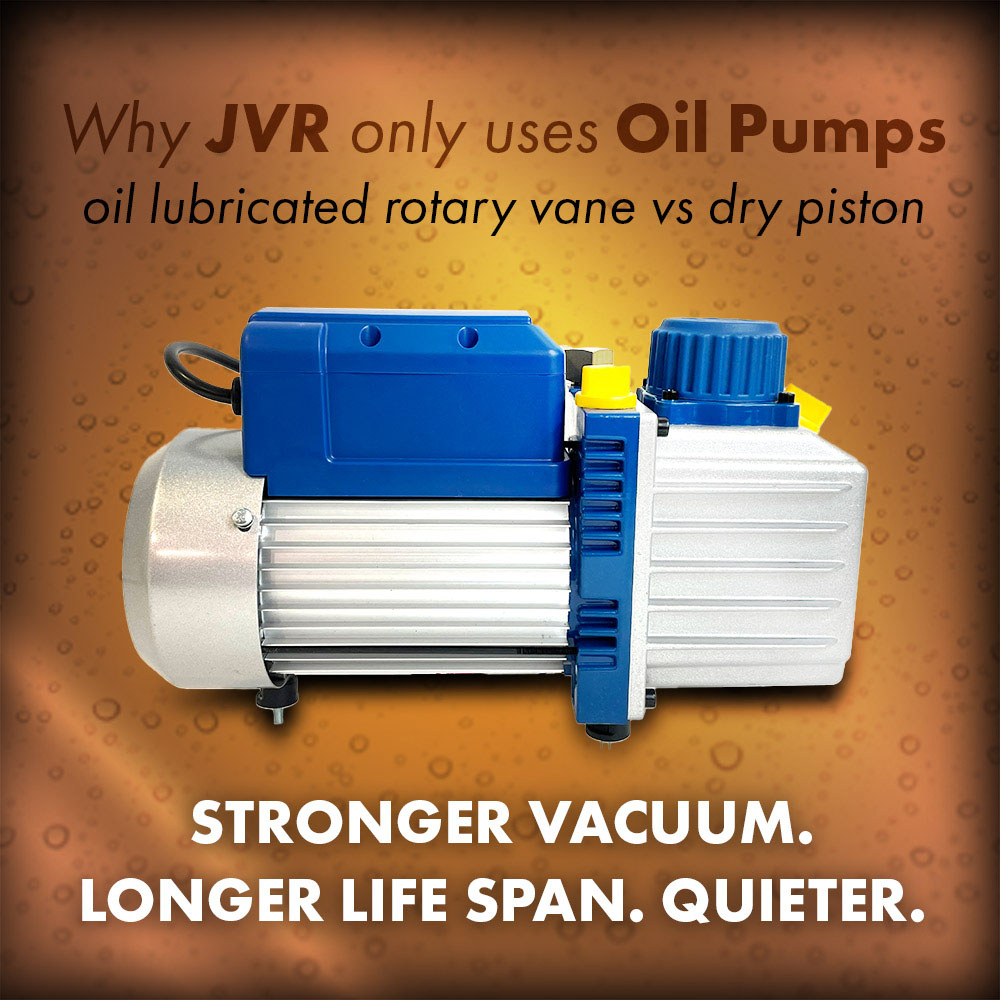
The shelf life of the foods you are packaging depends on two things. First, the ability of your chamber sealer to pull maximal air from the pouch as optimally accomplished by an oil pump. Secondly, superior seal integrity will ensure liquid does and meat juices do not leak out of the pouch or that air does not reenter the pouch during storage.
A properly functioning heat strip is a crucial piece of equipment to provide that superior seal integrity. So let’s get started!
When to Replace the Heat Strip
If you notice seal failure during seal integrity testing, or a non-existent seal usually caused by a cracked heat strip or broken wires, these are both signs that the heat strip needs replaced.
Remember that many components play a role in providing optimal seal integrity when sealing packages. If you need help diagnosing the problem when experiencing seal failure, do not hesitate to reach out and we will direct you to one of our service technicians. JVR Industries has specialized in vacuum packaging for over 52 years, so you can depend on us for information backed up by years of knowledge
Preparation
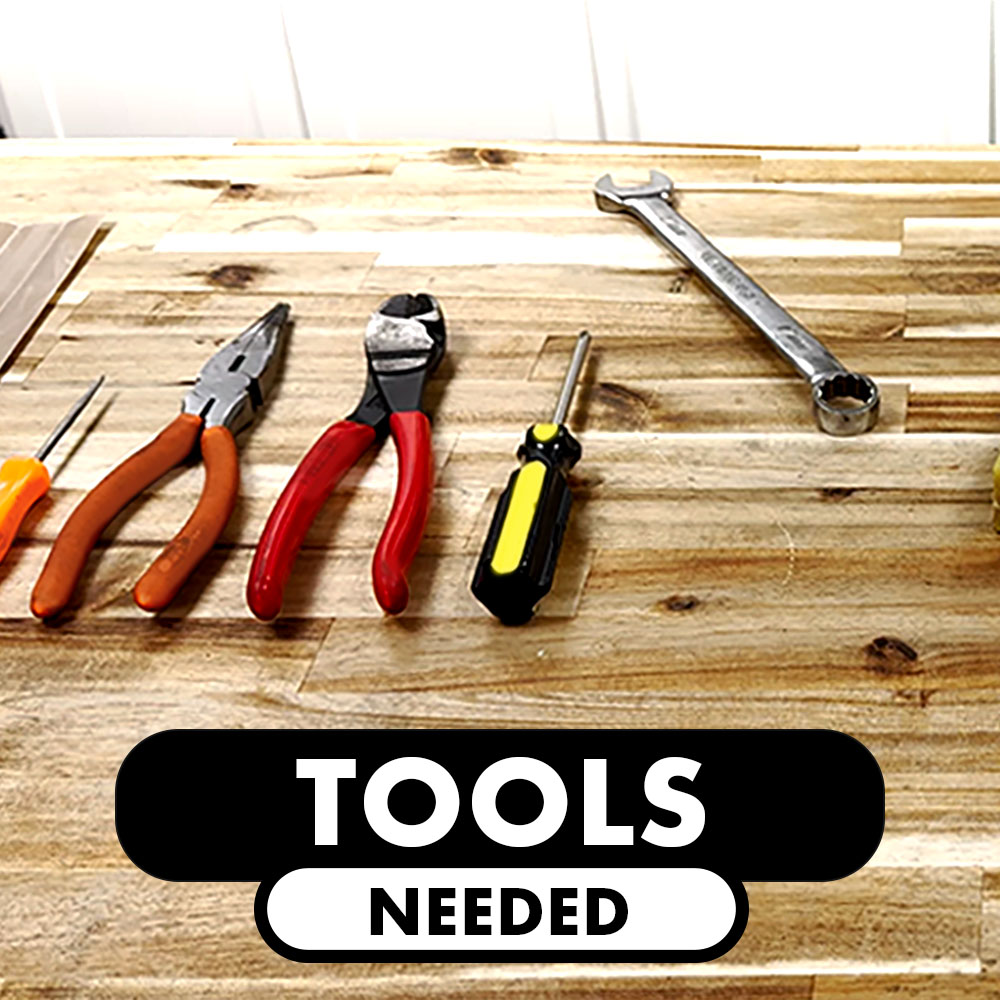
Tools Needed
Mini Pick / Flathead Screwdriver
#2 Phillips
15mm Wrench
Needle Nose Pliers
Tin Snips / Diagonal Cutters
Gloves
Vac110 Seal Heat Strip (110-17)
NOTE: Each initial Vac110 purchase includes a free replacement heat strip. We also always make sure to have the parts separately in stock.
Safety Precautions
We highly recommend wearing gloves when working with the seal heat strip as the edges are sharp and may cut you.
Time Required
The process will take about 5-10 minutes. With practice, we have no doubt you can cut down the time to 3-5 minutes!
Steps to Replace the Seal Heat Strip
Accessing the Heat Strip
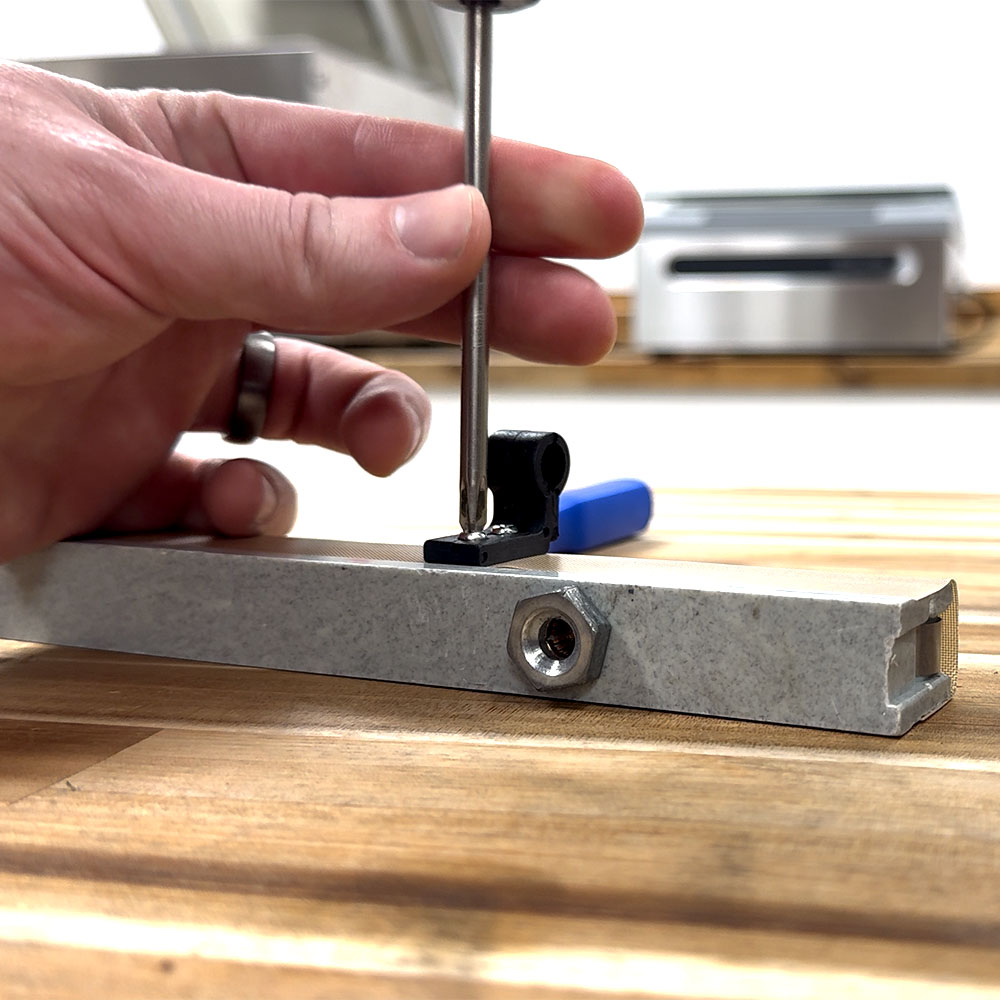
- Use the #2 Phillips to remove both pouch clips from the seal bar.
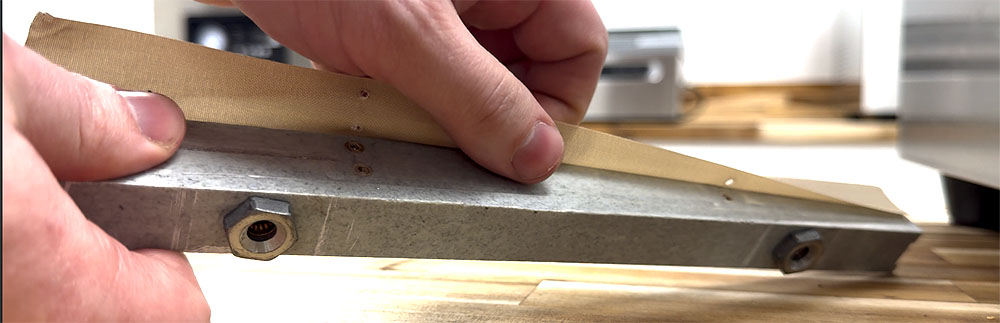
- Peel off the seal tape. KEEP the seal bar tape as a template on where the holes for the pouch clip screws go.
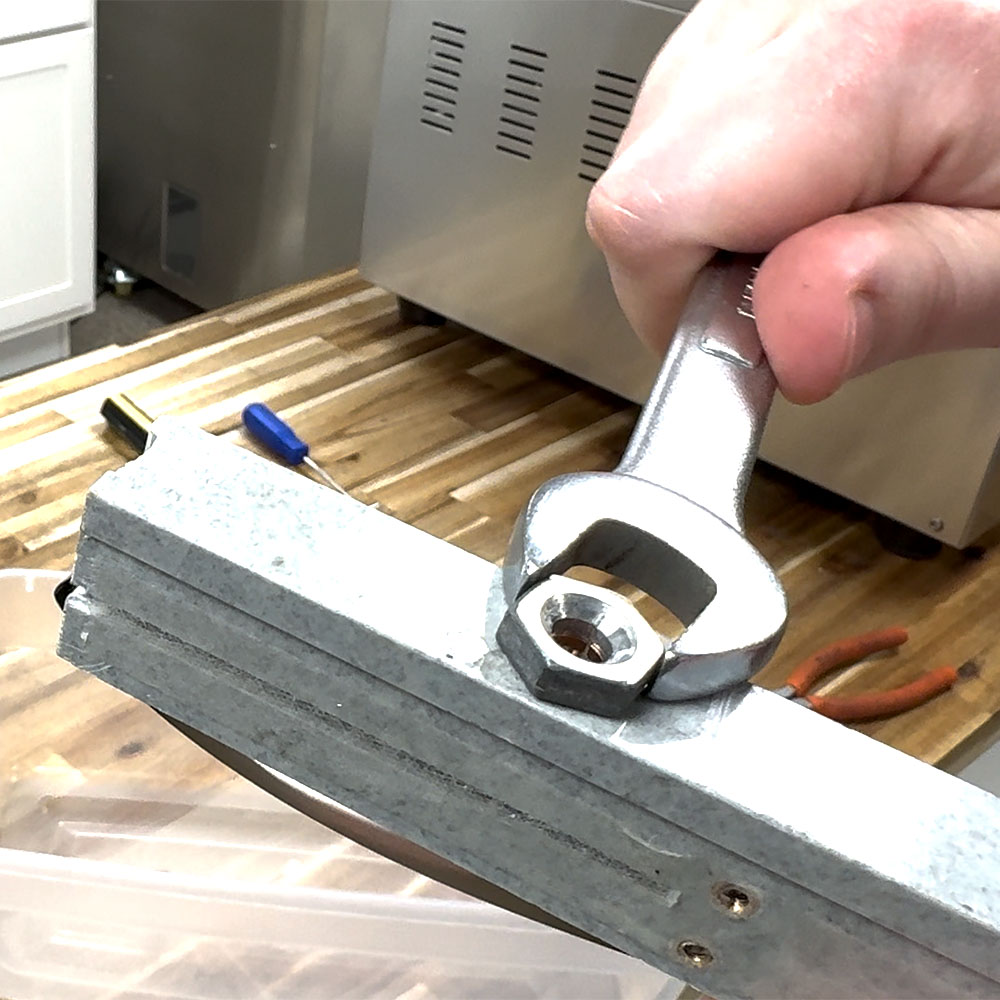
- Grab the 15mm Wrench and remove the two set screws on the base of the seal bar assembly.
NOTE: You might notice cracks at the set point region if they are not at the ends of the seal bar. This would be the cause of seal absence.
Removing the Heat Strip
You may want to grab a small container for this part!
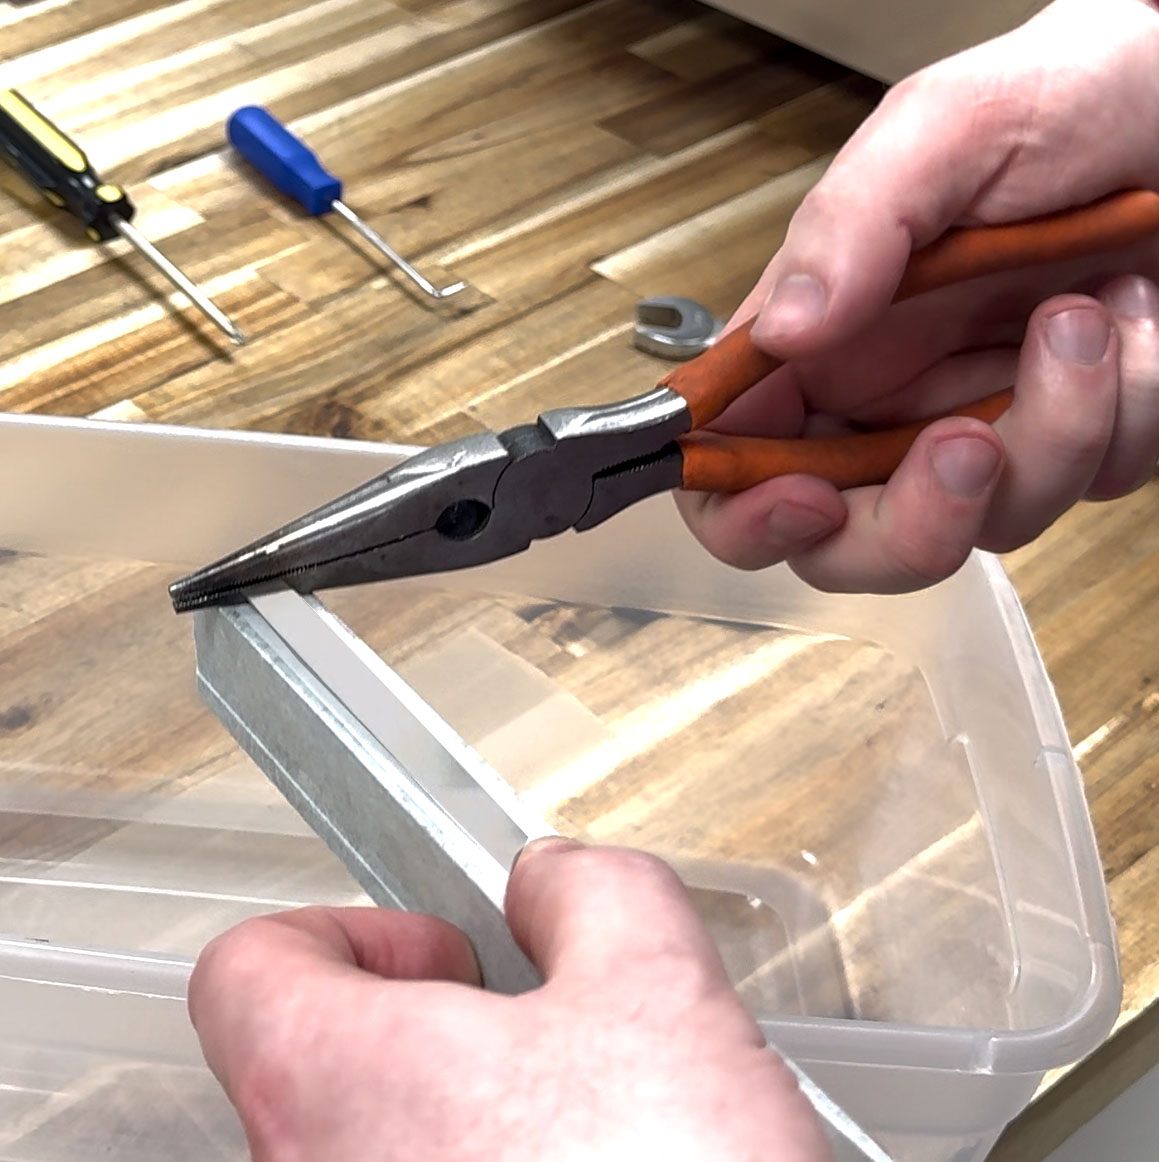
- Grab the Needle Nose Pliers, open the mouth, and slide the bottom portion of the mouth under one end of the heat strip.
- Close the pliers to tightly grip the seal heat strip.
- Point that end of the seal bar toward a container or an enclosed area to catch the spring as it may shoot out.
- Begin turning the pliers toward you to roll the heat strip like a fruit rollup on the pliers. It may take some force.
- The end will eventually pop out along with the spring.
- Repeat Steps 1-5 for the other end of the seal strip.
Replacing the New Heat Strip
This is where you will need gloves!
- Insert one end of the seal heat strip into the slot until you pass the set point region. You can do this one of two ways.
- Measure from the outside and use your thumb as a reference.
- Or simply insert into the slot and watch for it to pass the set point region from the base of the seal bar.
- Reinsert the first set screw until it is finger-tight.
- Reinsert the first spring.
- Wrap the heat strip around the top of the seal bar. Apply tension during the entire process to ensure proper installation.
- Reinsert the second spring on the opposing side.
- Wrap the final part of the heat strip around the other end of the seal bar and insert it into the slot.
- NOTE: If the heat strip needs help maneuvering straight into the slot, use a Mini Pick or a Flathead Screwdriver via the set point region to do this.
- Install the second set screw until finger-tight.
- Use the 15mm Wrench to secure both set screws into place.
- Use this link for simple instructions on how to replace the new seal bar tape and pouch clips.
The replacement process is complete!
Additional Information
If you do not want to go through the hassle of self-servicing your seal bar, there is an option for you! You can purchase a whole new Vac110 seal bar (110-15) and simply replace your old one with no tools and no hassle.
Like to be prepared and save money? Consider the Vac110 Maintenance Pack (110-MP). This deal has all the replacement parts you will need for the first couple of years of general maintenance including quart bottles of oil and more. It’s like getting all the parts on sale and you save on shipping!
Interested in learning more about vacuum sealers, pouches, maintenance tips, and so much more? Read our Ultimate Vacuum Sealing Guide here.
If you have any further questions, please do not hesitate to reach out! We are dedicated to our customers and fulfill the promise of outstanding service to make your vacuum packaging journey a whole lot easier. Give us a call or submit a technical support request via this link.
Want to read more articles like “How To Replace The Seal Heat Strip (110-17): JVR Vac110” Click below!
.