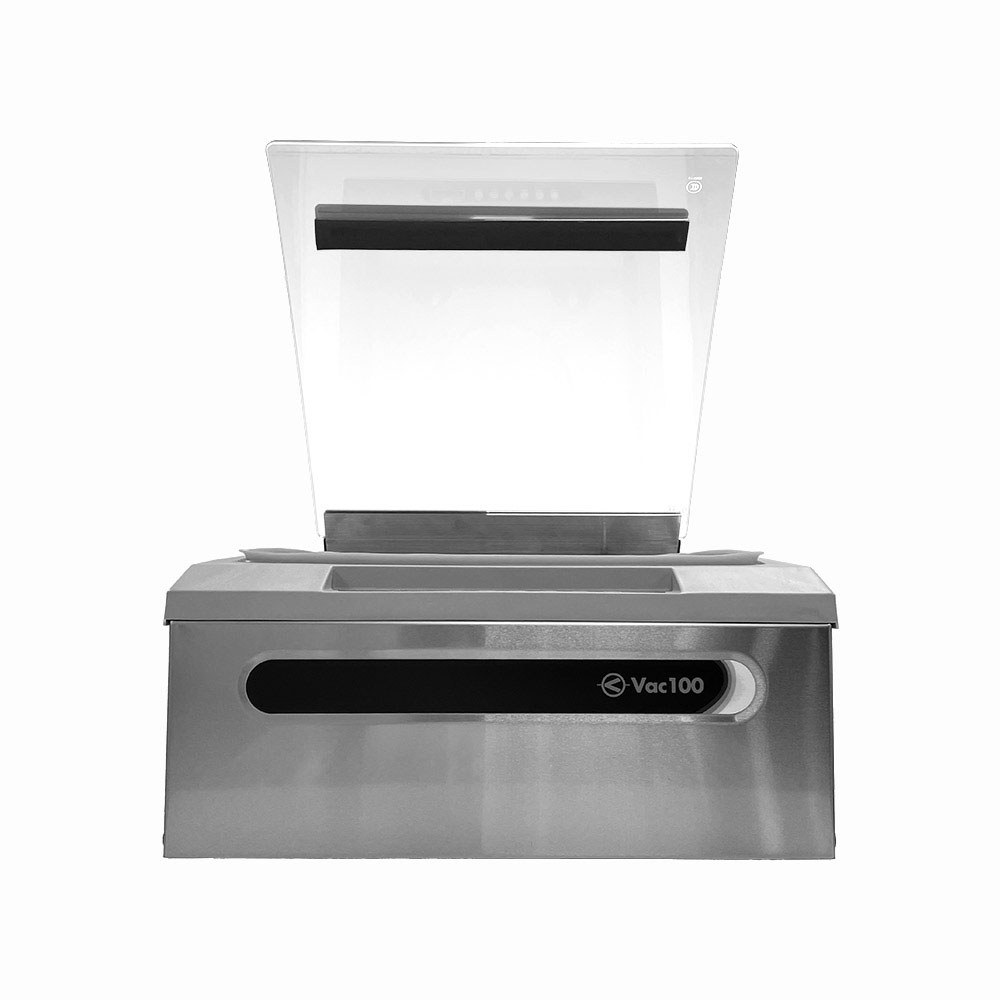
How to Replace Cushion Strip Bracket: JVR Vac100
“…with a functional cushion strip bracket to hold the seal cushion strip in place, optimal seal integrity is reached.”
Whether you are using your Vac100 for food storage at your small business or home use, your unit will require care to optimally perform work for years to come. Careful upkeep will benefit you in the long run and determine the length of time your Vac100 will stay standing to package any product type you try your hand at. Today, we will go over how to replace the seal cushion strip bracket – an important part in aiding the process of providing a superior seal for vacuum packaging.

Role of the Cushion Strip Bracket in Vacuum Sealing
The bracket is located on the underside of the Vac100 lid. It holds the seal cushion strip securely in place for its function. The seal cushion strip has the important role of ensuring even force is applied along the seal bar. Once the lid is closed, the seal cushion strip traps the bag between it and the seal bar. The heat from the seal heat strip can, then, evenly contact the sealing end of the chamber pouch, resulting in an optimal seal.
Therefore, with a functional cushion strip bracket to hold the seal cushion strip in place, optimal seal integrity is reached.
When to Replace the Seal Cushion Bracket
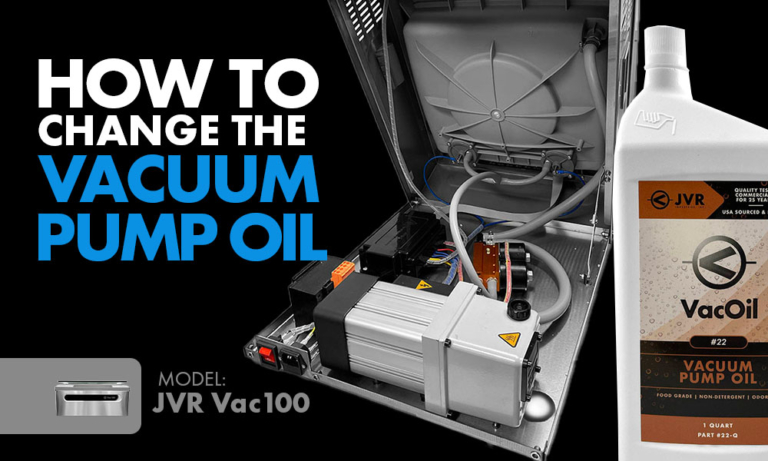
Similar to parts like a vacuum gauge or the Vac100 transformer, the bracket is not a general maintenance part that needs serviced routinely. Under certain circumstances, you may have to replace it during the duration of owning your Vac100. The only circumstances in which you will have to replace the bracket are if it can no longer hold the seal cushion strip securely. This might occur for a variety of reasons. Examples are as follows:
Cracked from unexpected rough conditions or handling.
The backing strip is no longer adhesive.
The metal bent so no longer secures the cushion strip.
Tools Needed for the Replacement Process
Thin Wire (NOTE: make sure the size is thin enough to grab between the bracket and lid, but thick enough for strength to withstand the pressures).
Goo Gone Adhesive Remover
Razor
Cleaning Alcohol
Microfiber Cloth
Backing Strip
Bracket
Steps to Replace the Seal Cushion Strip Bracket
Removing the Old Bracket
1. Grab a thin wire and wrap each end around your index fingers to make it easier to handle.
2. Feed the wire under the cushion strip bracket and pull ends back and forth like a saw to gently detach from the lid.
3. Repeat until the bracket is pried away from the glass lid.


Clearing the Adhesive Remnants
NOTE: Getting rid of the contamination ensures optimal adhesive connection to the glass lid that will maintain through time.
4. Spray Goo Gone onto the remaining adhesive residue on the lid.
5. Let it sit for optimal effectiveness.
6. Take a razor and gently scrape off the adhesive layer.
CAUTION: Cut away from yourself as these are sharp!
7. Repeat steps 4-6 until a majority of the adhesive residue is removed.


Clean-up and Reapplication
8. Spray alcohol over the area.
9. Use a microfiber cloth to thoroughly wipe any residue off for a clean application of the new bracket.
10. Use the lines from the last adhesive for measuring where to place the new backing strip and bracket.

Questions?
Looking for how and when to change the seal cushion strip itself? Click here for detailed instructions.
For more information or any questions that might arise during this process, do not hesitate to contact us. Our JVR Industries team will provide you with educated answers about our products, experienced service, quotes, and more! Visit the featured links for more information on our products and service videos, or give us a call during our business hours. We look forward to hearing from you.
Want to read more articles like “How to Replace Cushion Strip Bracket: JVR Vac100” Click below!
.