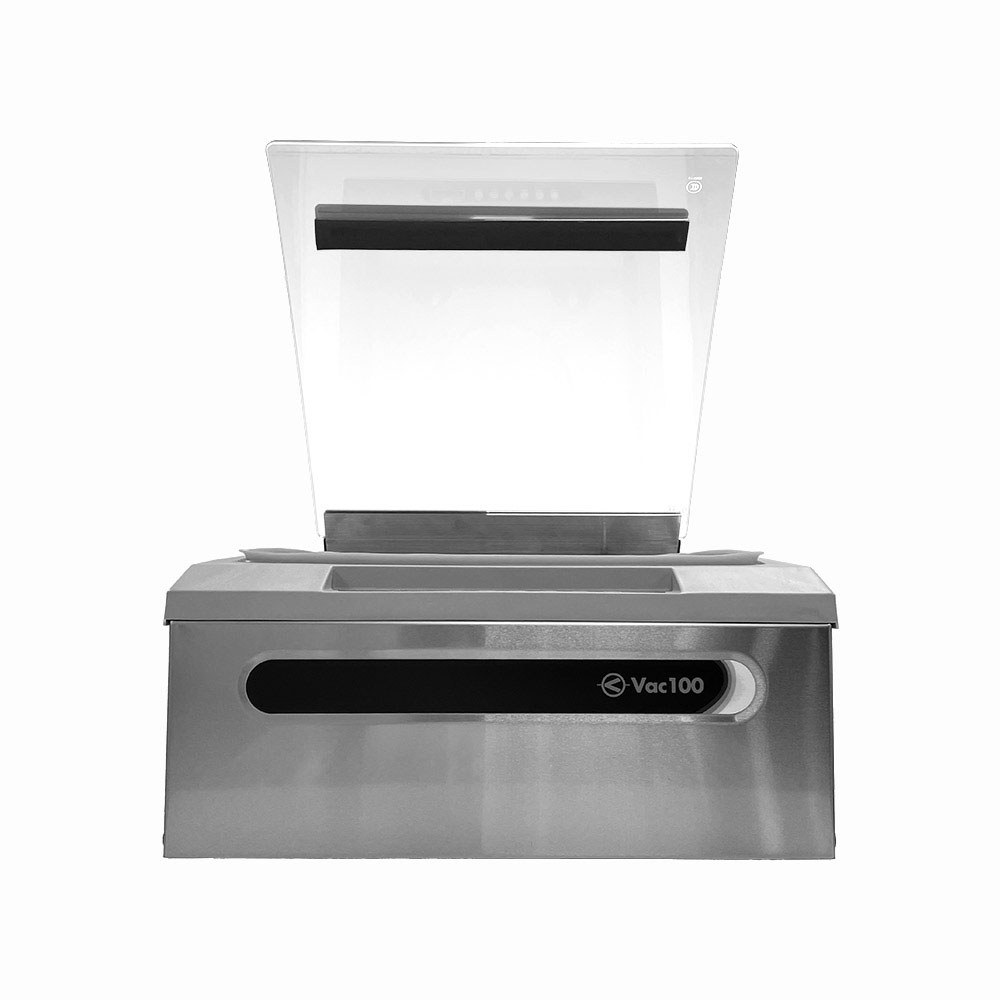
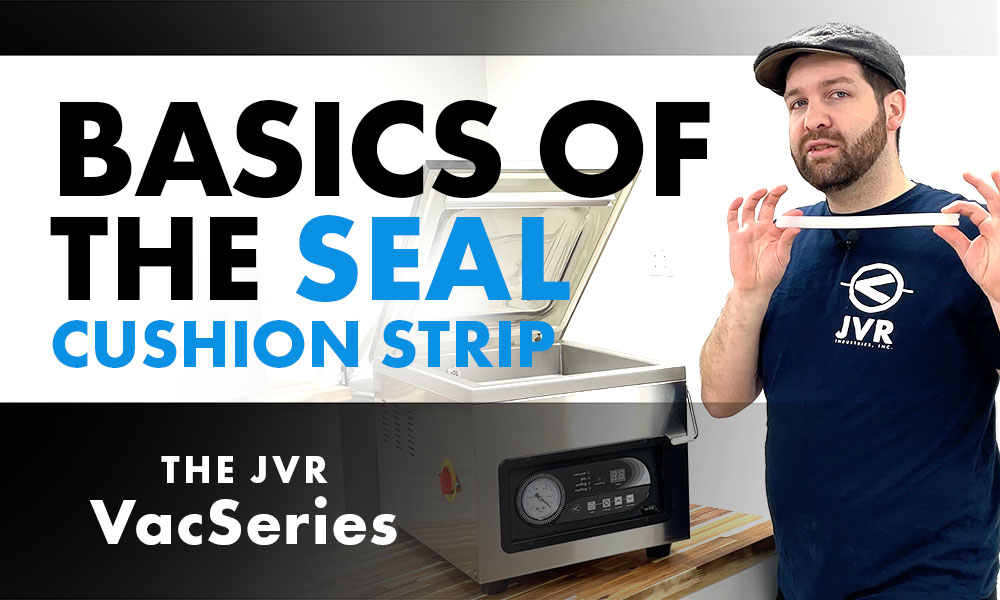
Basics of the Seal Cushion Strip (110-19, 310-19, & 410-19): JVR VacSeries
“…creates even contact with the seal bar by distributing the force to ensure optimal seal integrity…“
A major component to ensuring long shelf life is not only pulling maximal air from the pouch, best accomplished using an oil pump, but also confirming proper seal integrity so air doesn’t seep back into the pouch during storage. Each part plays a crucial role in the mission to accomplish this. Today, we will go over the basics of replacing the seal cushion strip in your Vac110, Vac310, and Vac410 as well as a little about its special hidden feature…
What is the Seal Cushion Strip
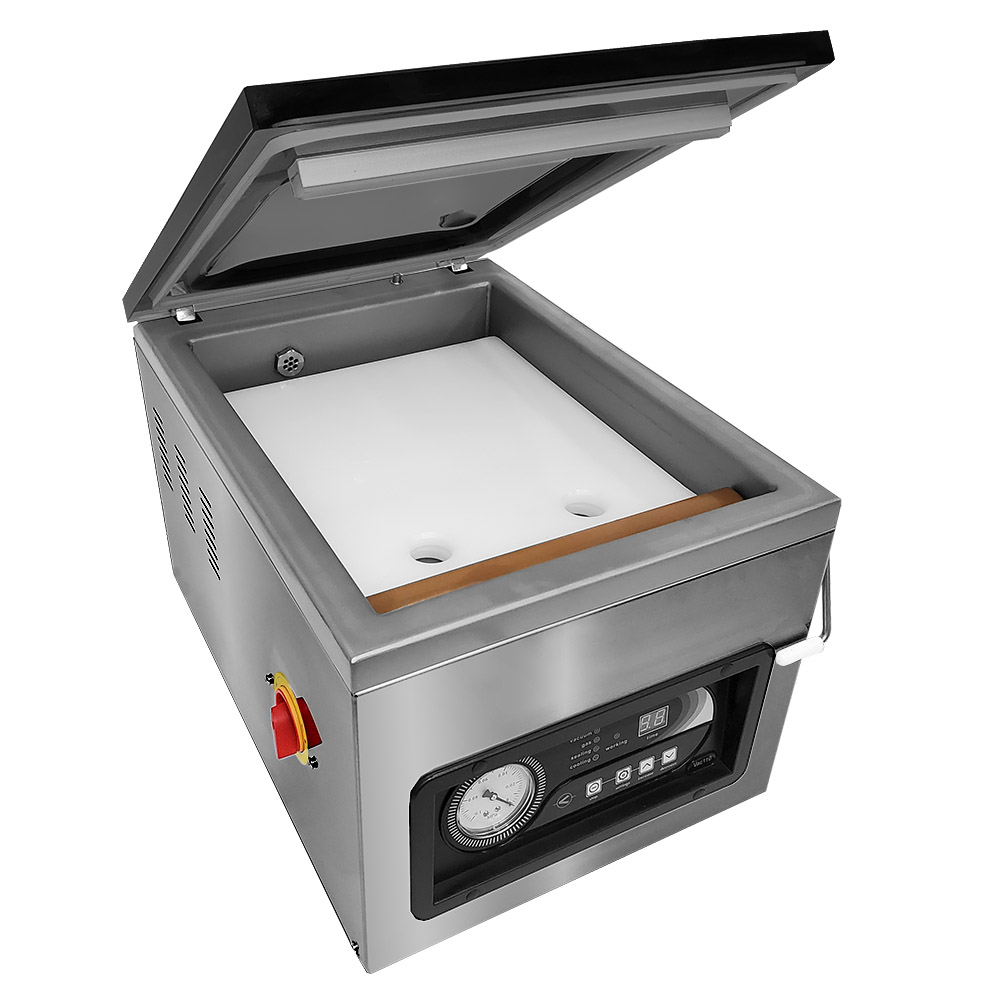
The seal cushion strip is a rubber strip that engages with the seal bar during operation located in the channel found on the underside of the unit lid. It has two overall functions. First, it absorbs the shock from the lid when it closes on the seal bar. Secondly, it creates even contact with the seal bar by distributing the force to ensure optimal seal integrity across the whole pouch.
Why is it Important?
Let’s talk a little bit about why seal integrity is important to vacuum packaging. Essentially, the goal of vacuum packaging is to limit exposure to oxygen to slow the process of oxidation – the main cause of food contamination. Air seeping back into the pouch from an improper seal will affect the product quality, counteracting this goal.
On the other hand, if you enjoy sous vide cooking and go to immerse your vacuum-packaged steak into the sous vide bath only to see water fill the entire package, this is also evidence of the importance of a secure seal.
When to Replace the Seal Cushion Strip
Over time, the seal cushion strip may experience some wear, losing its proper function. How? Heat is transferred via the metal bars of the seal bar pistons. This heat contacts the outer ends of the heat strip in the seal bar assembly then travels down to the and meets at the center of the seal bar. The ends of the heat strip are getting that initial heat which is, generally, where you will see the burn marks. Therefore, if you package more wide-mouth pouches, you may experience seal failure more frequently than those who seal more narrow bags.
Signs the cushion strip needs replacing:
Burnt Marks on the Cushion Strip
Experiencing Seal Failure
NOTE: Keep in mind that the reason for seal failure has many contributing factors. Believe us, we do not want you unnecessarily paying for parts you don’t need just as much as you do. Additionally, seal integrity testing is not as complicated as burst testing or bubble leak testing. So don’t waste time diagnosing and give us a call if in doubt!

Steps to Replace the Seal Cushion Strip
Removing the Old Cushion Strip
- Locate the seal cushion strip. It will be on the underside of the lid near the top rim.
- Pry the seal cushion strip from its channel.
- Set it to the side or throw it out.
- Grab the new cushion strip (110-19, 310-19, 410-19, & 610-19) for your unit!
Reinstalling the New Cushion Strip
Importance of Proper Reinstallation
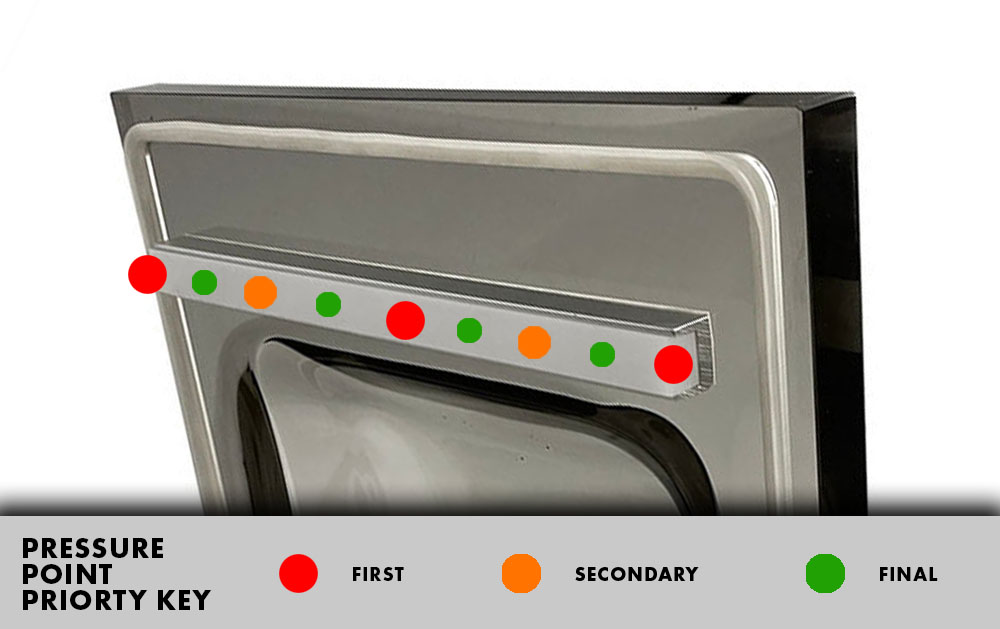
It is easy to assume the installation process. The instinctive way is to press the center in first and then press the rest of the length out to the edge. This strategy stretches out the cushion strip, leaving excessive length coming from the end of the channel and causing it to thin leading to seal failure. So make sure to follow these steps instead to ensure optimal thickness and, therefore, optimal results.
Steps
- If you are not using the seal stamps, make sure the side with no cavities is facing towards the lid.
- Press both ends of the cushion strip into either end of the channel.
- Press the center into the channel creating two “hills” or compression points.
- Press the center of those compression points into the channel.
- Keep pressing the center of the compression points until the whole cushion strip is pressed into the channel.
There should be no excess length falling from the ends of the channel implying the cushion is at the optimal thickness for proper seal functioning.

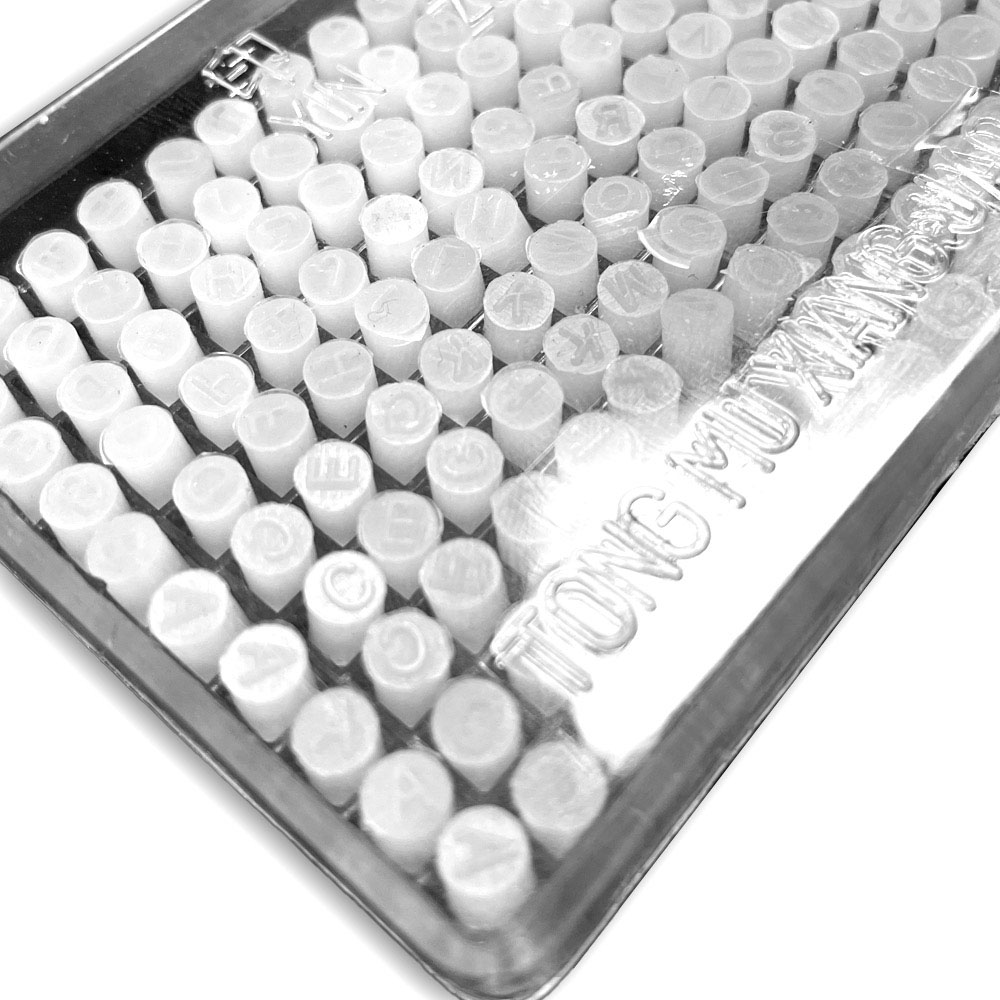
To utilize this special feature, simply pry the cushion strip from the channel, and flip it so that the cavities are facing downwards. In other words, when the seal cushion is reinstalled, the stamp cavities should be visible. Then insert the desired stamps into the cavities from left to right, and you are set to go!
Hidden Feature
You may have noticed small cavities on the opposing side of the cushion strip. These are to utilize the seal stamp kit for non-retort packaging types with your Vac110-Vac610 chamber vacuum sealers. Stamp the pouch with the date packaged, the product name, expiration date, etc. This is especially helpful when packaging in bulk, meal planning, or informing your customers of important product information!
Additional Information
For more information on vacuum seal maintenance, tips & tricks, pouches, business applications, and much more, check out our Ultimate Vacuum Sealing Guide.
Wearing of the cushion strip is only one possibility of poor seal integrity. If you need help diagnosing why your bags are failing to seal properly, please give us a call. With over 50 years of experience, our team will surely be able to help you out and diagnose the problem. We pride ourselves in providing fully non-automated telephone service and timely email responses. We look forward to hearing from you!
Want to read more articles like “Basics of the Seal Cushion Strip (110-19, 310-19, & 410-19): JVR VacSeries” Click below!
.