How To Replace Analog Gauge (110-50A): Vac110-Vac610
“Our service department team is happy to help diagnose your unit to figure out the problem right from the start…“
An effective vacuum is a key factor in removing oxygen from vacuum packaging. Once air is removed from the machine, the seal bar seals the bags. The sealed bags maintain the effects of the vacuum even after the lid lifts and the atmosphere within the chamber returns to the original measurement. This process lengthens the food shelf life and prevents freezer burn.
But how will you know how much vacuum is applied without a properly functioning gauge? Let’s learn a little more about the importance of the analog gauge to your VacSeries units, as well as the easy process for replacing it if it begins to malfunction.
Purpose of the Analog Gauge?
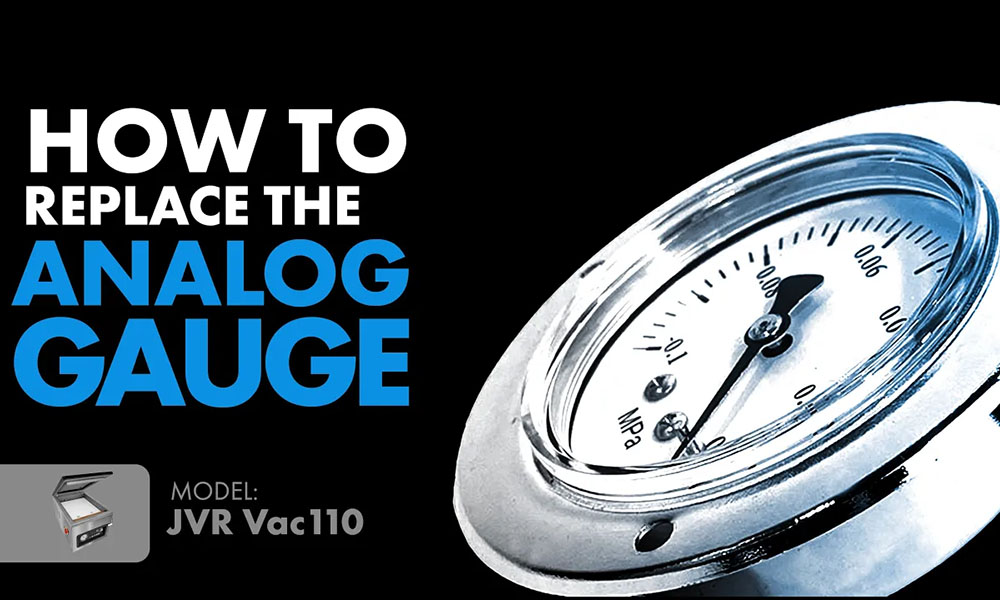
The analog vacuum gauge operates to display the difference in atmospheric pressure within the chamber during a vacuum cycle. Atmospheric pressure is typically measured in Pascals (Pa). However, the VacSeries unit will display the measurement in atmospheres (atm).
When the pump applies a vacuum to the chamber, the vacuum hose attached to the analog gauge causes the needle to display the pressure change in the chamber. This is convenient to determine if the proper vacuum level is being applied based on the product. For example, sealing liquids at different temperatures or dry goods that can be crushed by too much force. Additionally, the analog vacuum gauge will indicate possible malfunctions in the vacuum system.
When to Replace the Analog Gauge
You are vacuum sealing your recent catch. The unit is in the middle of the vacuum cycle, and you notice the analog gauge needle is not reaching the usual level even though you did not change the vacuum cycle time. It’s easy to assume that a defect is present in the vacuum pump. However, it may be as simple as wear in the vacuum hose from constant use, resulting in less suction, or maybe a malfunctioning gauge.
Either way, please do not hesitate to call us if you are unsure. Our service department team is happy to help diagnose your unit to figure out the problem right from the start, whether it’s a simple fix or a combination of items. Getting the proper diagnosis will save money and time.
Time Required
Set aside about 5-10 minutes for the full replacement process.
Tools Needed
#2 Phillips Screwdriver
Pick
Safety Precautions
Ensure your unit is powered off and unplugged. You will be working around some electrical components.
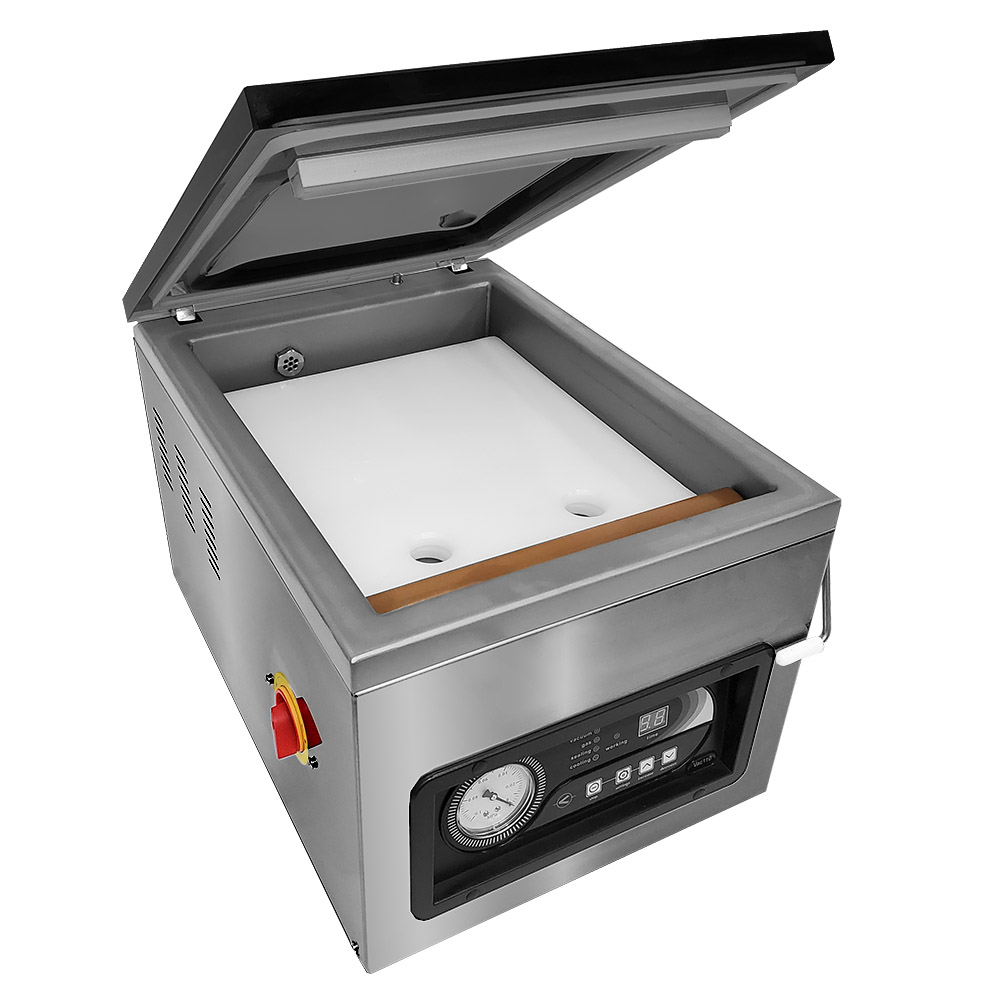
Set your Vac110 chamber sealer on a stable surface with a little extra space to work.
Steps to Replace the Analog Gauge
NOTE: The process is the same for VacSeries units Vac110 – Vac610.
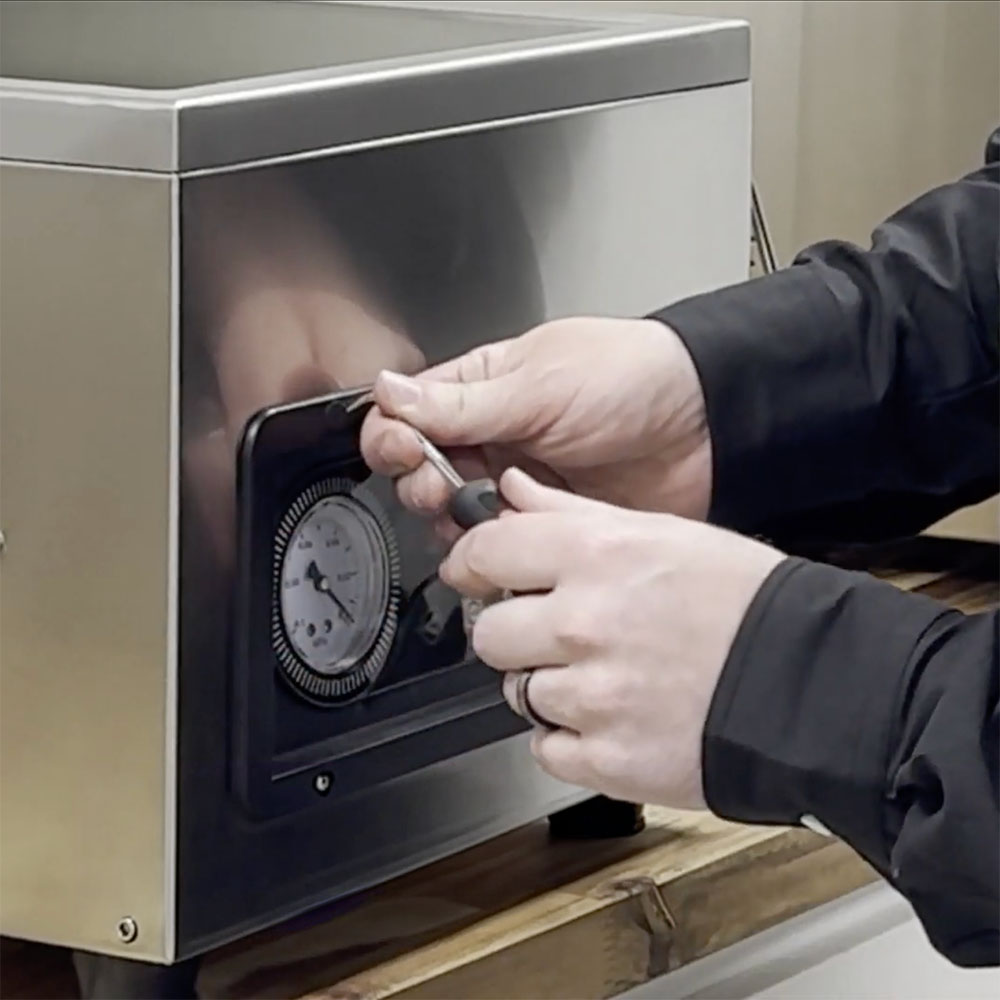
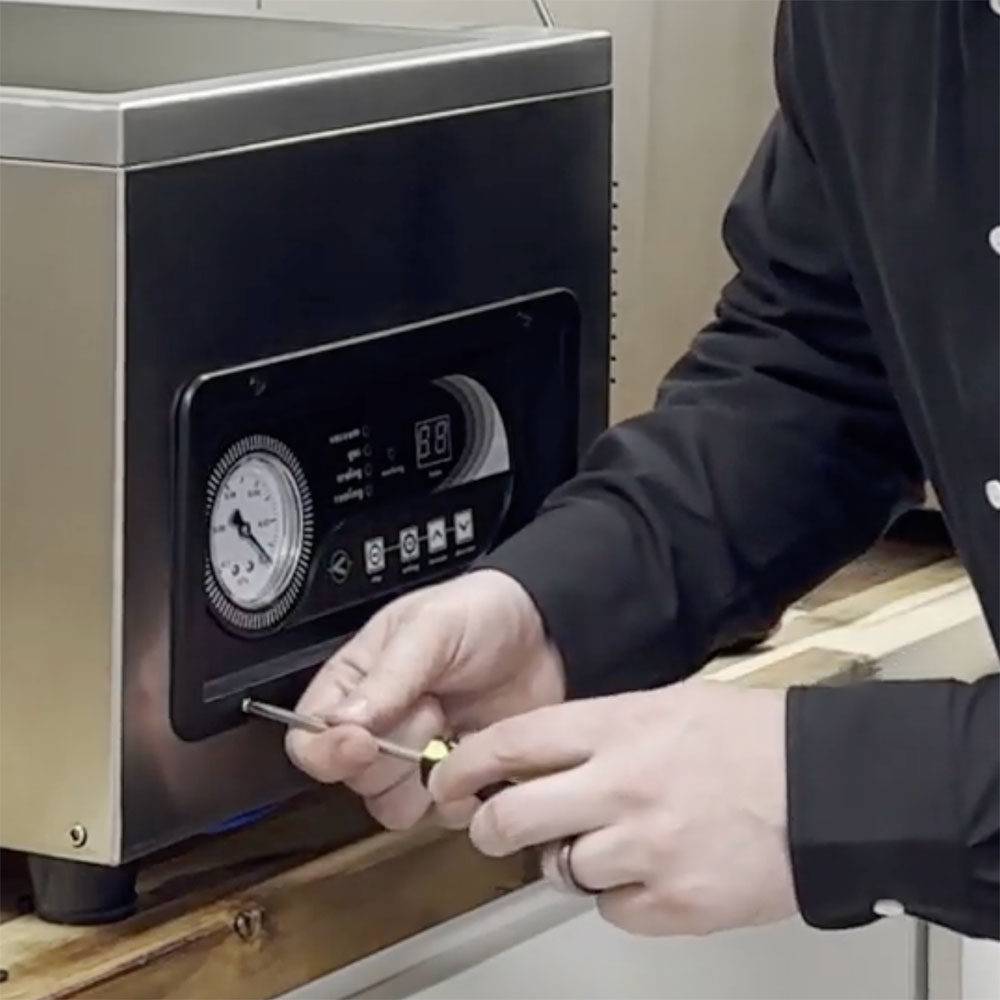
1. Use the pick to pop off the four screw caps on the face of the control panel.
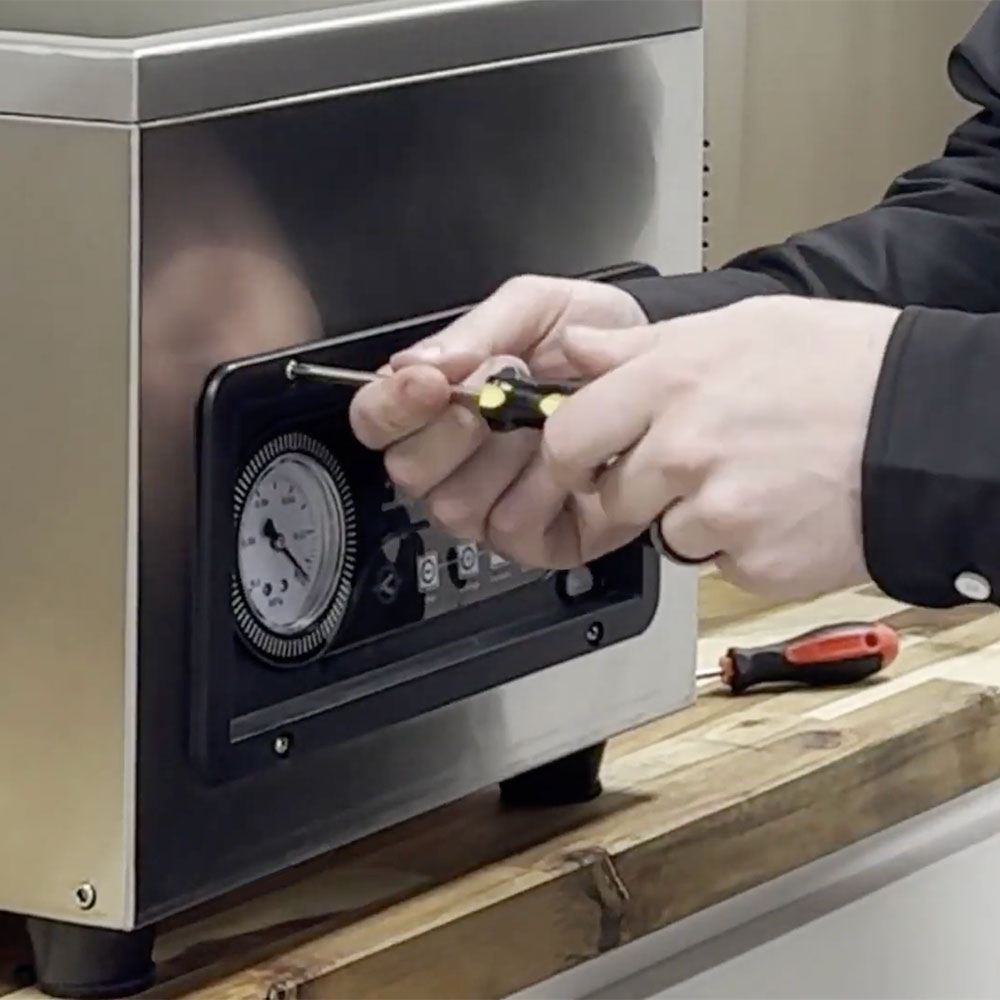
2. Use #2 Phillips to remove the four screws.
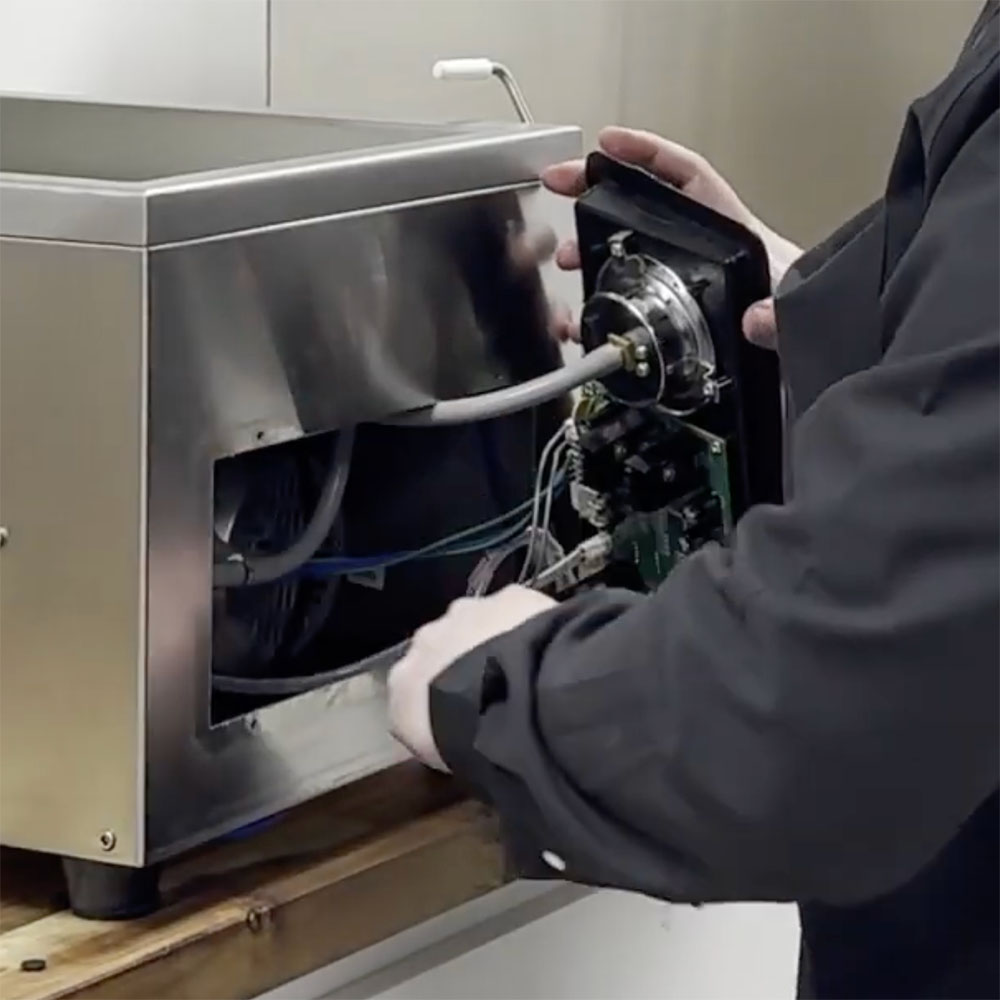
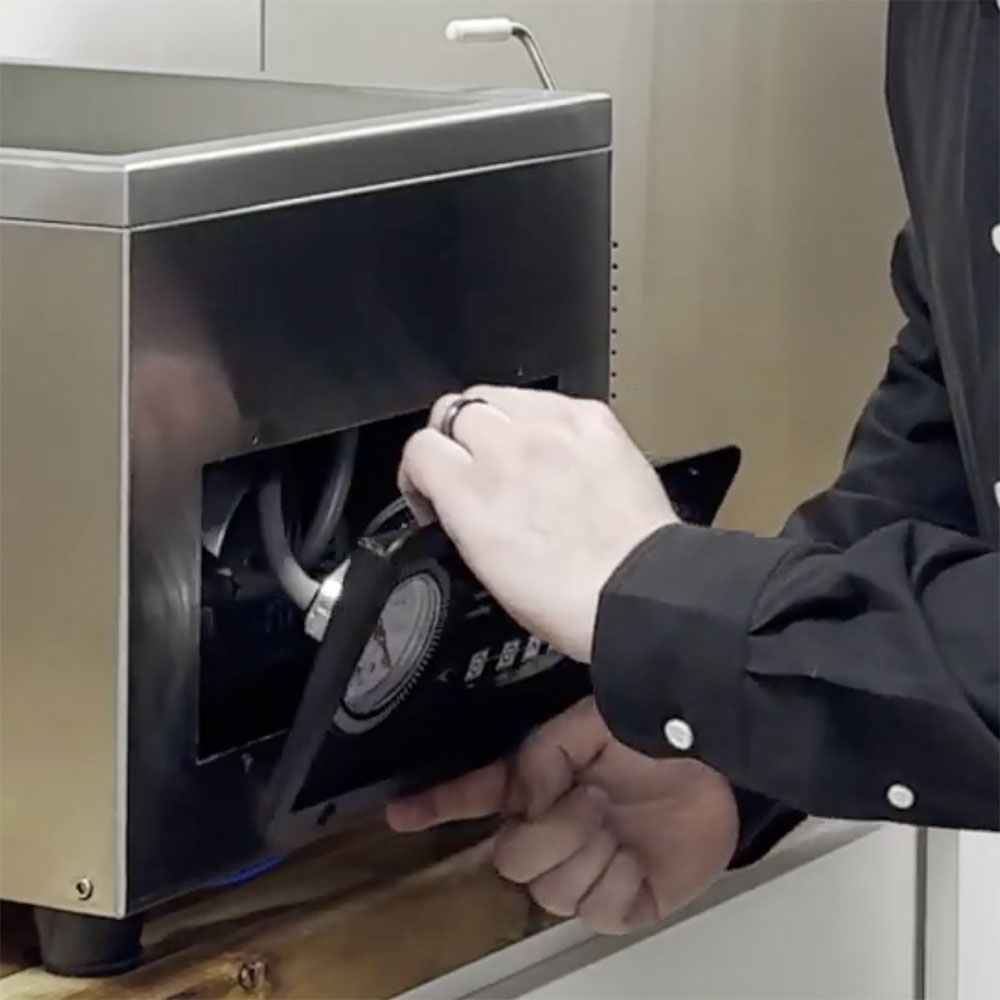
3. Remove the vacuum hose attached to the analog gauge by rotating and pulling.
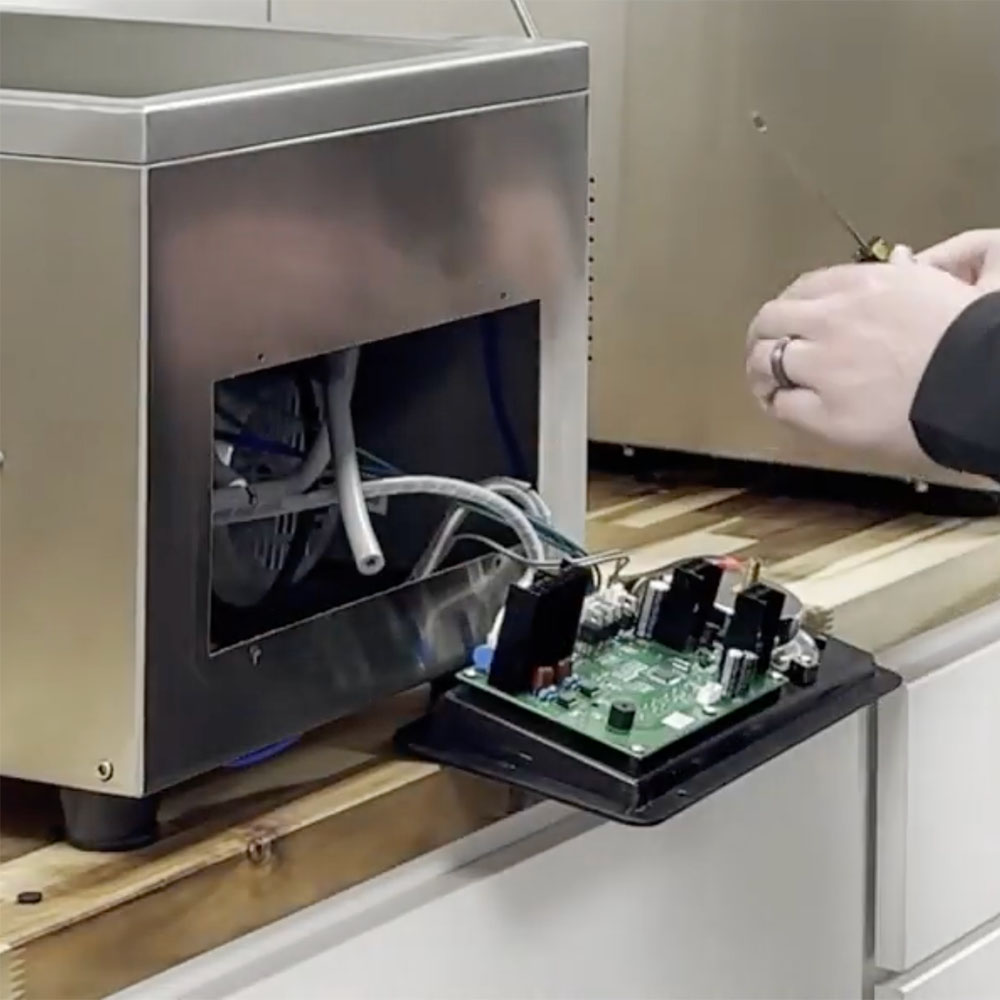
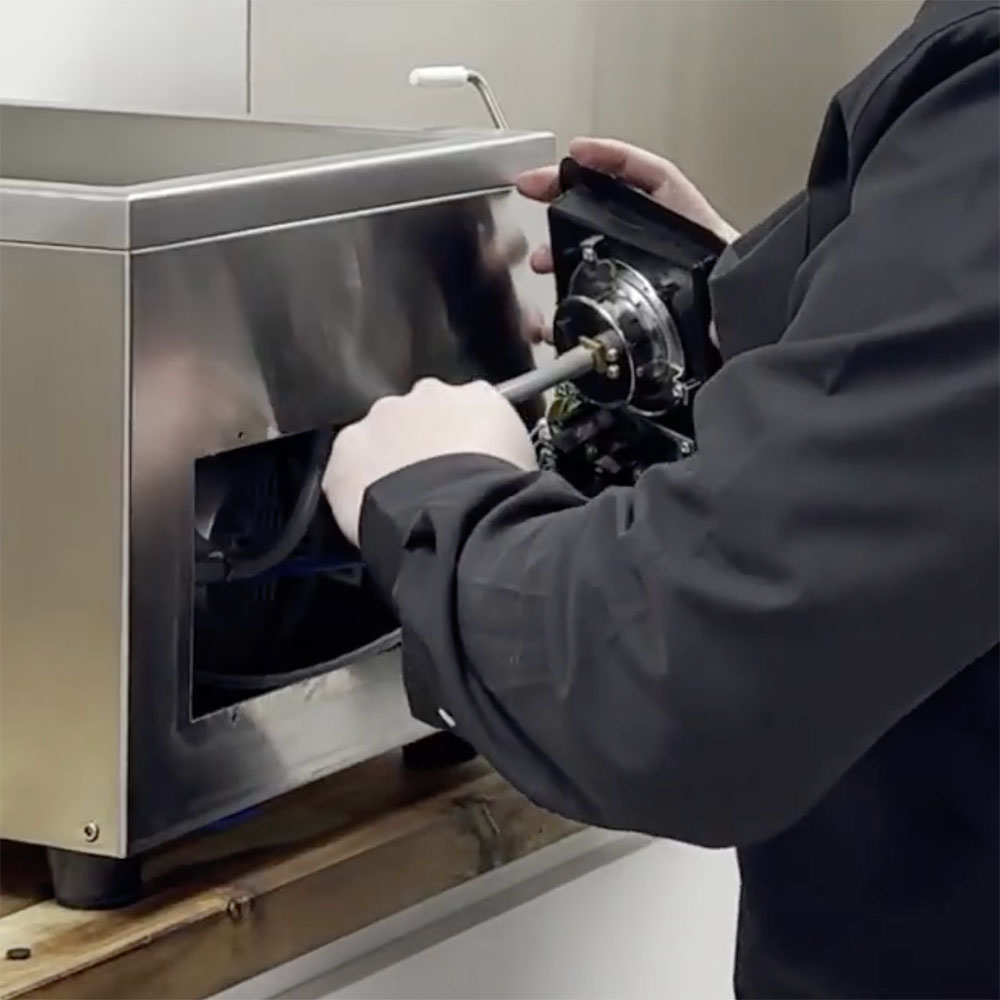
4. Pull the control panel out and place it upside down on a flat surface.
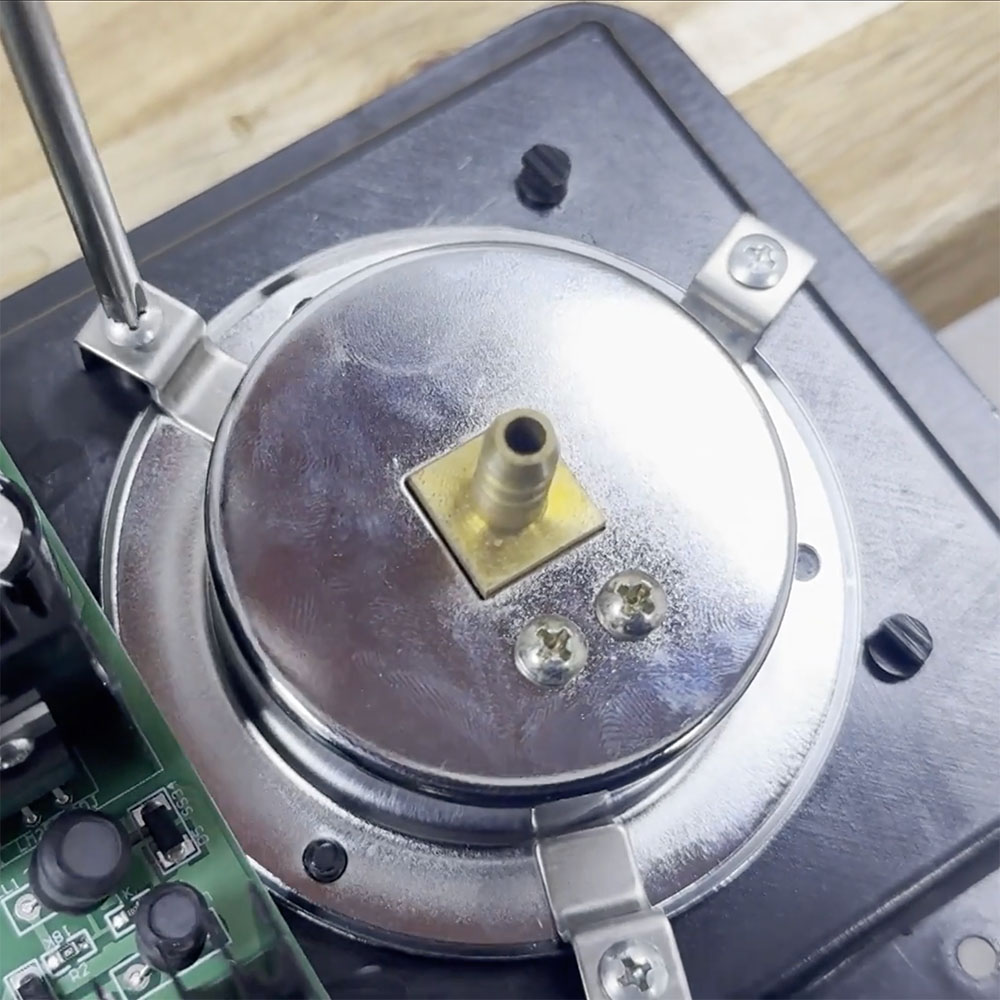
5. Using the #2 Phillips screwdriver, unscrew the three screws securing the small metal brackets holding the gauge in place. Set these to the side.
Before removing the old gauge, take note of the orientation so you know how the new one should be placed.
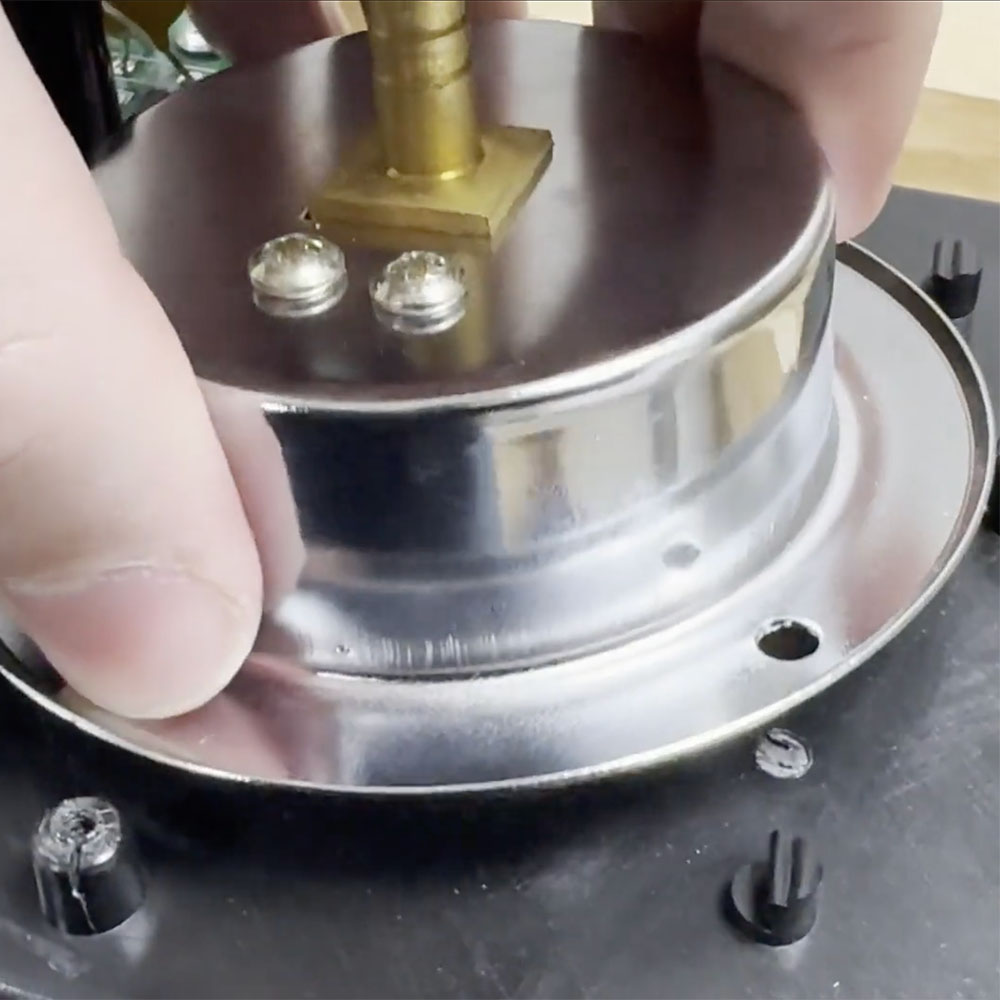
6. Remove the old analog gauge.
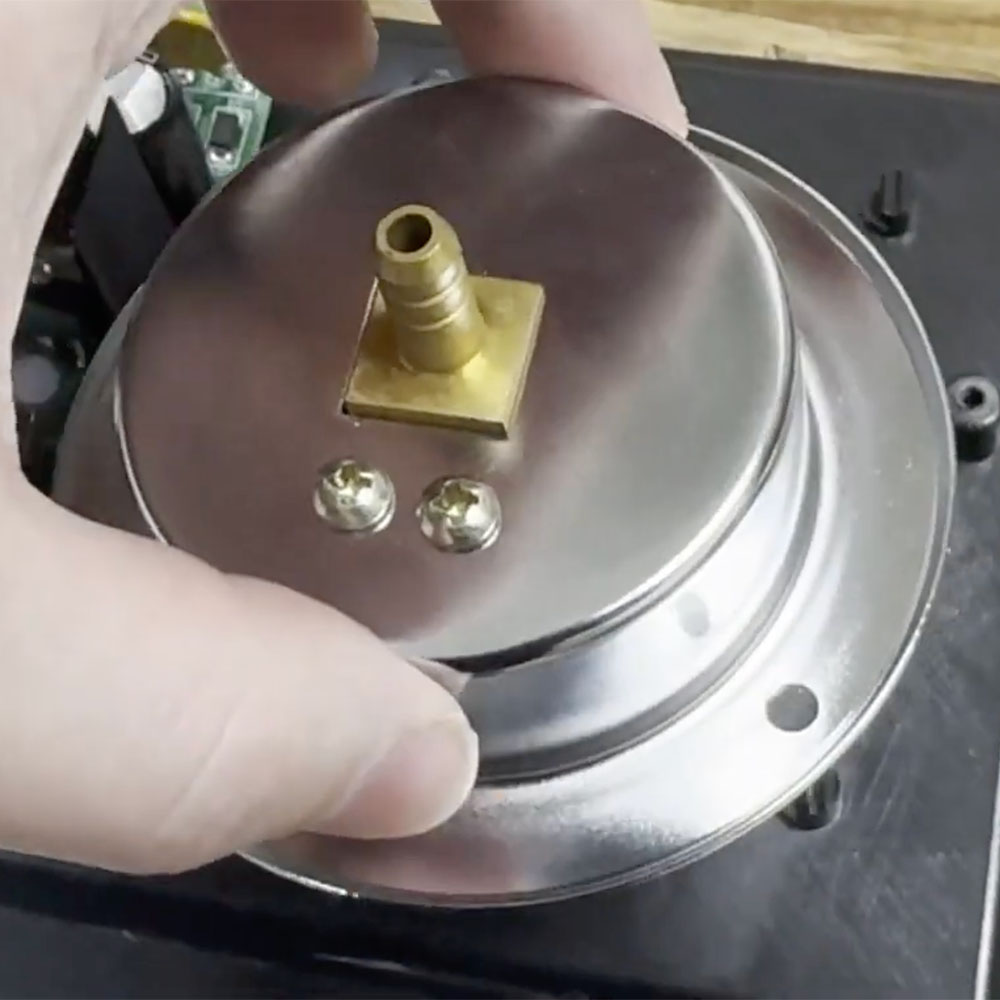
7. Grab your new analog gauge (110-50A) and set it in place.
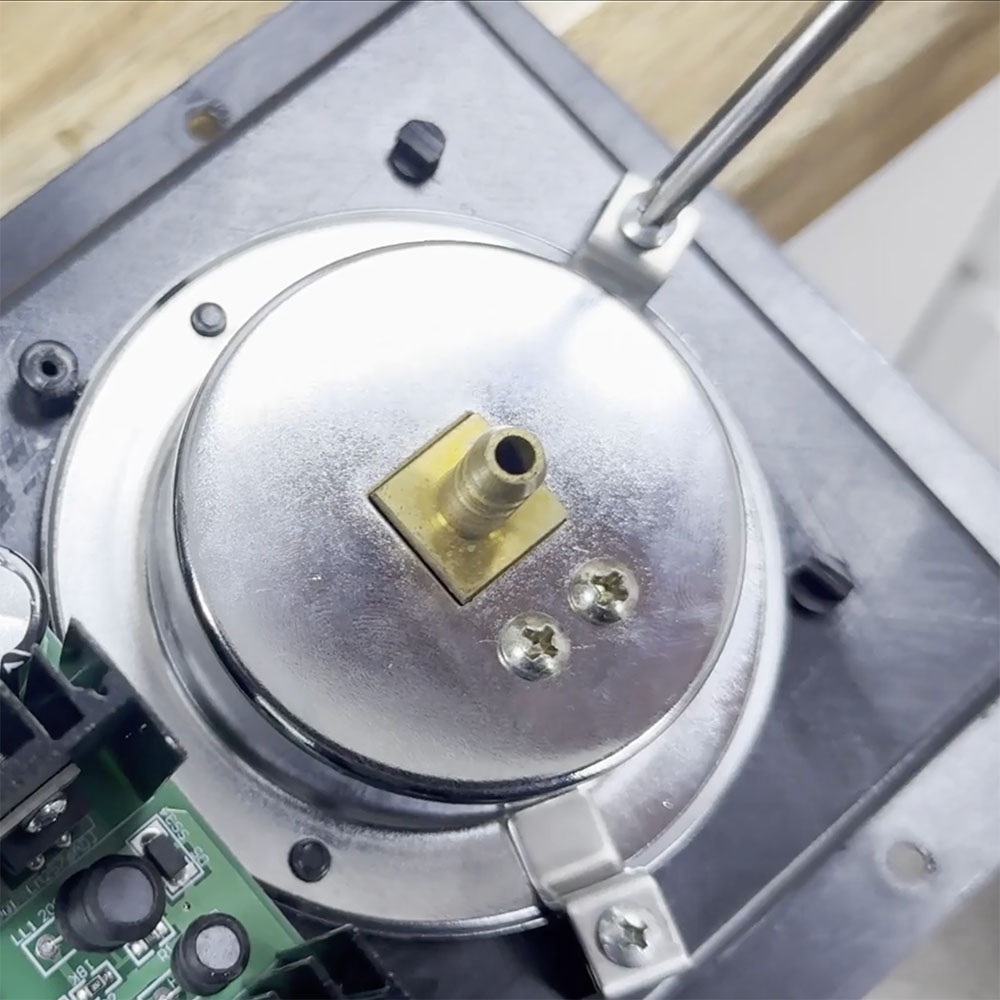
8. Secure the three screws with the metal brackets to hold the gauge in place.
9. Reinsert the vacuum hose.
10. Place the control panel back onto the front of the Vac110.
11. Secure with the 4 screws and screw caps.
All set!
Questions?
Contact our team here at JVR Industries with any questions you might have about this replacement process or any further information regarding anything vacuum packaging. JVR Industries has been specializing in vacuum packaging since 1972 – that means well over 50 years of experience. That’s a long time! Please give us a call during our business hours or email anytime at JVR@jvrinc.com.
Additionally, feel free to suggest related ideas to add to future content! Our team is dedicated to providing relevant and helpful sources to make your vacuum packaging journey as easy as possible. We’d love your suggestions!
Want to read more articles like “How To Replace Analog Gauge (110-50A): Vac110-Vac610” Click below!
.