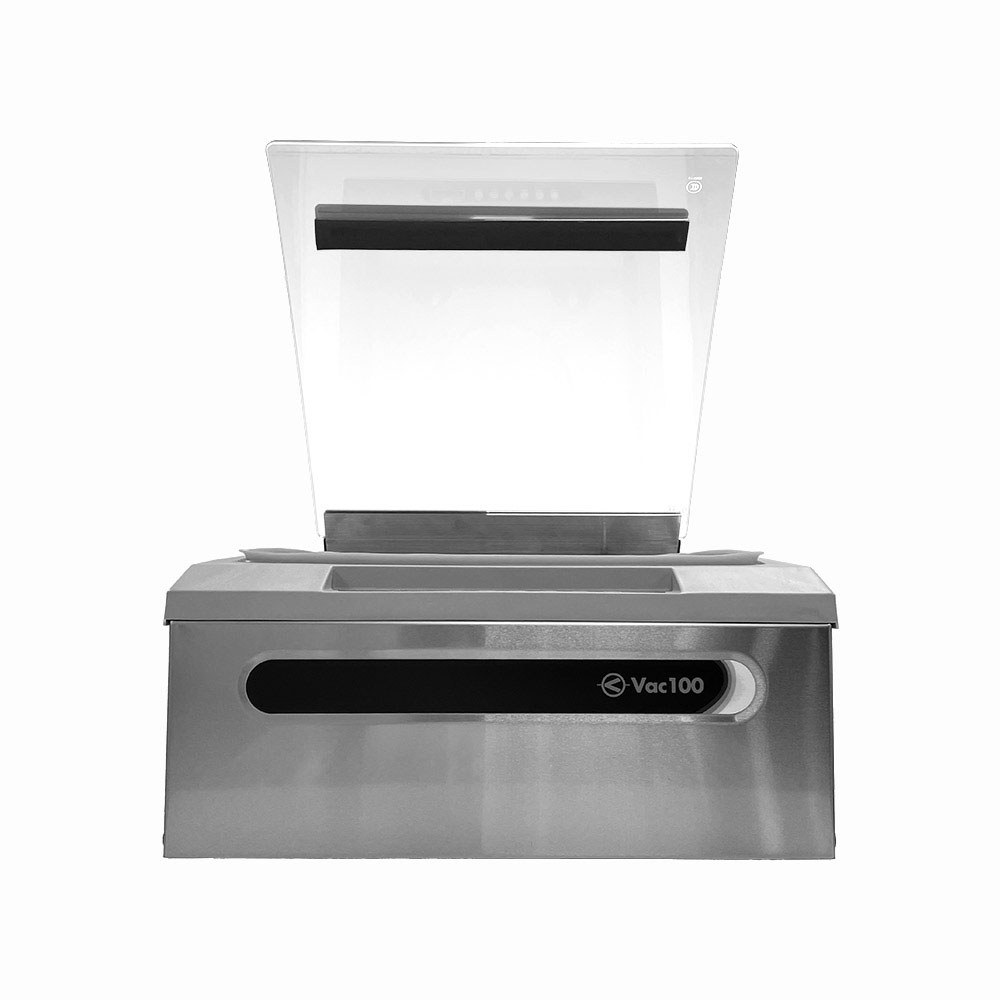
How To Calibrate The Digital Vacuum Gauge: JVR Vac100
“The ideal goal is to get your digital vacuum gauge to read .000 MPa at the end of the cycle…“
For all my OCD people out there, this is for you! Did you notice the digital vacuum gauge on your Vac100 was not reaching .000 MPa when at rest or not quite achieving the expected .096 – .100 MPa for a full cycle while you were packaging products? Not to worry! Although the gauge is for reference only, we also understand it could be misleading. So let’s get this cleared away!
Purpose of the Digital Vacuum Gauge
A chamber vacuum sealer aims to eliminate the atmospheric pressure from the chamber to pull the air from the chamber pouches and promote longer shelf life for food storage. The digital vacuum gauge works to provide a display showing the difference in atmospheric pressure during a vacuum cycle. The unit for atmospheric pressure is megapascals (MPa).
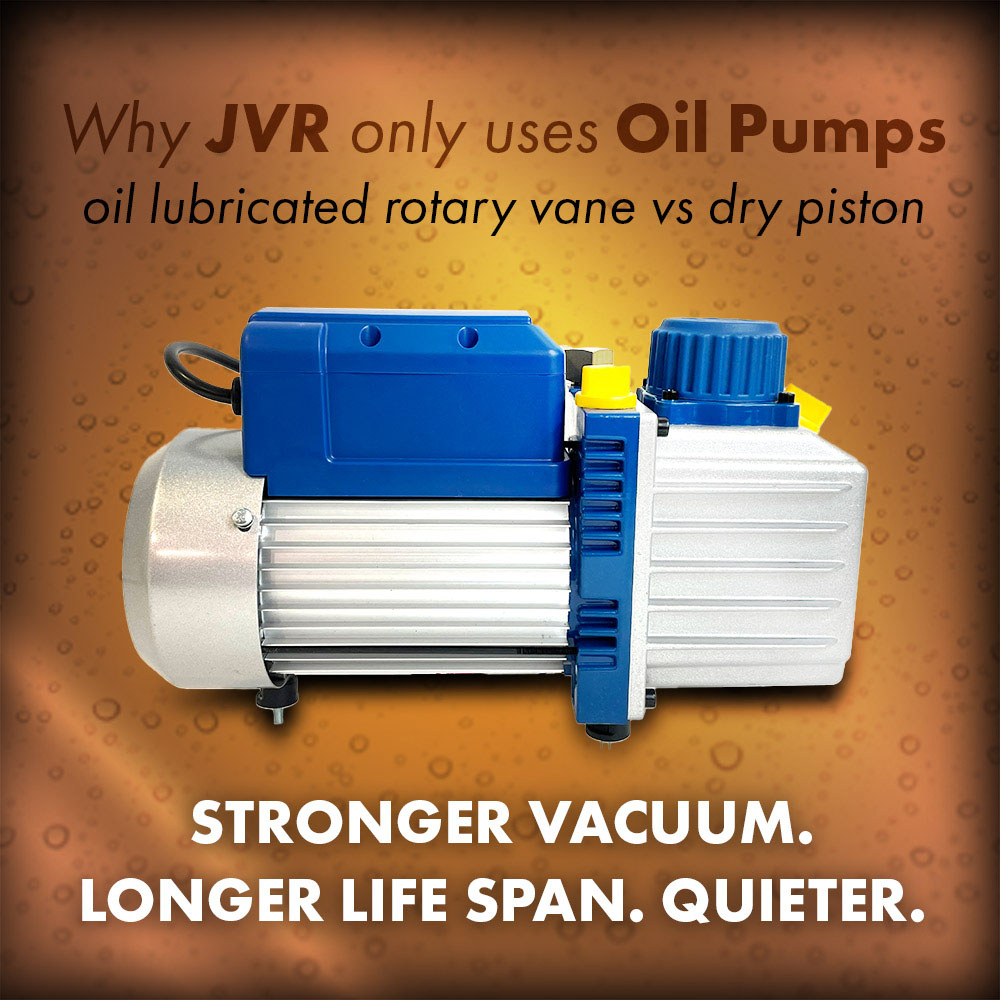
During a full vacuum cycle, the rotary vane oil vacuum pump will pull up to 99.8% of the atmospheric pressure. Therefore, the vacuum gauge should read that it removed up to .096 – .100 MPa – about the average atmospheric pressure.
Determining When to Calibrate Your Vacuum Gauge
Calibrating the digital vacuum gauge is simply a preference and is not a critical process that will have an effect on the amount of vacuum pulled. In other words, if the gauge is not reading properly, this does not necessarily imply the pump is malfunctioning.
Here’s an example. You have an old scale that reads 5 lbs. with no weight applied. You go to measure your weight on the scale, and it reads 155 lbs. Although you weigh 150 lbs. the scale is still reading a correct difference from the starting point at 5 lbs.
In the same way, the gauge could read less than .096 MPa during the vacuum cycle, but this does not mean it is pulling less air. Each unit is tested in-house, ensuring that it pulls the maximum air with a gauge that appropriately matches this measurement.
Goal of Calibrating
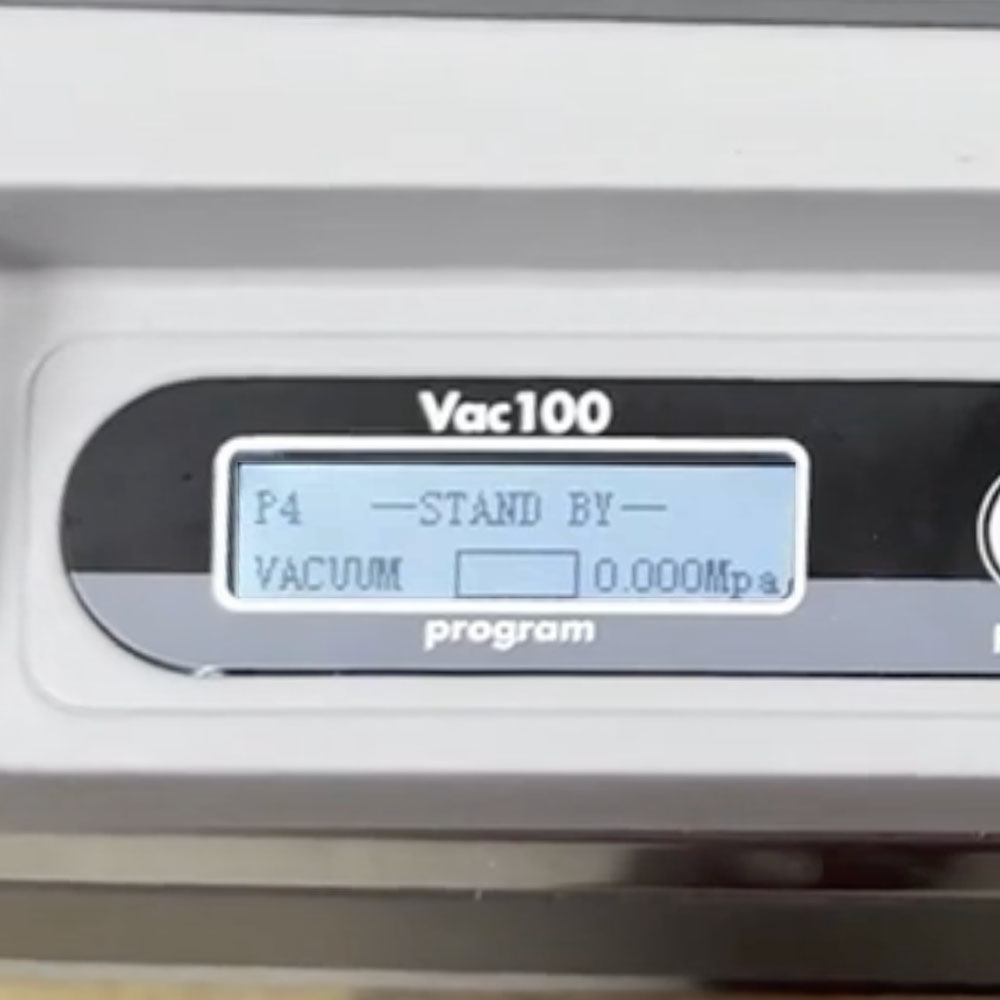
The ideal goal is to get your digital vacuum gauge to read .000 MPa at the end of the cycle or at rest and achieve the upper limit of .096 – .100 MPa during the vacuum cycle.
This can be achieved using the secondary settings menu. This menu is for the sole purpose of calibrating your digital gauge for anyone who would rather see the proper numbers displayed.
Steps to Calibrate
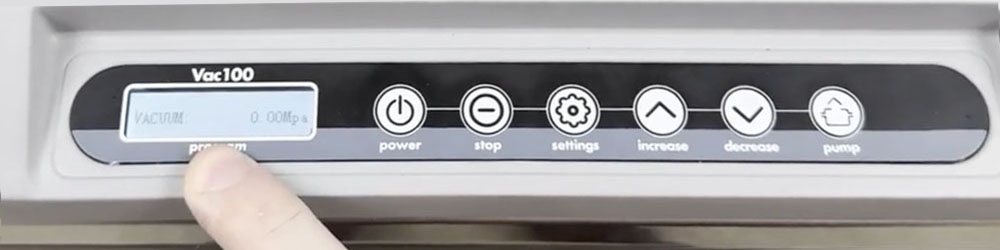
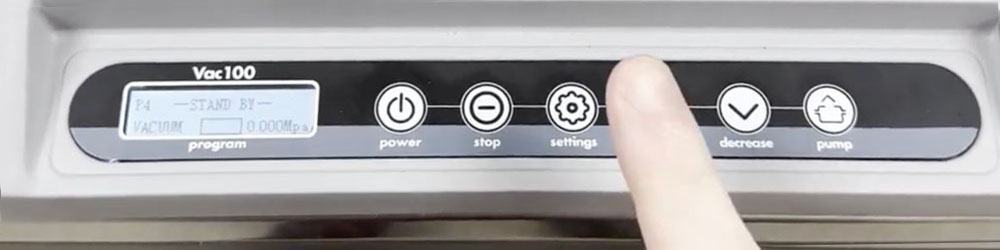
1. Access the secondary settings menu by holding down the SETTINGS button for up to 5 seconds – you should hear a beep.

2. Select the INCREASE or DECREASE arrows to achieve .000 MPa.
Example: If the gauge is reading .001 MPa, then select the decrease arrow in the secondary settings menu once.
3. Hit STOP to exit the secondary settings menu.
4. Run a test cycle.
5. If needed, repeat steps 1-4 to make any necessary adjustments.
Questions?
You will find that our service department stands apart from our competitors. Our team consists of service techs with 50-plus years of experience behind them. We would be happy to sort through any issues and help diagnose the problem causing the halt in your vacuum packaging.
Searching for other parts and general service resources? Easily browse the JVR Vac100 parts page to shop for what you need. Or, visit our YouTube channel for basic service videos or general VacSeries updates to help you along, like vacuum sealing liquids. We look forward to hearing from you!
Want to read more articles like “How To Calibrate The Digital Vacuum Gauge: JVR Vac100” Click below!
.
 lt=”commercial chamber vacuum sealer” />