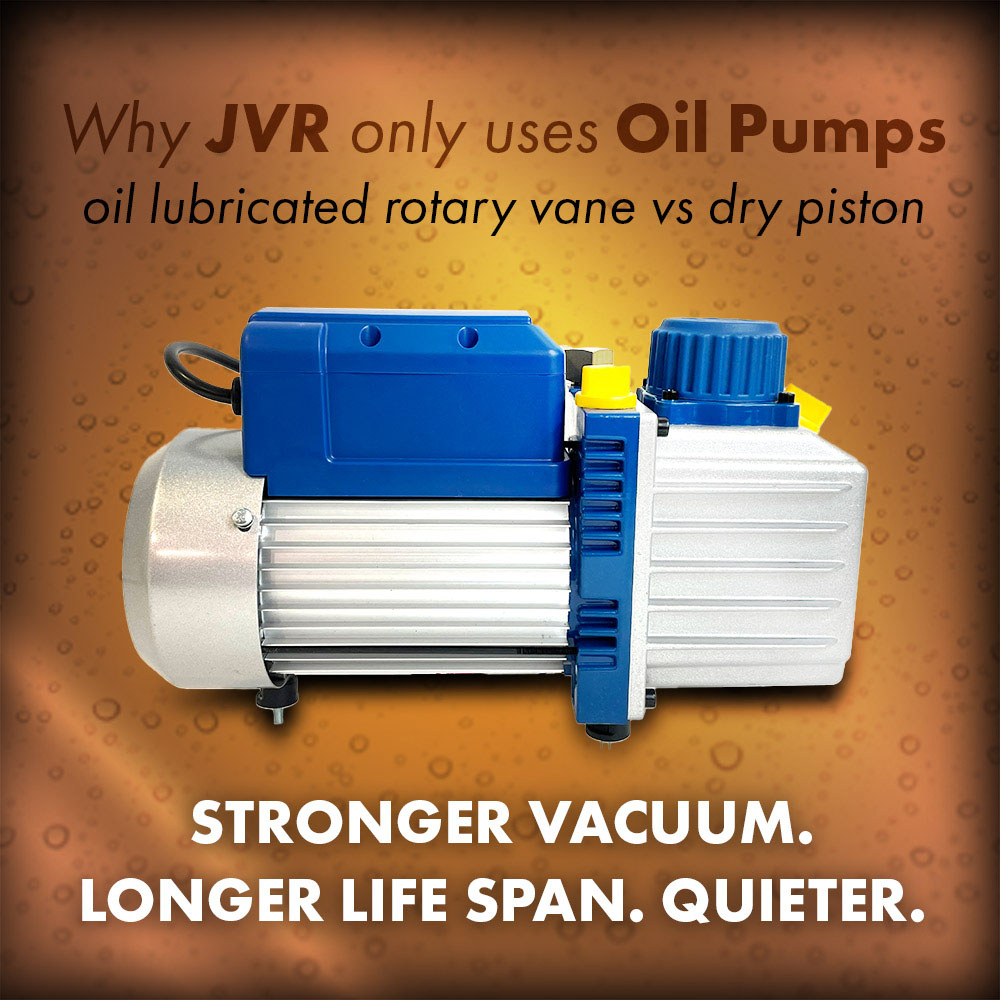
“An optimally functioning rotary vane is important as it is the key to producing an exceptional vacuum draw…”
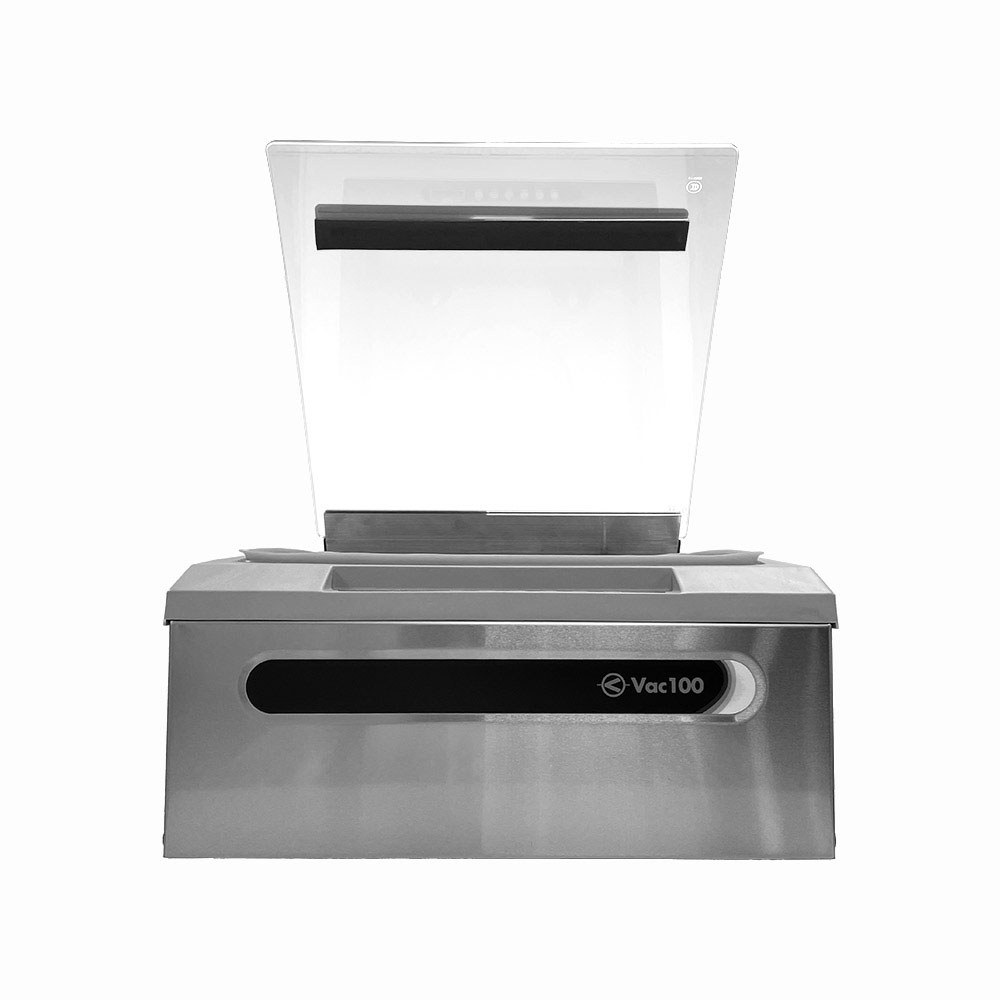
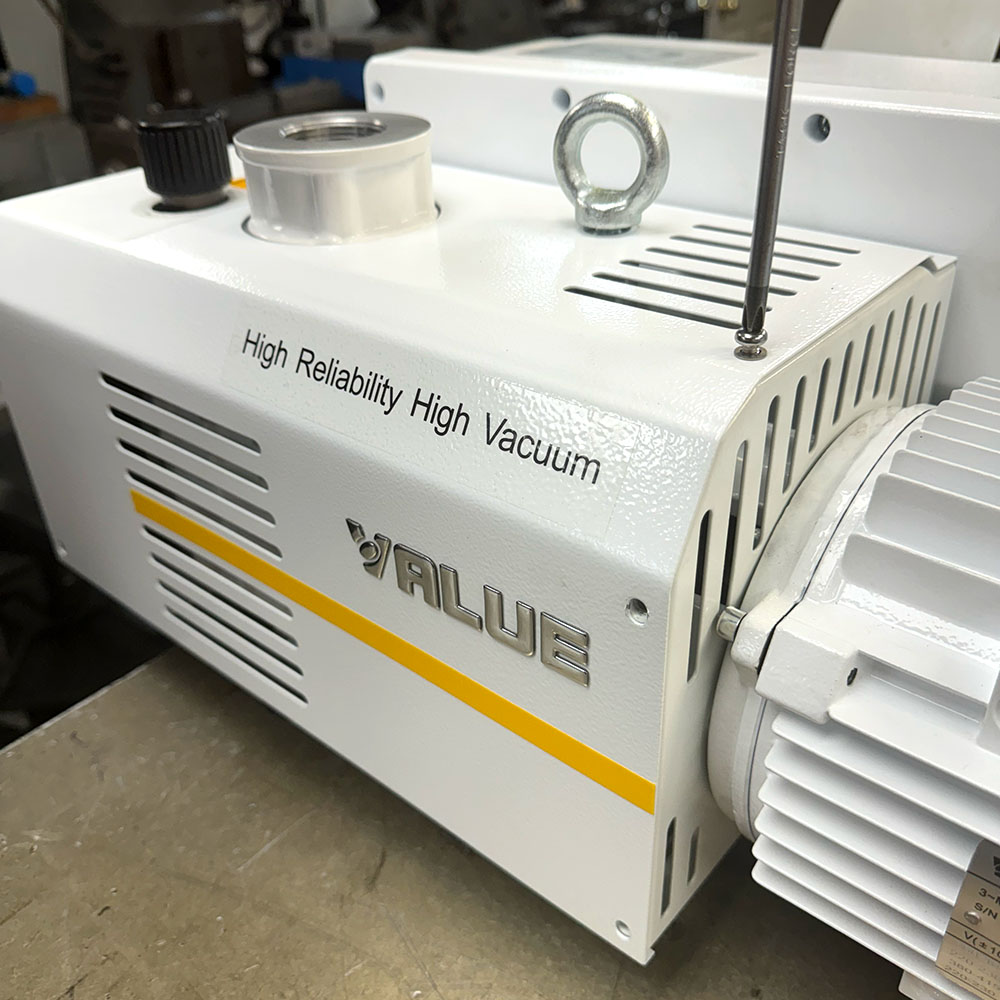
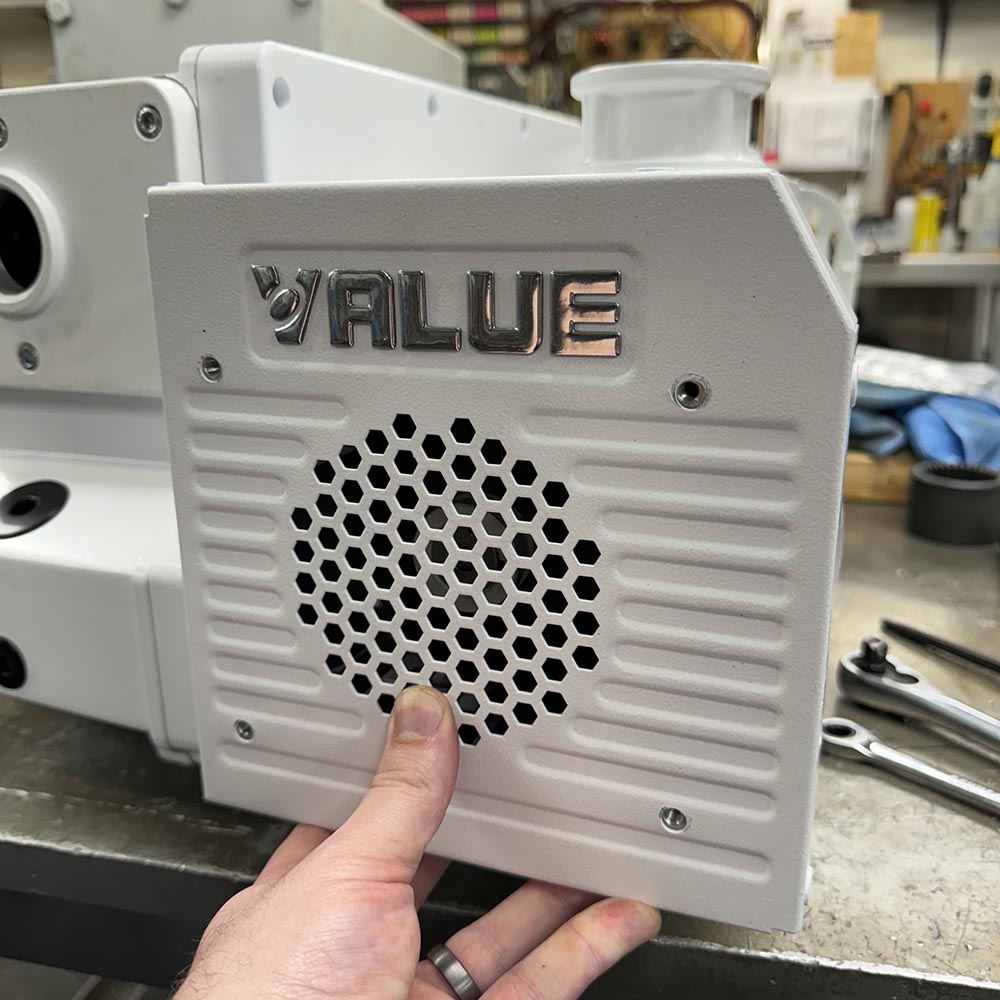
Today, we will walk through how to replace the rotary vane in your Vac610 [3PH] dual chamber vacuum sealer. An optimally functioning rotary vane is important as it is the key to producing an exceptional vacuum draw by rotating within close proximity to the outer wall of the vacuum pump (learn more here). What’s even better is that the Vac610 chamber vacuum sealer is constructed to make self serviceability possible. We also prioritize providing experienced and personable service with accessible resources and a team who is always ready to help! Let’s begin.

Safety Precautions
First, ensure the Vac610 chamber sealer is powered down and unplugged before rotary vane replacement!!
Second, to avoid injury, ensure two individuals are present to lift the vacuum pump when the time comes.
Tools Needed to Replace the Vac610 Rotary Vane
5 mm Allen Wrench
6 mm Allen Wrench
10 mm Allen Wrench
#2 Phillips Screwdriver
Pullers
A container to drain the oil into.
Damp cloth/rag for cleaning any debris off the cylinder.
NOTE: Lifting the vacuum pump will require two individuals for safety.
Steps to Replace the Rotary Vane
Access the Vac610 Interior
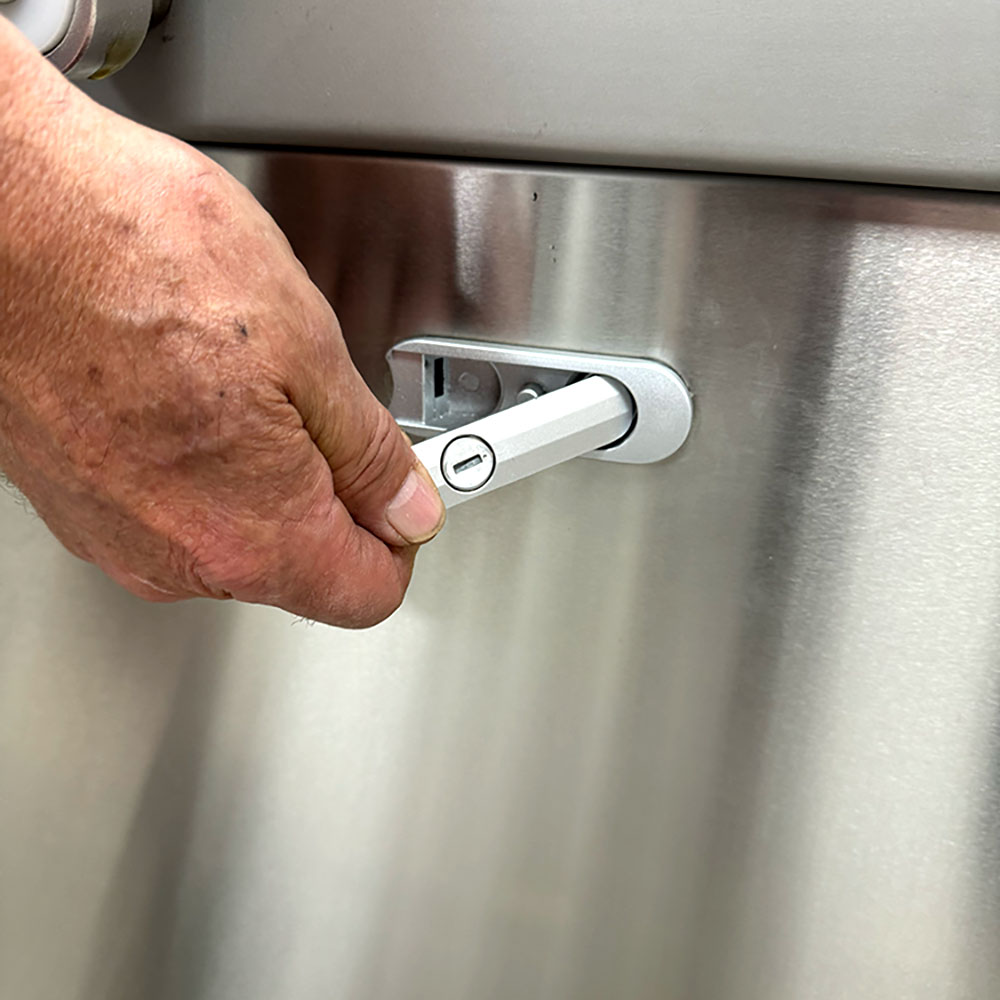
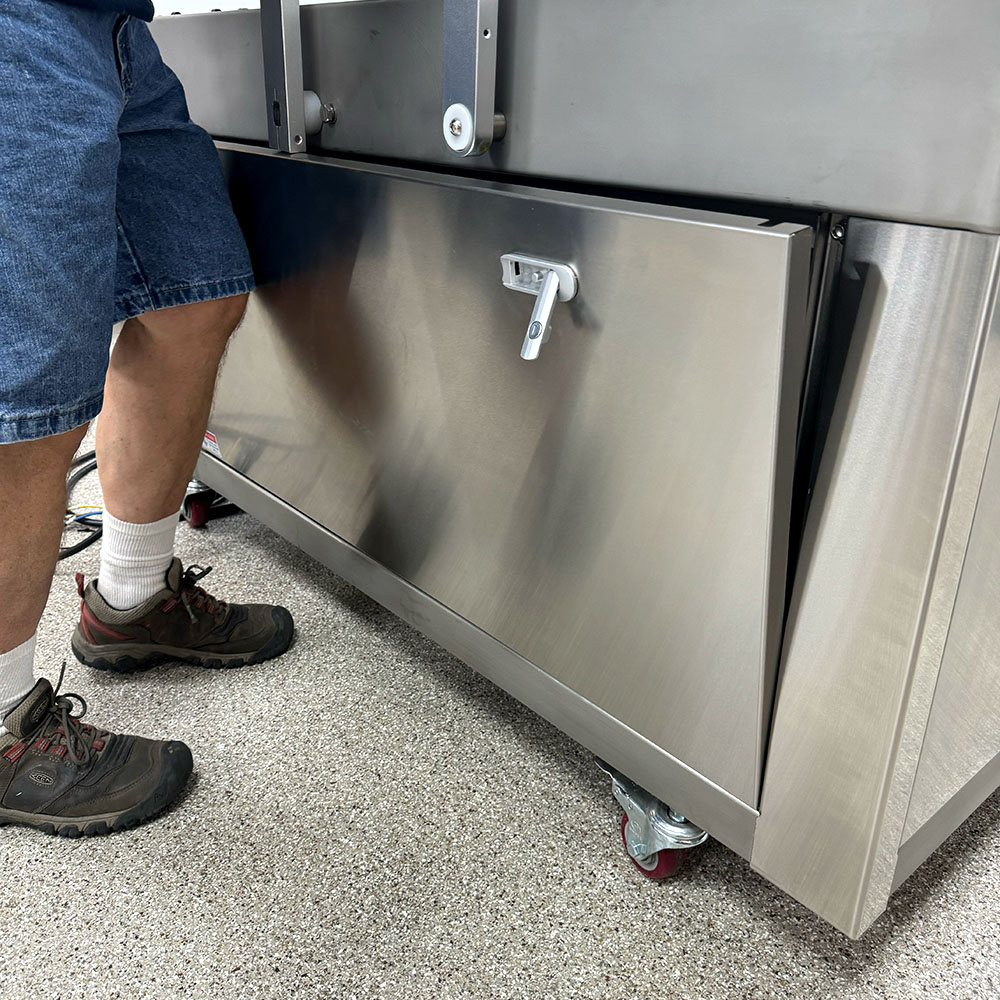
1. Remove the back panel from Vac610 via the 2 latches.
2. Rotate panel 45 degrees and pull off gently. Set aside.
Remove the Vacuum Pump
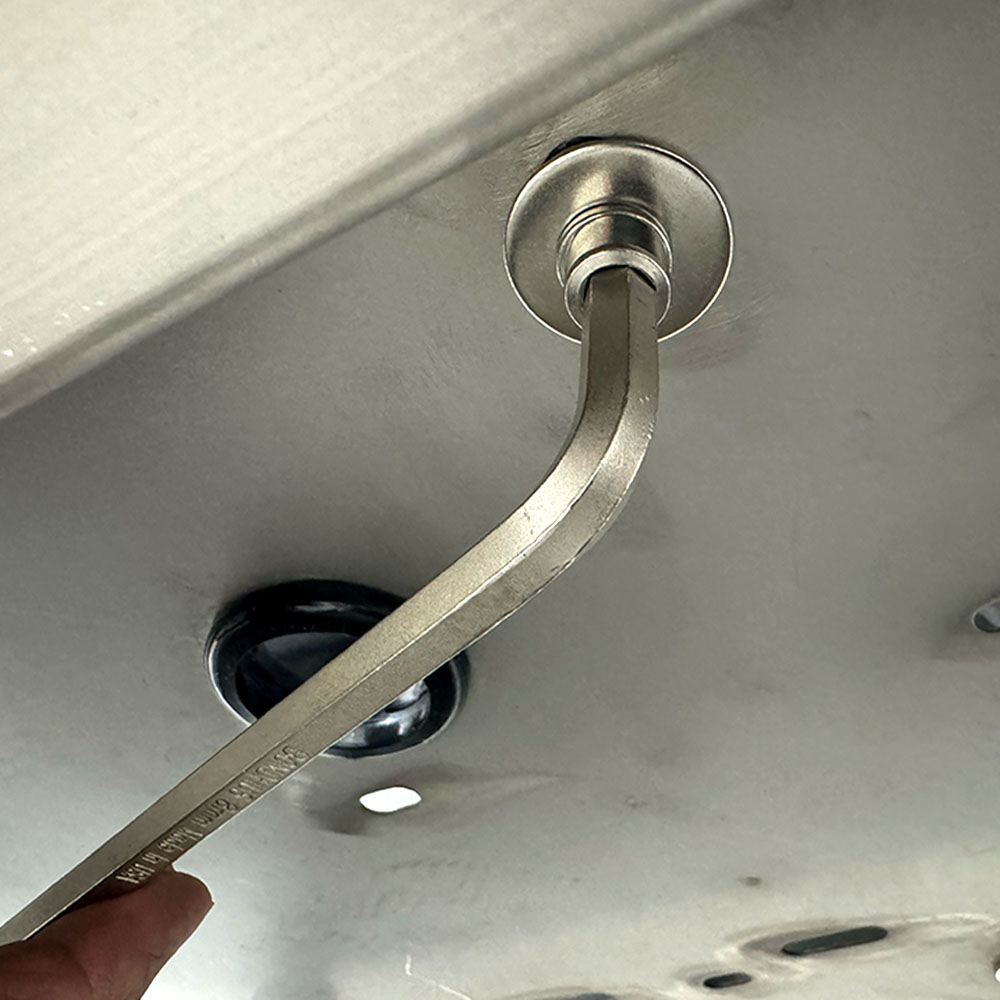
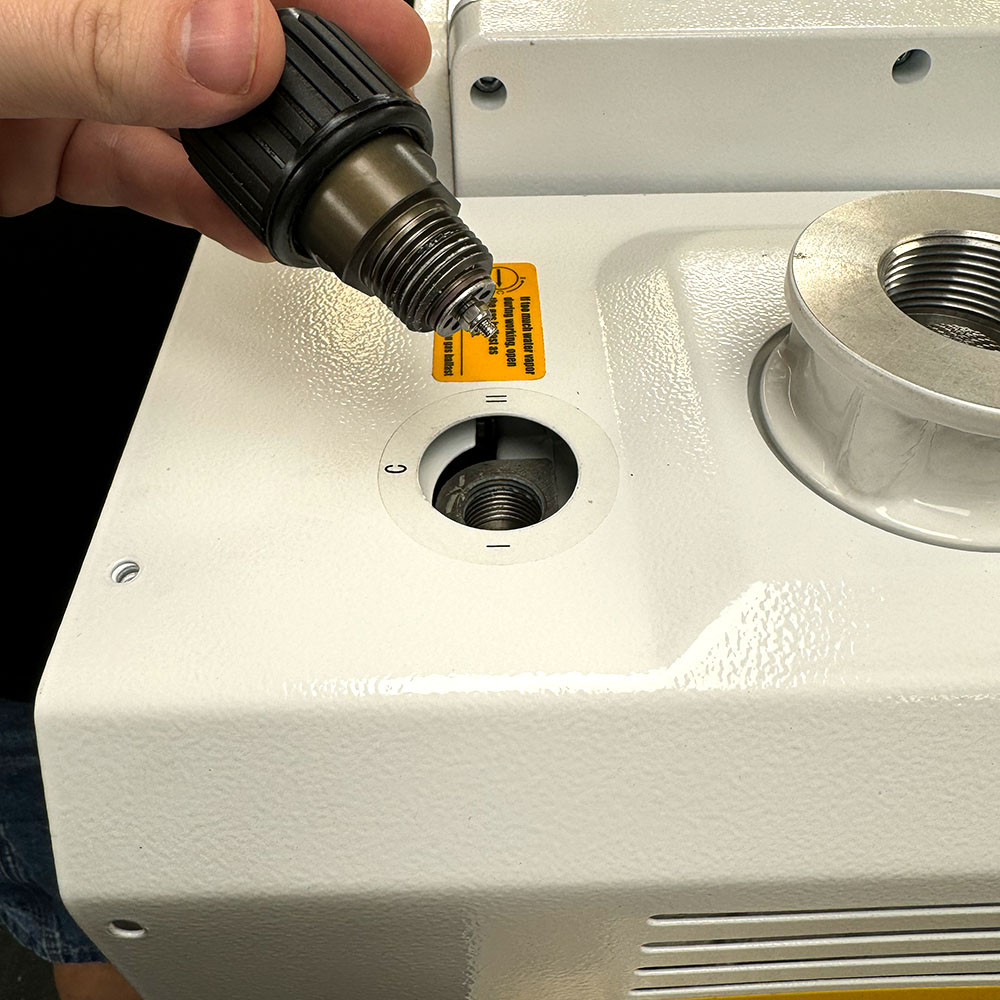
1. Drain oil into the designated container.
2. Unscrew the drain plug (6mm Allen wrench).
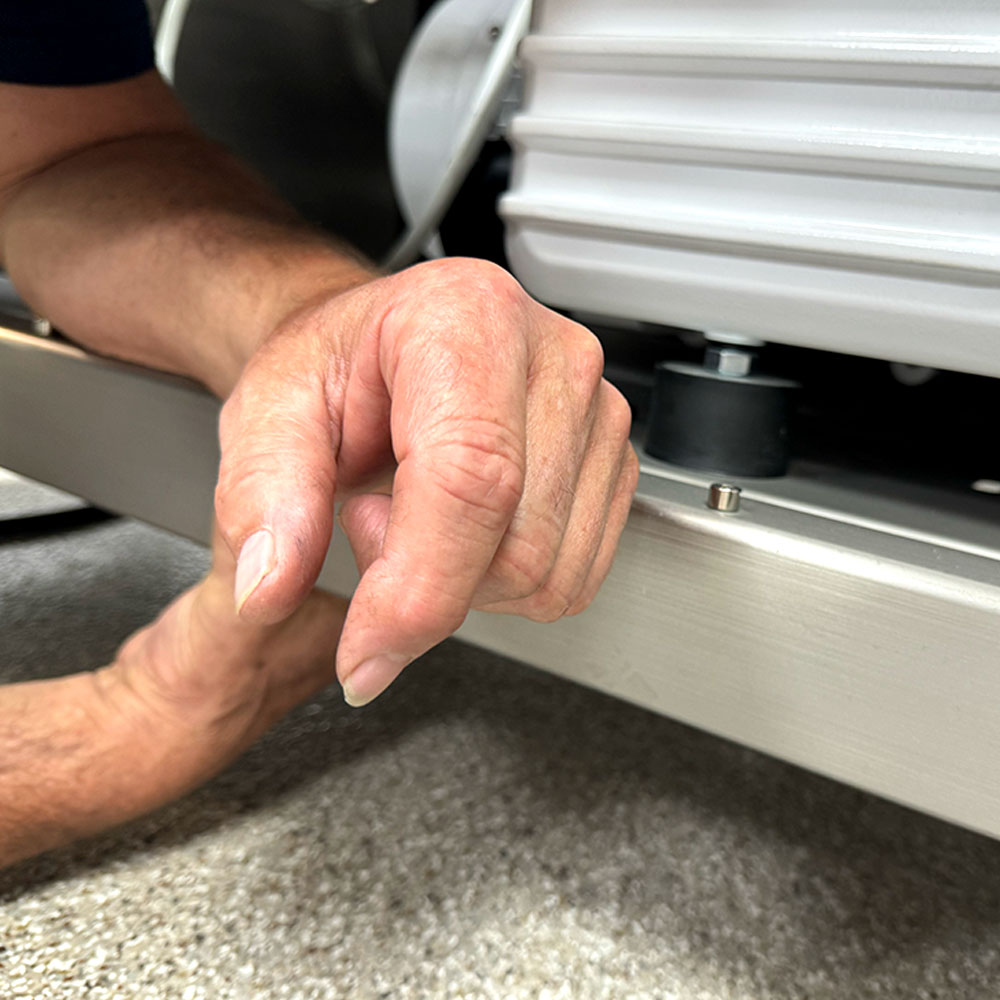
3. Unscrew the vacuum pump from the base of the frame (6mm Allen wrench).
4. Once screws are removed, unhook the wiring at the top of the pump in the main electrical box.
5. Use the #2 Phillips screwdriver to access the electrical box.
6. Now that you have access to the main electrical box, unscrew the three nuts on the cable side.
7. Feed out the wiring through the cable grommet.
8. TWO individuals will be needed for this step! Now lift the pump out and set on a stable surface.
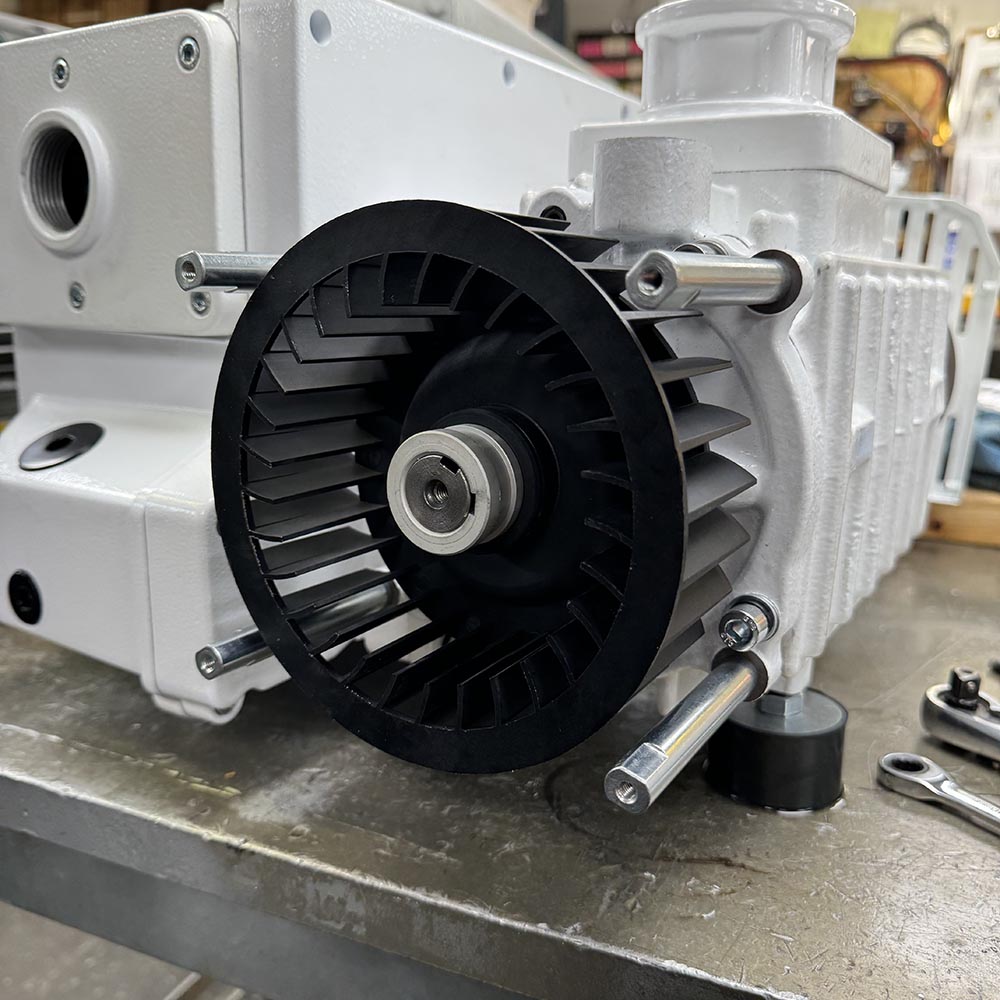
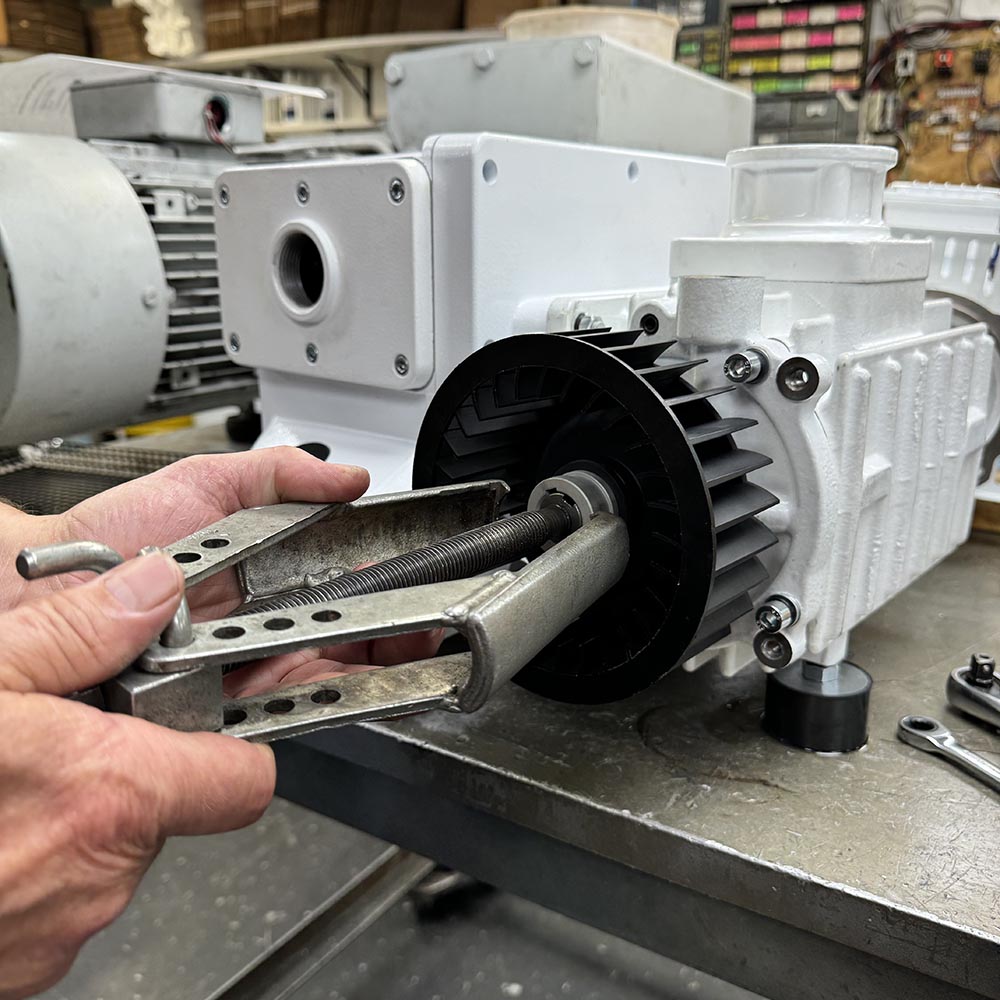
Remove the Fan
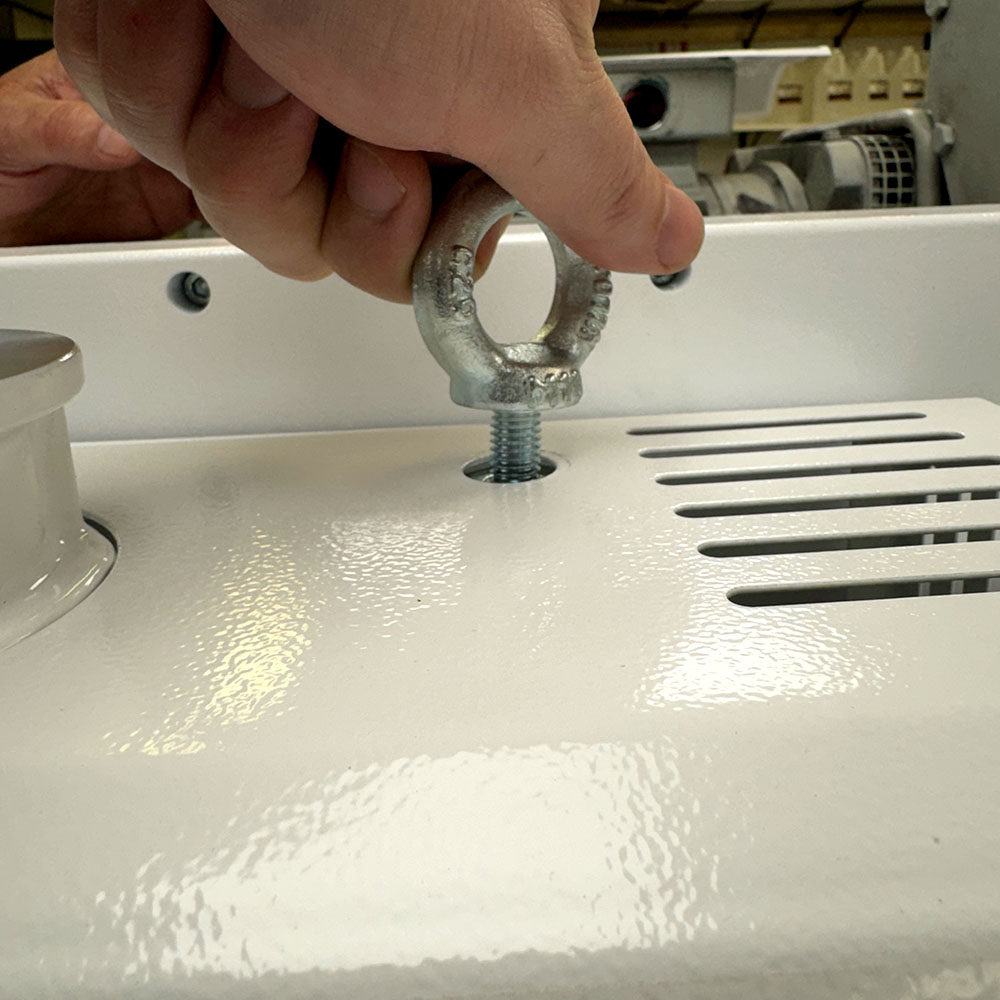
1. Remove main cover (8- screws, 1- gas ballast, 1-eye hook) .
2. Remove the 4 screws securing the fan cover.
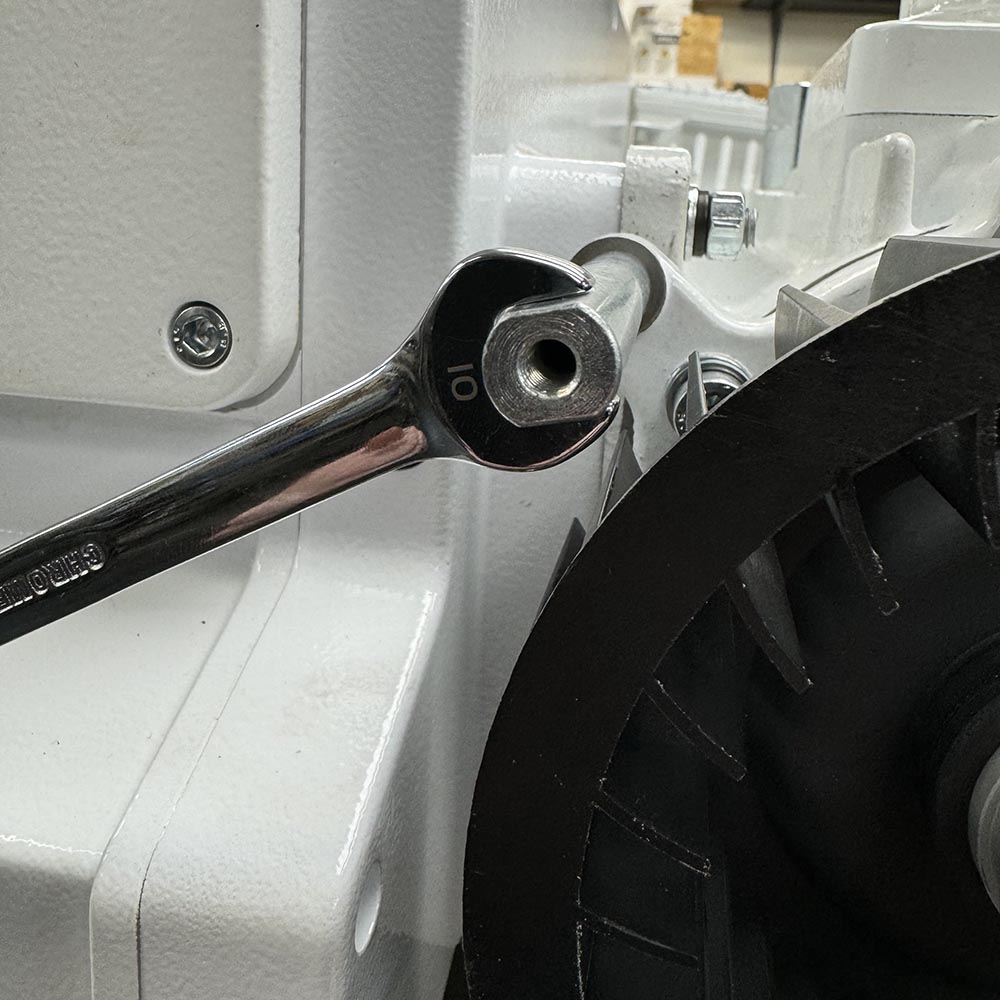
3. Remove cover standouts (10 mm Allen wrench).
4. Remove washer holding fan (5 mm Allen wrench).
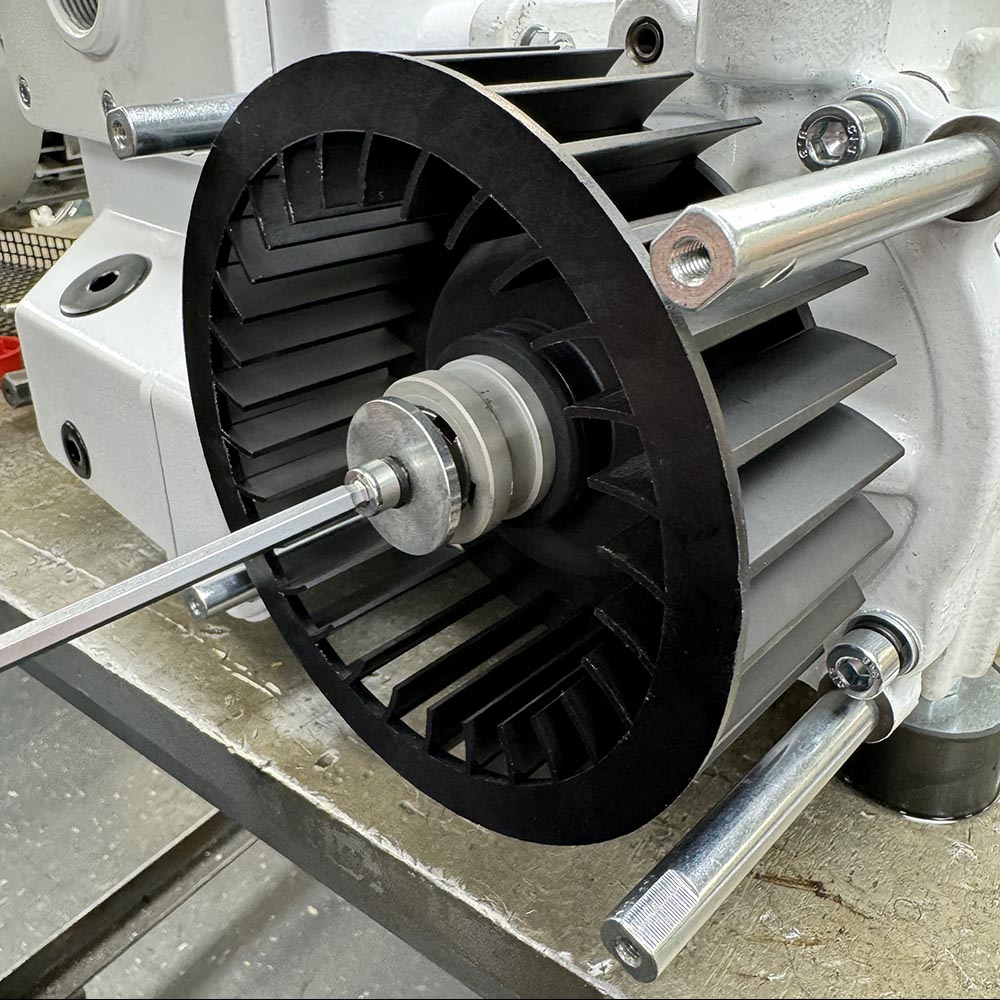
5. Use pullers to pull the fan from the shaft.
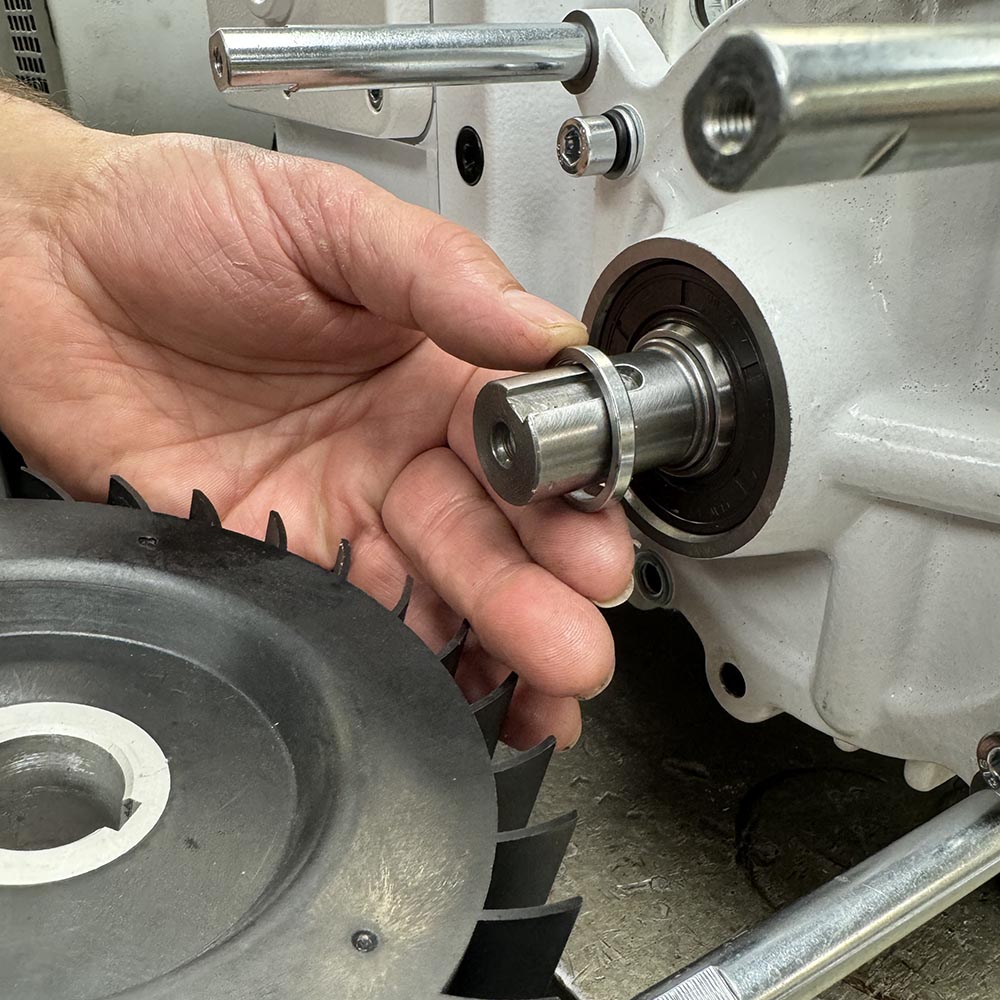
Remove the Side Plate
1. Find spacer behind fan.
2. Remove side plate bolts using the 6 mm Allen wrench.
3. Remove the side plate by gently tapping the side plate off evenly by hitting all sides of plate outward. OR use a cold chisel to wedge the plate away from cylinder.
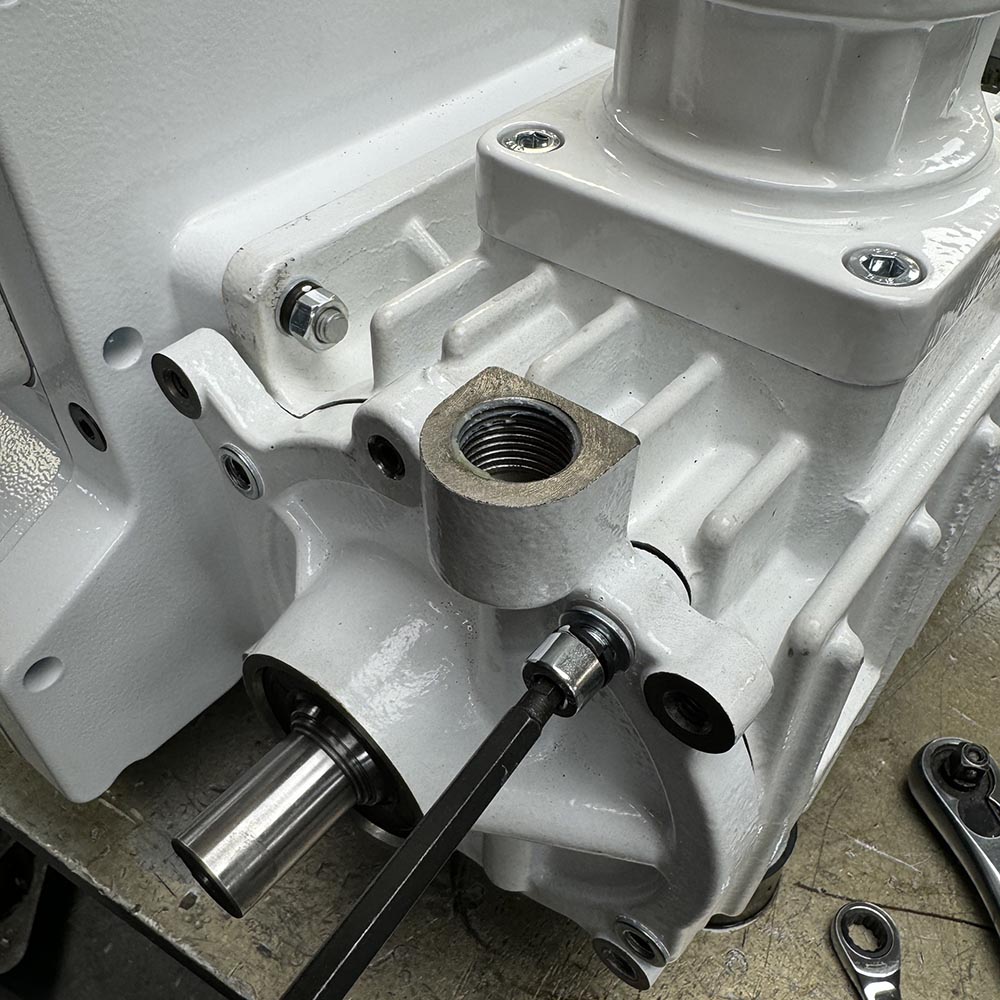
Install the Sleeve
1. Find the sleeve behind the plate.
2. Install the sleeve with a bevel facing out.
Remove the Rotary Vane and Clean
1. Slide out the rotary vanes.
2. CHECK CYLINDER FOR DIRT AND DEBRIS. Clean if needed using a DAMP rag.
Final Steps!
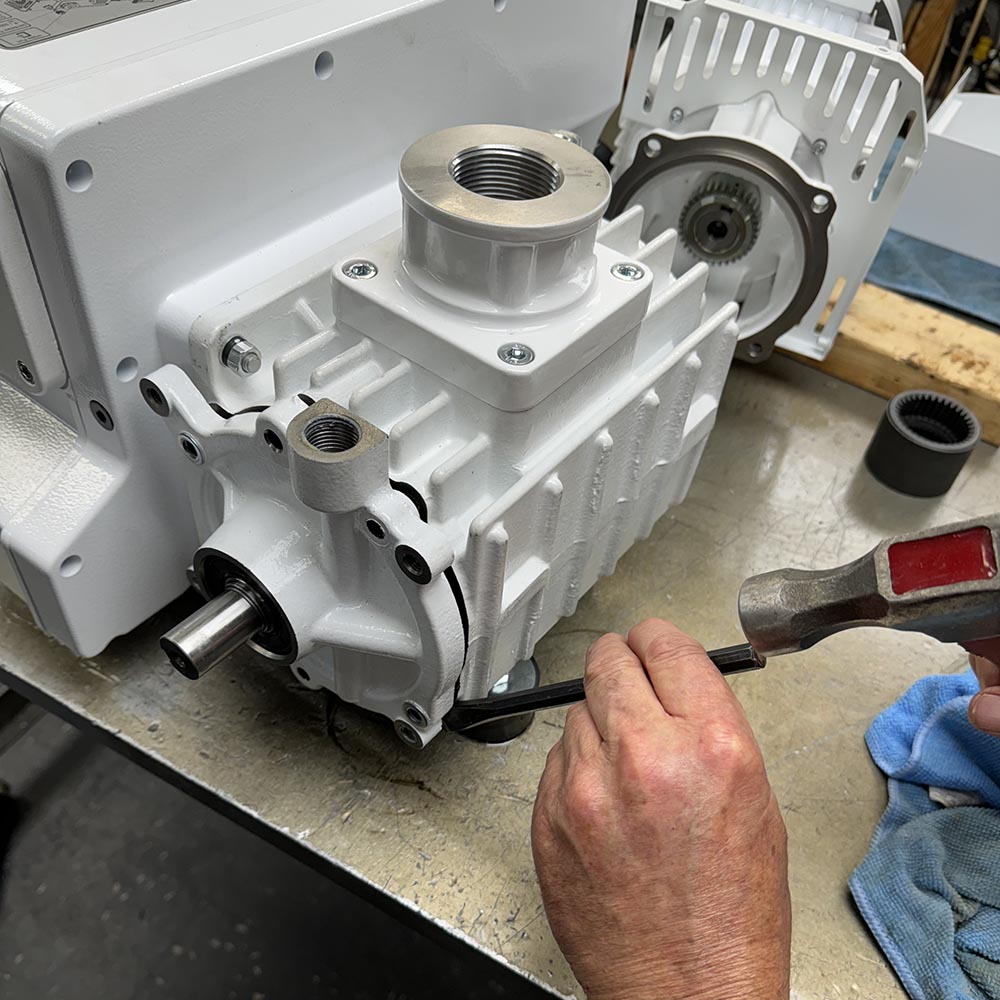
1. Replace rotary vanes.
2. Reassemble the side plate, fan, and vacuum pump – Simply follow these steps backwards!
3. Fill oil a little over half way by monitoring through the sight glass.
Your Vac610 chamber vacuum sealer is ready to run smoothly and provide optimal vacuum draw for your vacuum packaging experience!
Questions?
Have any questions through the process or any other general or servicing questions? Feel free to give us a call during our business hours. We are open Monday – Friday from 8:30 am – 5 pm. Or email us anytime at JVR@jvrinc.com. We look forward to hearing from you!