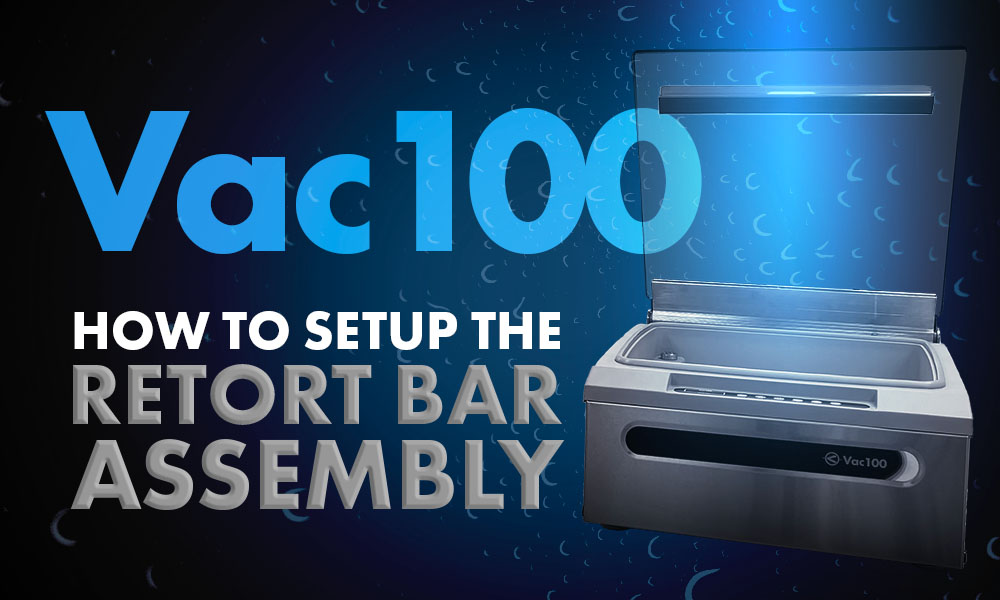
How To Set Up The Retort Bar Assembly (100-15R): JVR Vac100
“With the retort bar assembly, the options for flexible packaging widely expand…”
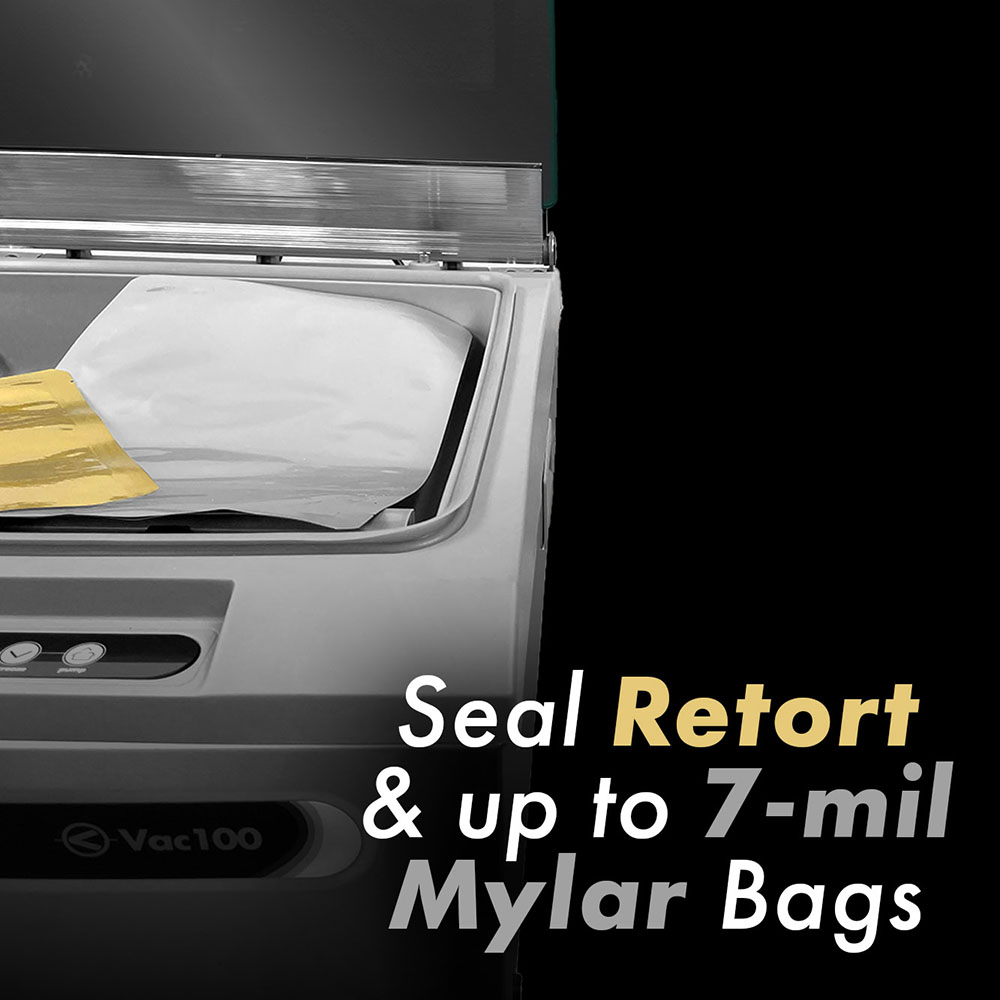
Your Vac100 chamber vacuum sealer is capable of many functions such as vacuum sealing chamber pouches as it is automatically paired with the standard seal bar and sealing glass jars. Yet, imagine having the alternative to save space from using cans and jars for your poultry or pet food packaging and replacing them with airtight retort pouches that produce the same, if not better, results. With the retort bar assembly, the options for flexible packaging widely expand. Additionally, instead of searching for a can opener every time, you simply use the tear notch on the retort pouch, and voila!
Today we will review common uses of the retort bar, the steps to install your retort bar, how to identify the differences between the standard seal bar and the retort bar, a detailed explanation of the sealing process, and finally, methods to ensure proper seal integrity.
About the Retort Packaging Process
How does the retort pouch production differ from the chamber vacuum pouches that make this retort pouch revolutionary? The retort pouch sealing layer is constructed with a mix of thin metal foils and plastics allowing it to withstand the sterile packaging process involving thermal processing. In addition, the barrier properties carry the benefit of high puncture resistance.
The retort food canning process begins with sterilization of the non-sealed bags by heating them to a temperature of about 250° for around 50 minutes. This process reliably kills the microorganisms that would eventually lead to spoilage. After sterilization, the Vac100 chamber vacuum sealer efficiently removes up to 99.8% of air followed by high quality sealing using retort bar assembly. The sealed retort pouch is now ready to store food safely away!
Common Uses for the Retort Bar Assembly
NOTE: The retort bar is not meant to seal chamber vacuum pouches!
Common uses include:
Retort canning pouches (e.g. for various types of food packaging such as raw materials and shelf stable goods)
Mylar pouches
Coffee bags
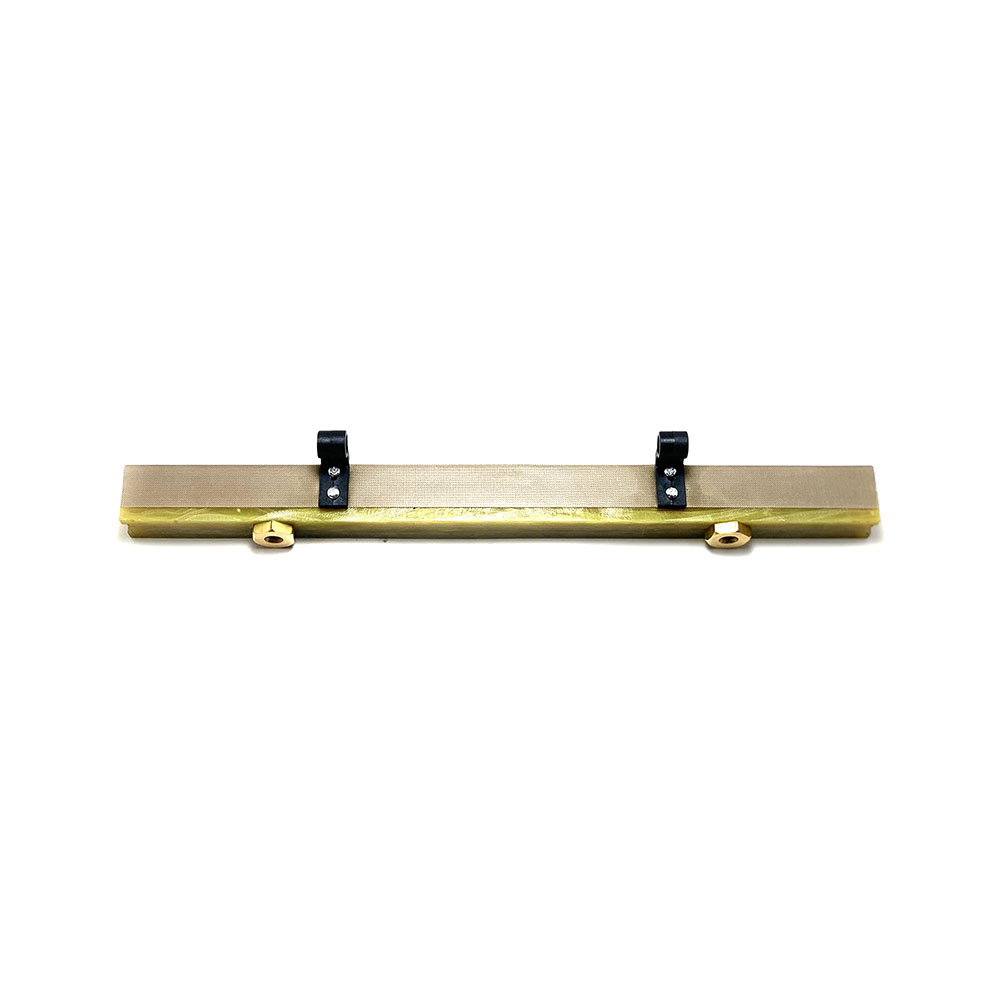
Installation Process
The retort bar assembly is a 12.3″ bar with a heat strip size of 3.5mm. The installation process is easy and requires zero tools!
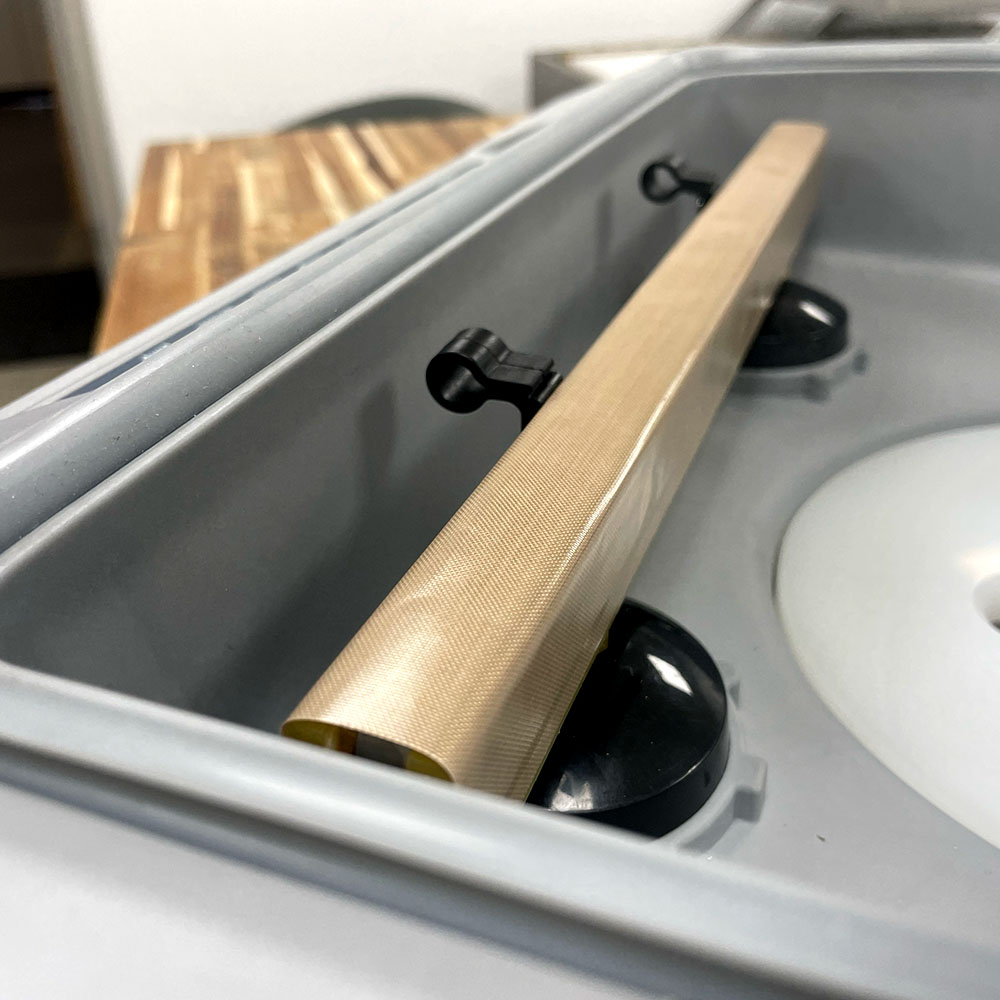
Step 1: Locate the standard seal bar within the chamber when you open the cover.
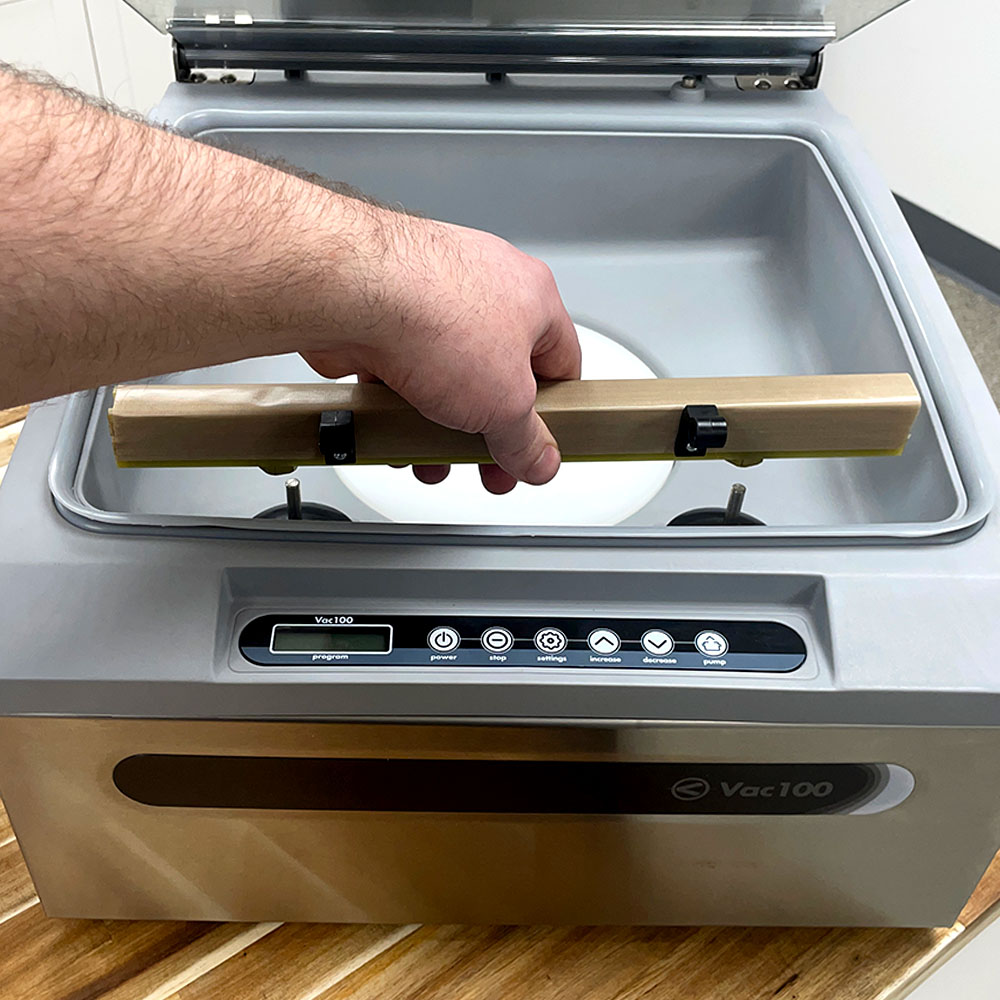
Step 2: Simply remove the Standard Seal Bar by lifting it out of the unit.
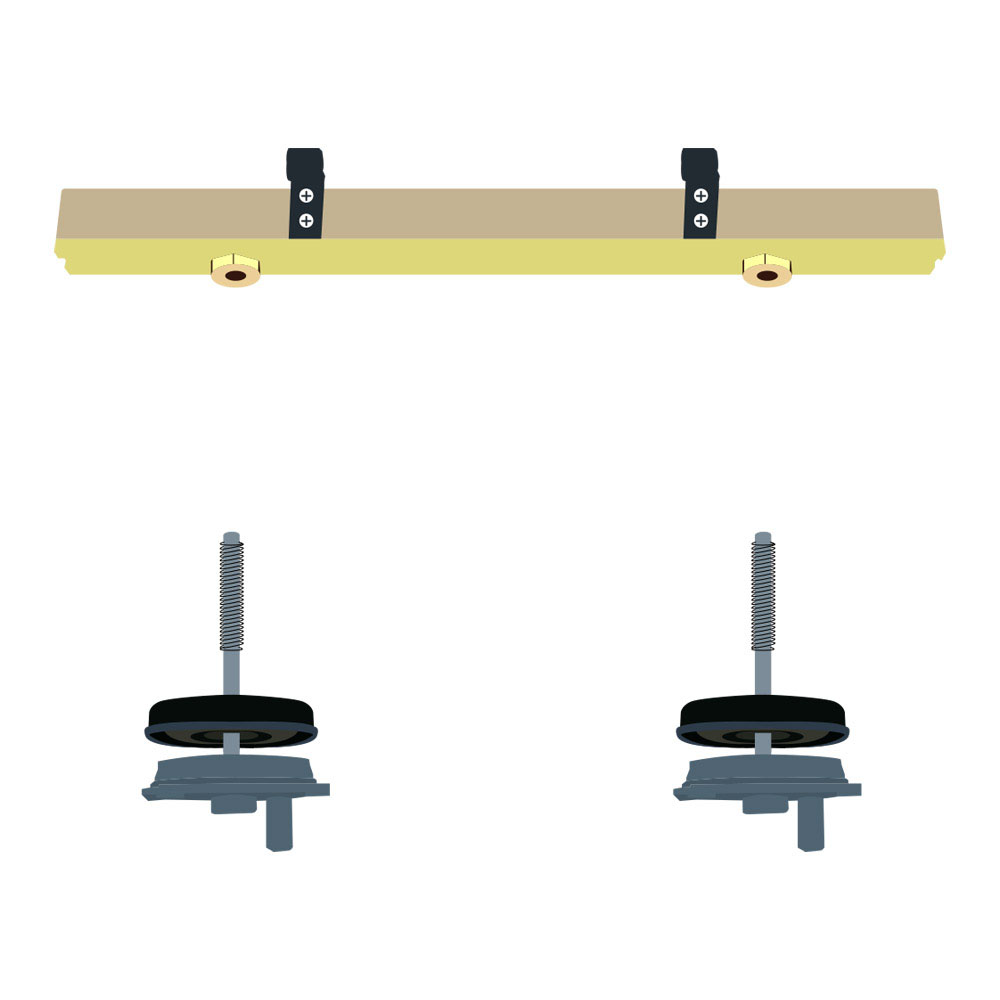
Step 3: Replace with the retort bar by ensuring the bag clips are pointing towards the front of the chamber and align the holes with the seal bar lift piston rods.
Identifying the Difference Between the Standard Seal bar and Retort Bar Assembly
Three easy processes are used to identify the differences between the standard seal bar and the retort bar.
Heat Strip Size
The heat strip is the black metal strip that runs along the whole bar. The Standard Seal Bar is a flat, 6 mm strip while the retort bar is a concave shape, 3.5 mm strip that provides the pressure
This difference can be identified by simply sliding your finger across each heat strip. If the heat strip is flat, then it is a standard seal bar. If you feel a hill or ridge along the heat strip, then it will be a retort bar.
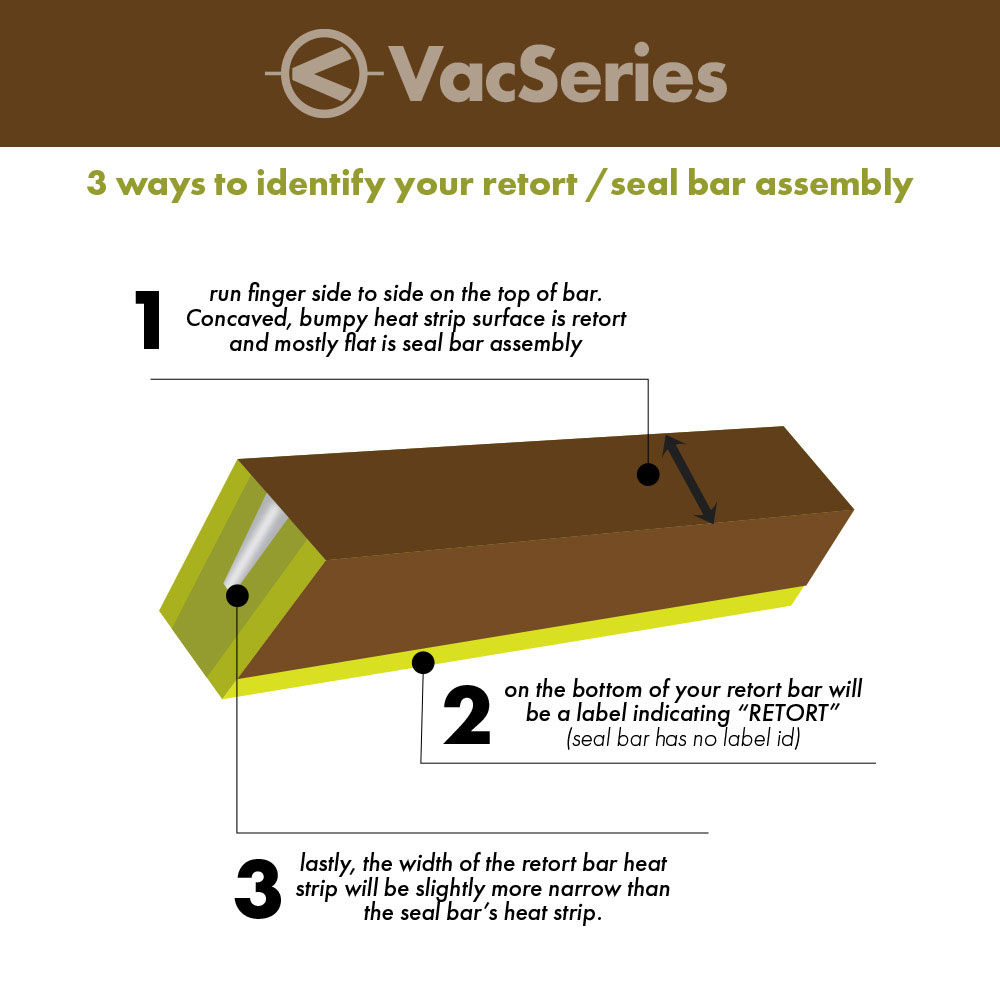
Width of Bar
Look down the end of each bar. The retort bar appears narrower while the standard seal bar is wider (6 mm).
Label
The standard seal bar does NOT have a label. The retort bar always has a label located at the center of the bar labeled “RETORT”.
Recommended Cycle Times
When considering using the retort bar in place of your standard seal bar for the retort packaging process, specific processing times are recommended depending on what retort pouches are used. We will review these specifics with the mylar pouches and retort canning pouches.
Note: Mylar retort pouches are not sold by JVR Industries, but are provided through Pleasant Grove Farms. The seal quality of a mylar retort bag has been tested in-house and has been found to be exceptional.
Recommended Seal and Cooling Times for Mylar Retort Pouches:
Seal Time: 2.0 sec
Cooling time: 5.0 sec
Recommended Seal and Cooling Times for a Retort Pouch:
Seal time: 2.2 sec
Cooling time: 5.0 sec
How to Ensure Seal Integrity Following the Sealing Process
Four methods should be practiced during the sealing process to ensure exceptional seal quality that will provide you with safe packaging for storage.
1. MOUTH FOLD – Fold over the pouch mouth leaving about 2-4 inches of clearance to avoid residue in the seal area from moist products.
2. PREVENT WRINKLES – Lay pouch flat across the retort bar assembly and check that the mouth is inserted entirely in the bag clips. If sealing a low profile product, then place filler plates below to fill the void.
3. INSPECT WELD – Check that the entire mouth of the package shows a perfectly continuous crosshatch pattern. Small blemishes should not be a concern, though you can check the strength of the potentially compromised area using the resistance test.
4. RESISTANCE TEST – Tug at the mouth of the pouch to check for complete adhesion following sealing. A solid weld/seal has taken place if you are unable to rip apart the seal.
Where to Order the Vac100 Retort Bar
As a reminder, JVR Industries does not proclaim expertise in the retort process because we are purely a chamber vacuum sealer packaging company. We have, however, tested the process with both mylar and retort pouches in-house and have been successful. Many of our experienced customers will readily recommend the addition of a retort bar because it expands the possibilities for your business or hobbies!
Click here to order the Vac100 retort bar assembly!
Questions?
Watch the video attached below for further visual instruction. Or, contact our highly knowledgeable and personable service department who would be glad to answer any of your questions!
Want to read more articles like “How To Set Up The Retort Bar Assembly: JVR Vac100” Click below!
.