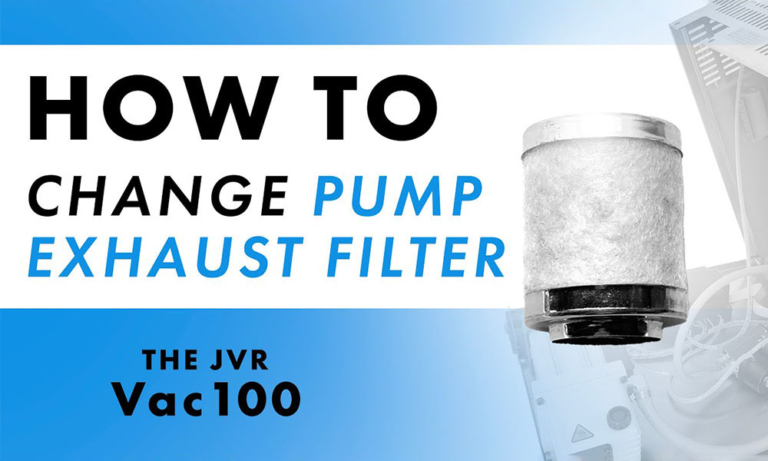
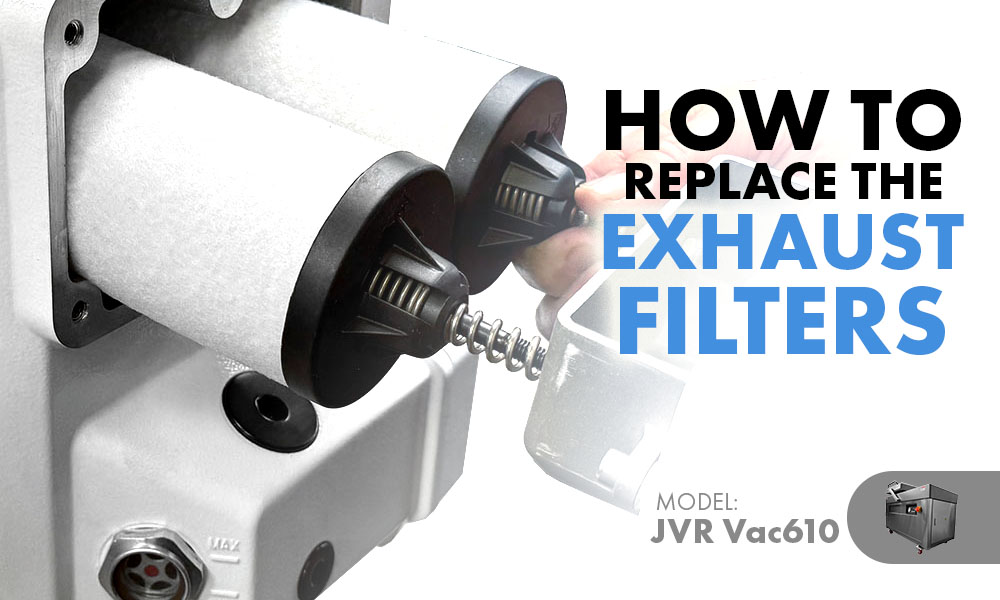
How To Replace Vacuum Pump Exhaust Filter (610-32): Vac610 [3 PH]
“Maintaining a clean exhaust filter is crucial to the functioning of the vacuum pump”
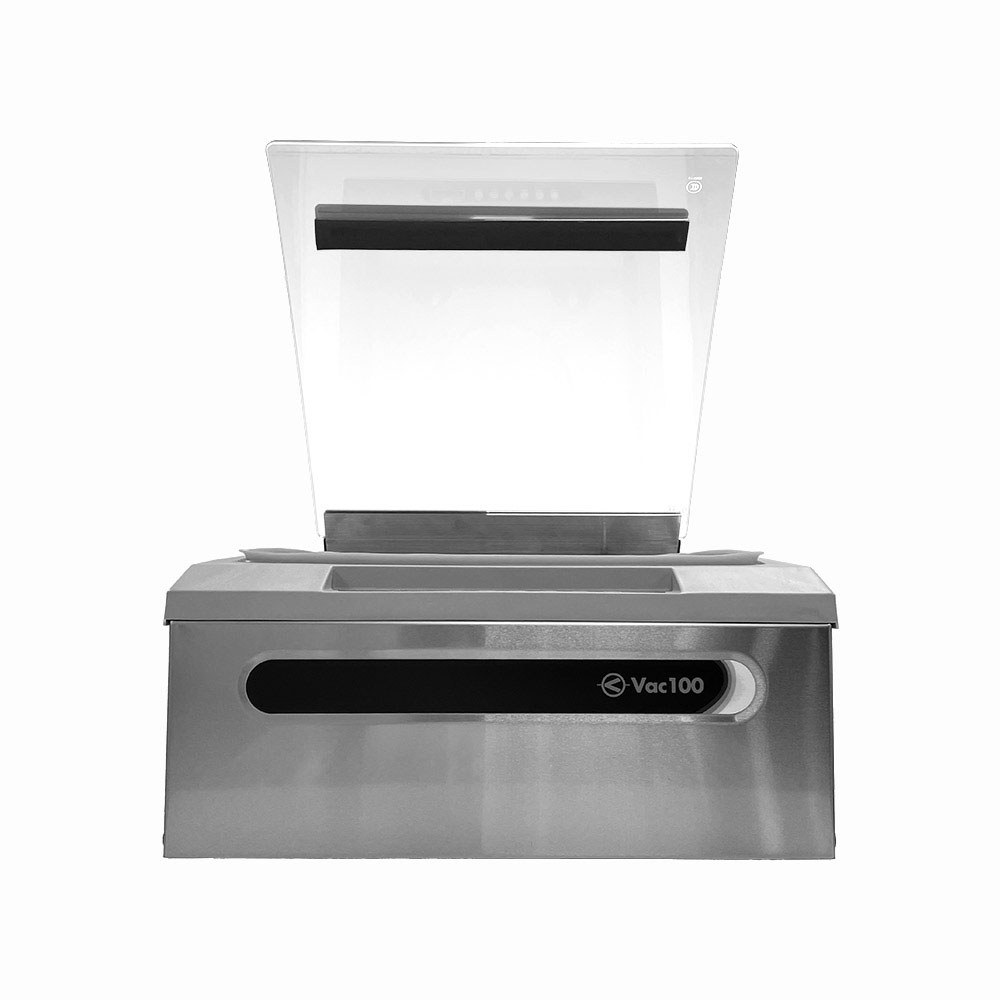
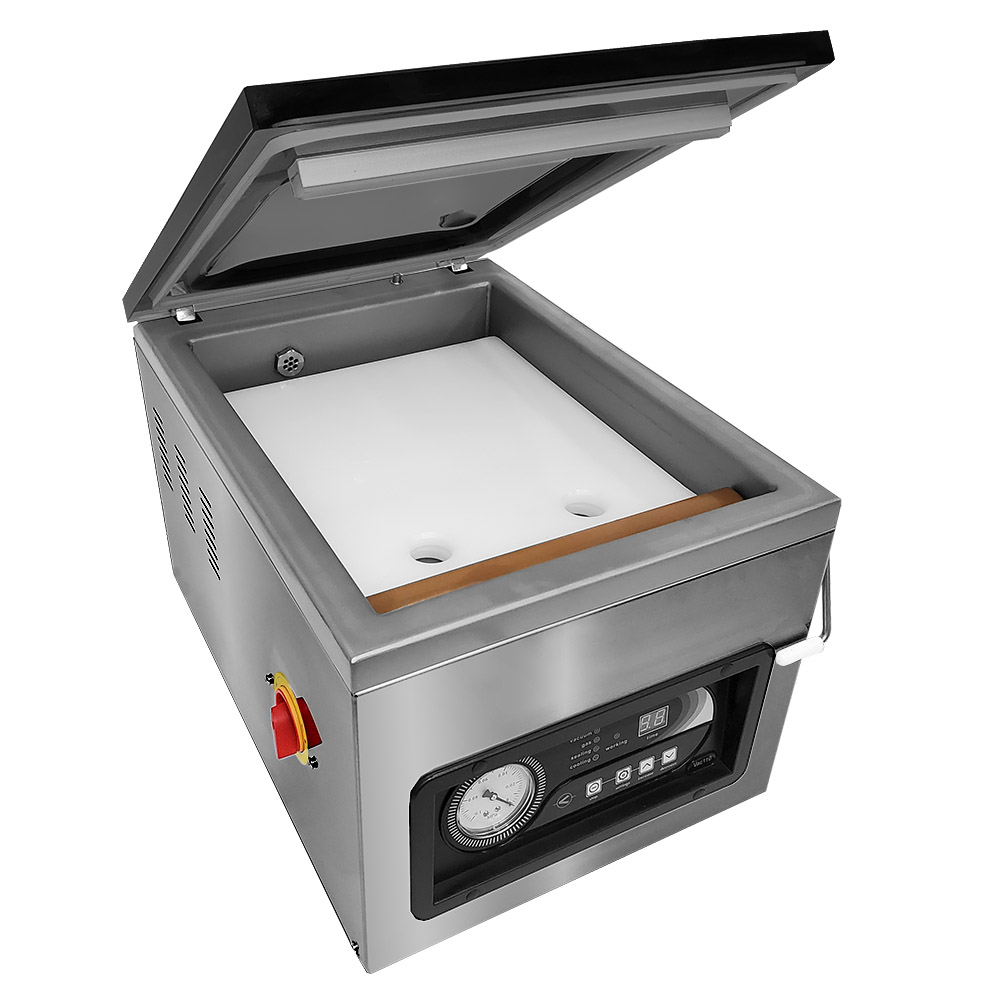
We guarantee that the Vac610 [3 PH] dual chamber vacuum sealer will provide you with exceptional vacuum packaging service, but it will take some consistent servicing. Thanks to the convenient construction of the Vac610 for self-serviceability, JVR Industries is happy to provide resources to make any part replacements easy to keep your unit up and running at an optimal level. Today, we will go over the importance and steps to replacing the vacuum pump exhaust filter on your Vac610 as this should be done regularly.
Index
1) Importance of Replacing the Vacuum Pump Exhaust Filter
2) How Often Should the Exhaust Filter be Replaced?
Importance of Replacing the Vacuum Pump Exhaust Filter
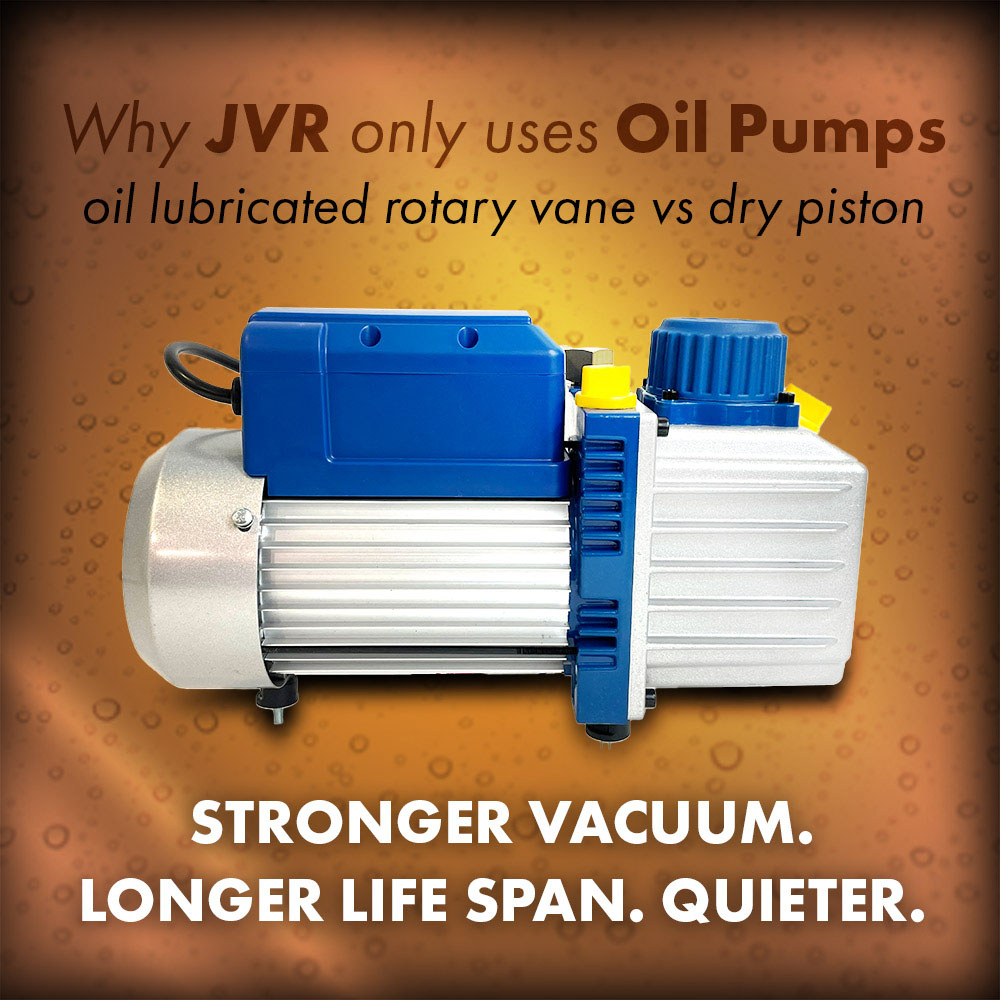
Maintaining a clean exhaust filter is crucial to the functioning of the vacuum pump for optimal vacuum draw of up to 99.8% (learn more here). An exhaust filter is responsible for collecting all unwanted particles to keep them from entering or exiting the system and damaging the system. Additionally, it catches oil droplets encouraging recycling!
How Often Should the Exhaust Filter be Replaced?
Time intervals between replacing the exhaust filter generally depends on the frequency of use. However, we suggest replacement about once a year to ensure optimal functioning of your vacuum pump.
If you use your Vac610 frequently and notice a decline in the vacuum draw with no changes in vacuum cycle settings, then it may be an implication that the filter needs replaced.
Safety Precaution
Before you begin the replacement process, make sure to power off your Vac610 and unplug the unit completely!
Tools Needed
5 mm Allen Wrench
10 mm Allen Wrench
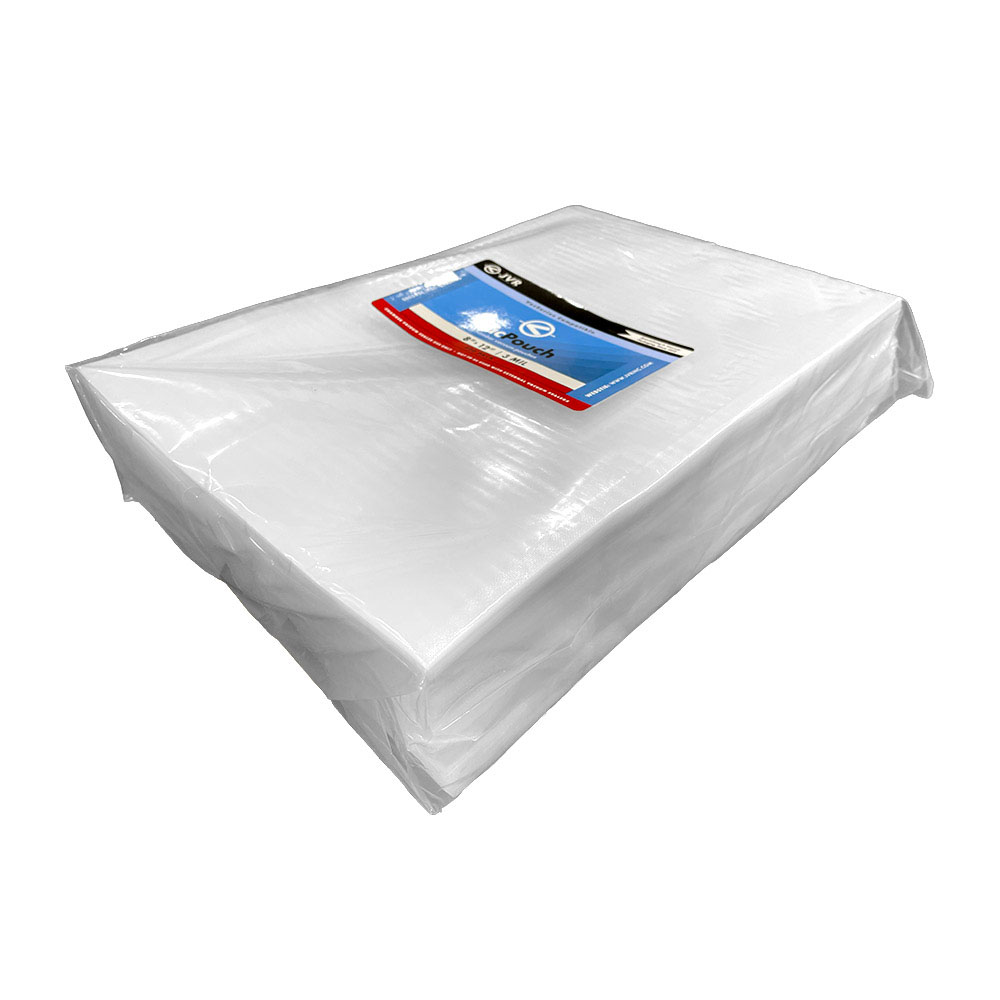
Vac610 Exhaust Filter (610-32)
Steps to Replace the Vacuum Pump Exhaust Filter
1. Remove the back panel from Vac610. Do this by unfastening the 2 latches, rotate the panel 45 degrees, and pull off gently.
2. Set the panel aside.
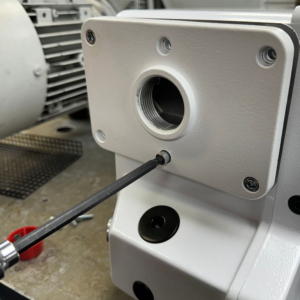
3. Locate the exhaust filter cover at the end of the exhaust box (rectangular / 6 socket bolts).
4. Remove all 6 bolts using the 5mm Allen.
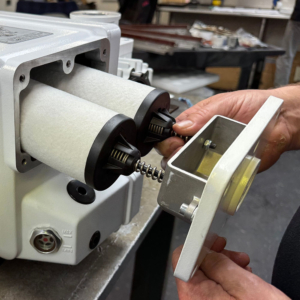
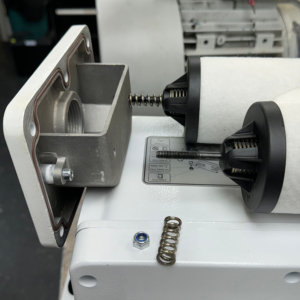
5. Pull out the exhaust filter assembly.
6. Remove the nut holding the filter using the 10mm wrench.
7. Replace filters in assembly.
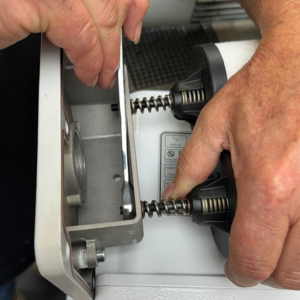
8. Insert assembly holding filters to align them with holes behind the cavity.
9. Reset cover and tighten nut and Allen bolts.
10. Reassemble the Vac610 back panel.
Your Vac610 chamber vacuum sealer is set to run optimally providing a smooth vacuum packaging experience!
Questions?
If you have questions about the replacement process or any other vacuum packaging questions, please do not hesitate to contact us! Give us a call during our business hours occurring Monday – Friday from 8:30 am – 5 pm or email us anytime at JVR@jvrinc.com. We look forward to hearing from you!