“Replacement of the motor coupling will ensure proper power is being transmitted for optimal performance…”
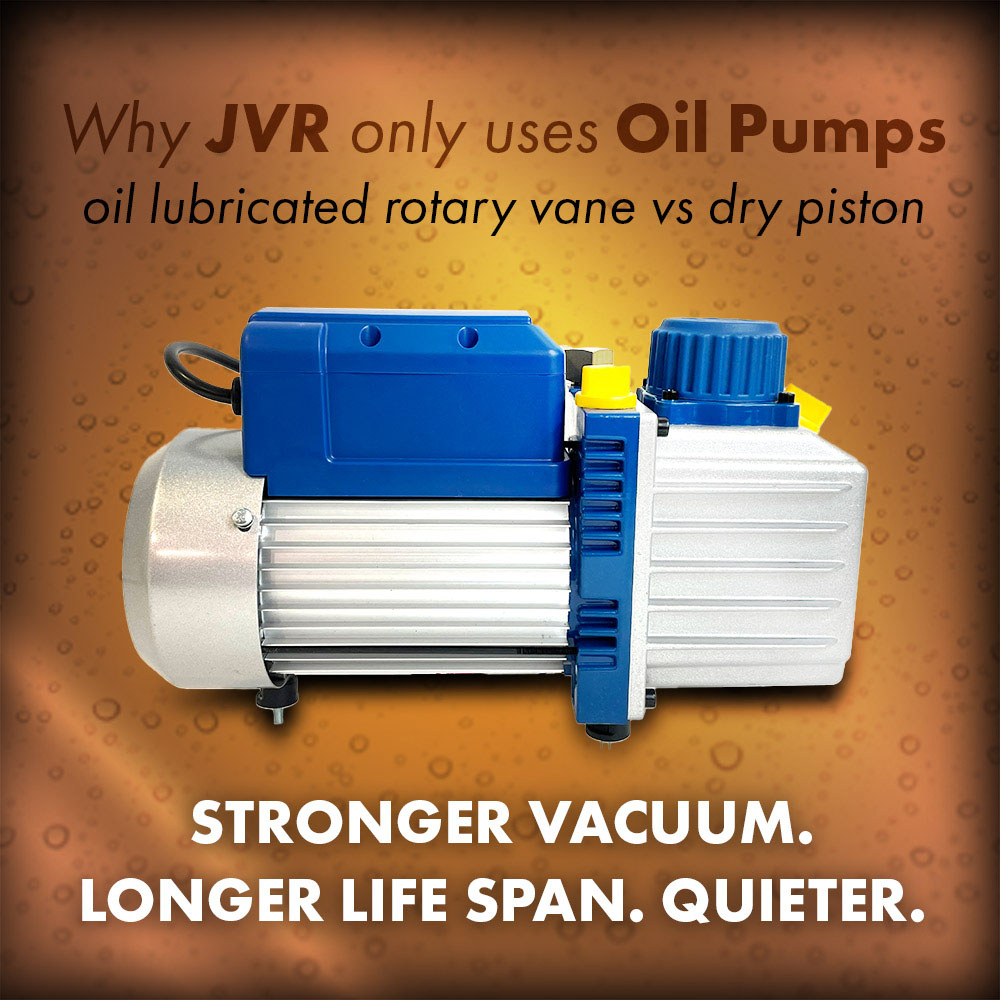
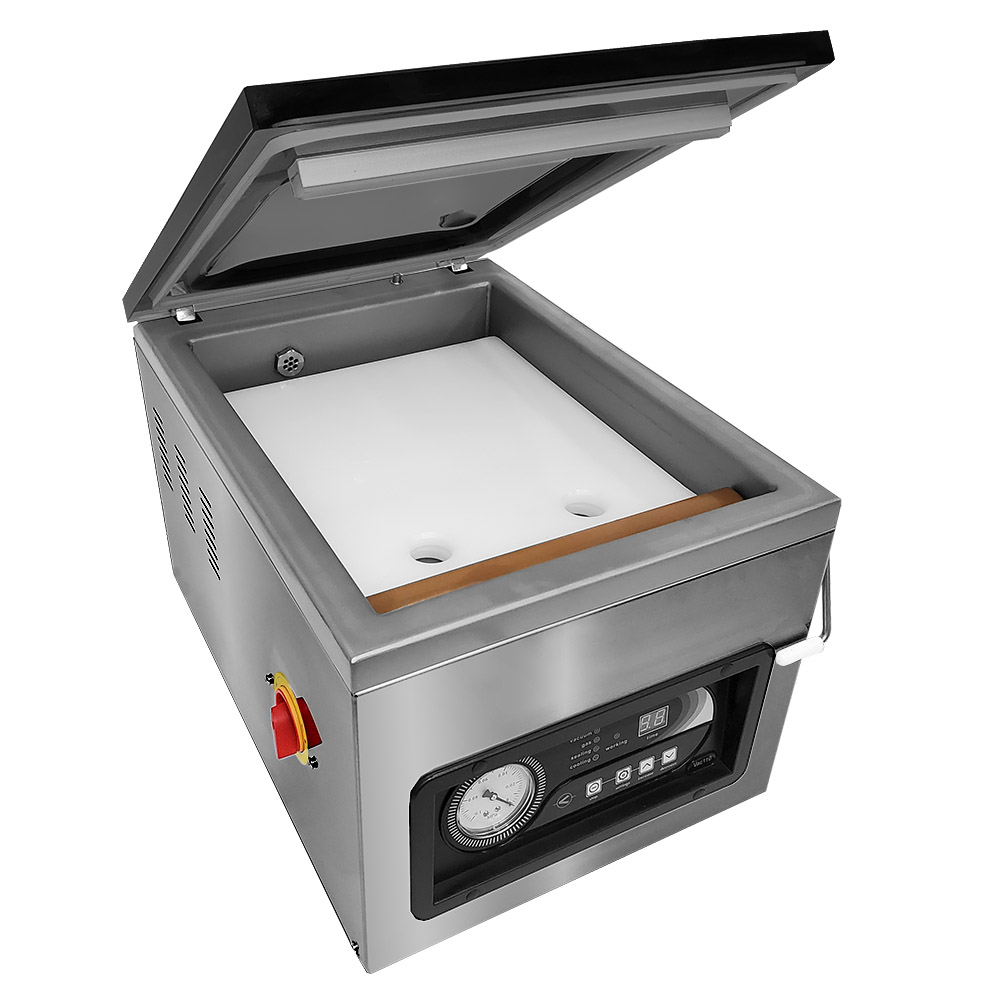
The Vac610 chamber vacuum sealer boasts housing an oil pump that produces a vacuum draw of up to 99.8% with high vacuum capacity making it an exceptionally effective unit for commercial vacuum sealing (learn more here). For its durability to match the level of the vacuum effectiveness, the machines will need proper upkeep. Today, we will show you how to take full advantage of the self-serviceable construction of the Vac610 and discuss the importance and steps to replacing the motor coupling.
Index
1) Importance of Replacing the Motor Coupling
Importance of Replacing the Motor Coupling
The motor coupling is located in the vacuum pump and functions to transmit the vacuum pump power to the equipment. The motor coupling may occasionally require replacement due to wear over time from frequent use. Replacement of the motor coupling will ensure proper power is being transmitted for optimal performance essential to produce a smooth vacuum packaging process.
Safety Precautions
*Make sure the Vac610 is powered off completely AND unplugged from any power sources!
*Additionally, ensure two individuals are present to lift the vacuum pump out of the Vac610 body to avoid injury.
Tools Needed
6 mm Allen Wrench
#2 Phillips Screwdriver


Steps to Replacing the Motor Coupling on the Vac610
Access the Vac610 Interior
1. Remove the back panel from Vac610 via the 2 latches.
2. Rotate panel 45 degrees and pull off gently. Set aside.
Remove the Vacuum Pump
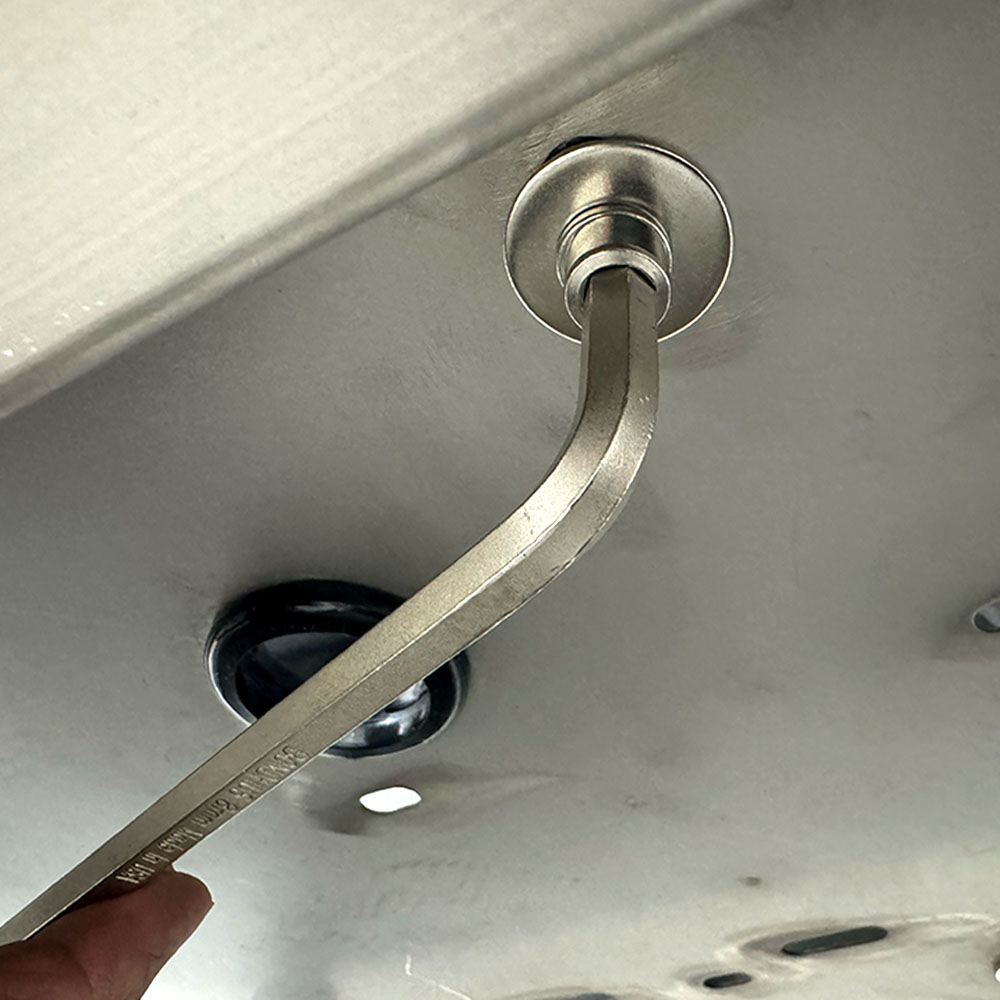
1. Unscrew the vacuum pump from the base of the frame using a 6mm Allen wrench.
2. Once removed, unhook the wiring at the top of the pump in the main electrical box.
3. To access the box, use a #2 Phillips screwdriver.
4. Once into the main electrical box, unscrew the three nuts on the cable side.
5. Feed out the wiring through the cable grommet.
6. Two individuals should perform this step for safety. Lift the pump out and set on a sturdy surface!



Replace the Plastic Insert
1. Remove main cover (8- screws, 1- gas ballast, 1-eye hook).
2. Remove 4 Allen socket bolts holding motor bracket to pump (6mm Allen wrench).
3. Remove plastic insert and replace.


Replace Motor Coupling
1. Check metal coupling ends for wear.
2. Replace motor coupling if needed.

Final Steps!
1. Secure the motor bracket to pump with the 4 Allen socket bolts.
2. Install main cover by securing the 8- screws, 1- gas ballast, 1-eye hook.
3. Reinstall the vacuum pump. Two individuals should lower pump back into Vac610 body. Follow the removal steps backwards.
4. Reassemble the back panel.
Your Vac610 chamber vacuum sealer is all set to function optimally for a smooth and effective vacuum packaging process!
Questions?
If you have questions, please do not hesitate to give us a call. With 50-plus years of experience behind us, we are confident in our knowledgeable and personable service to ensure your machine offers you a smooth and convenient vacuum packaging experience. Call us anytime during our business hours on Monday-Friday from 8:30 am – 5 pm or email anytime at JVR@jvrinc.com!

