How To Replace Lid Spring Assembly (100-42): JVR Vac100
“…keep your vacuum packaging process as convenient as possible.”
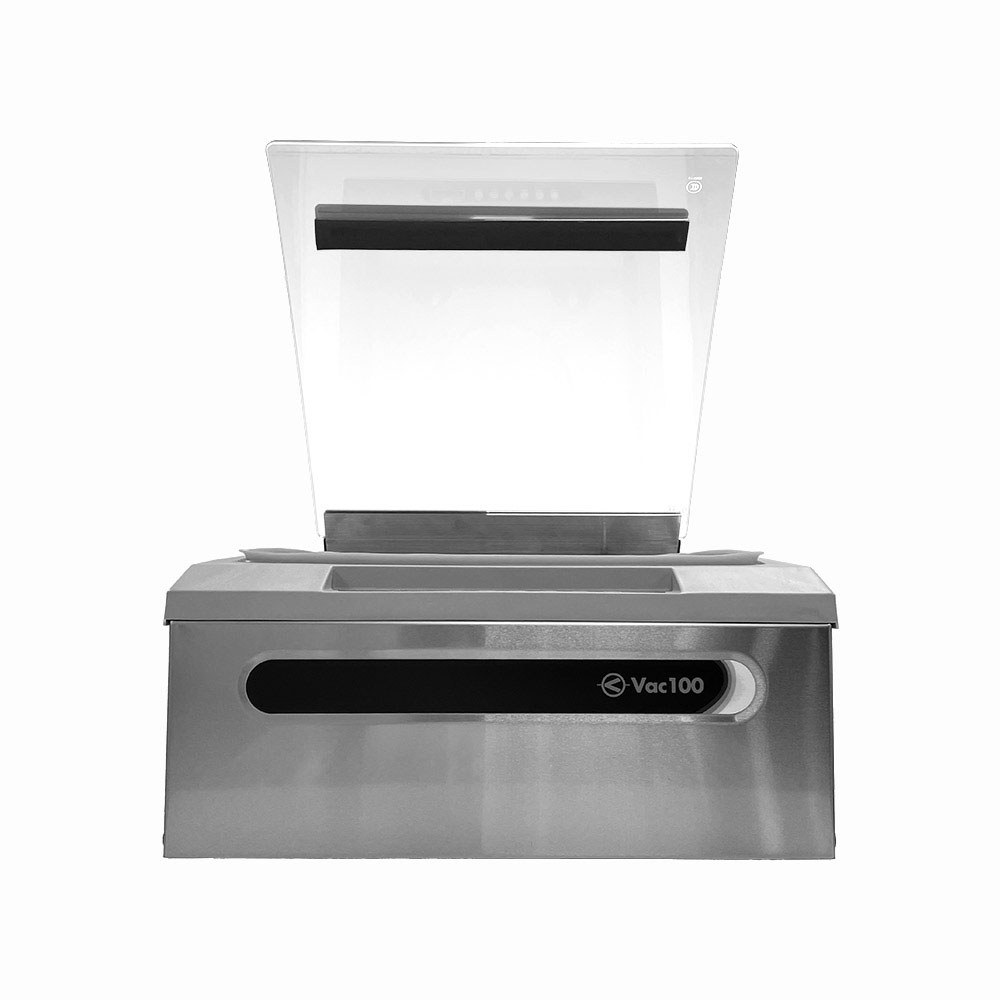
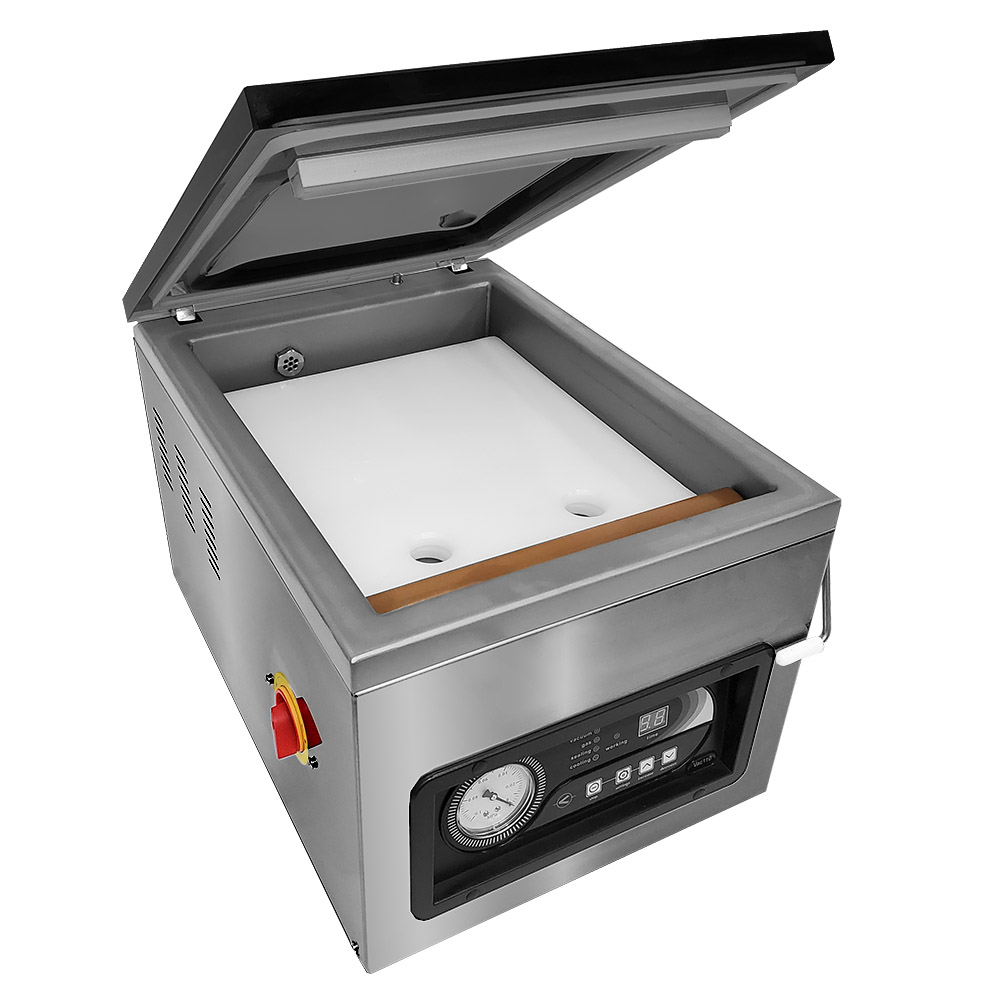
The Vac100 chamber vacuum sealer is manufactured with many features to make your vacuum packaging process as convenient as possible. One of these features includes a spring assembly responsible for holding the tempered glass lid open while you load your products to be vacuum sealed in the chamber. Over time, these springs can wear out and will need to be replaced. Let’s go over how the lid spring assembly works and the steps to easily replace it to keep your vacuum packaging process as convenient as possible.

Purpose of the Lid Spring Assembly
The lid spring assembly, as a pair located at the hinged end of the Vac100 lid, allows the tempered glass lid to remain open on its own while you load the chamber with vacuum seal bags. The Vac100 also has the feature to automatically lift slightly after a vacuum-seal cycle finishes, thanks to the lid springs.
When to Replace the Spring Assembly
If you find your lid is not staying upright when open, then it is likely because one or both of the lid springs have broken. A good test to determine this is to hold the lid fully open with your hand and quickly pull it away. If the lid falls, this is a good indicator that one or both lid springs have broken.
The lid spring assembly replacement part (100-42) includes both the right and left spring assemblies, creating a pair. This is done intentionally because when one spring breaks, all the tension holding the lid up is left on the second one, causing it to break shortly after.

Tools Needed
3 mm Allen Key
8 mm Nut Driver (OR Wrench)
Pliers or 10 mm wrench
Safety Precautions
Power off your Vac100 chamber vacuum sealer and cut off any power supply.
Set the unit on a stationary counter with some extra space.
Clear the chamber of filler plates or other items that could fall when the body is hinged forward.
Steps to Replace the Lid Spring Assembly
NOTE: Although this can be a one-person job, the replacement process will be easier if you have an extra hand.
Removing the Broken Lid Spring
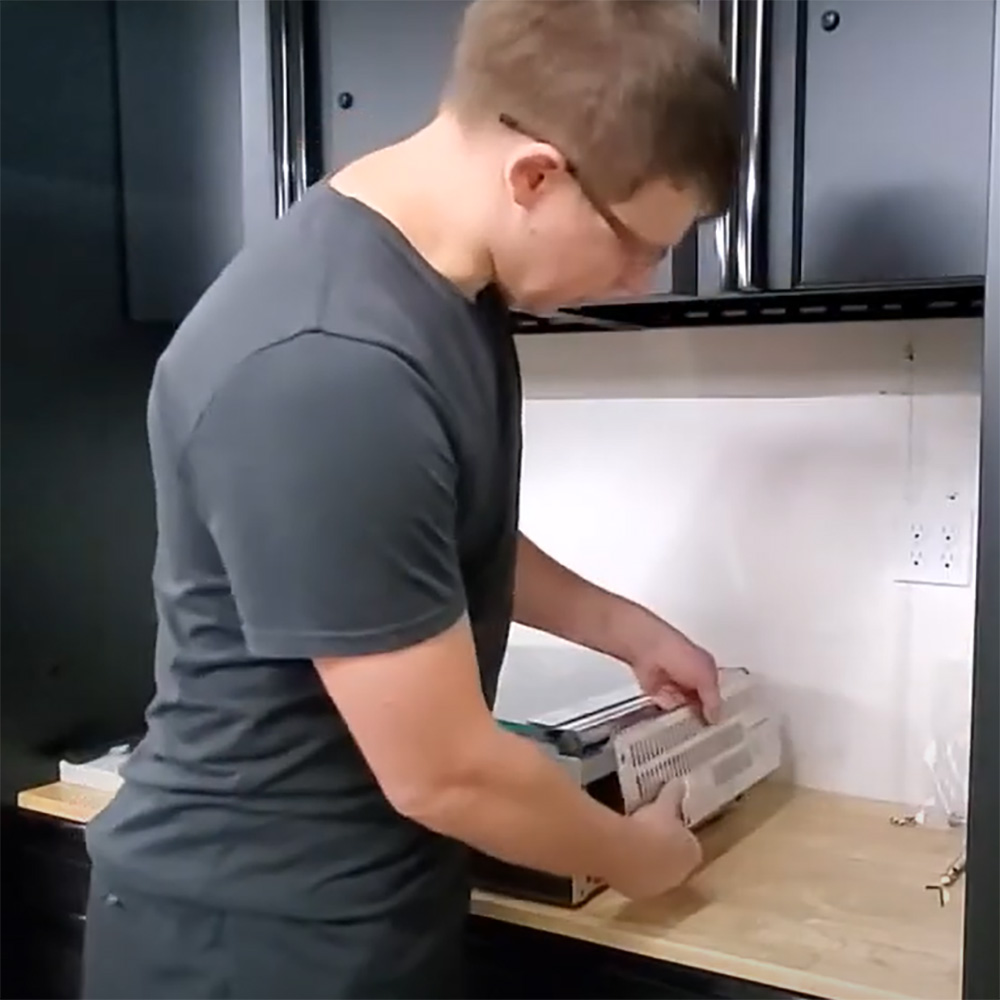
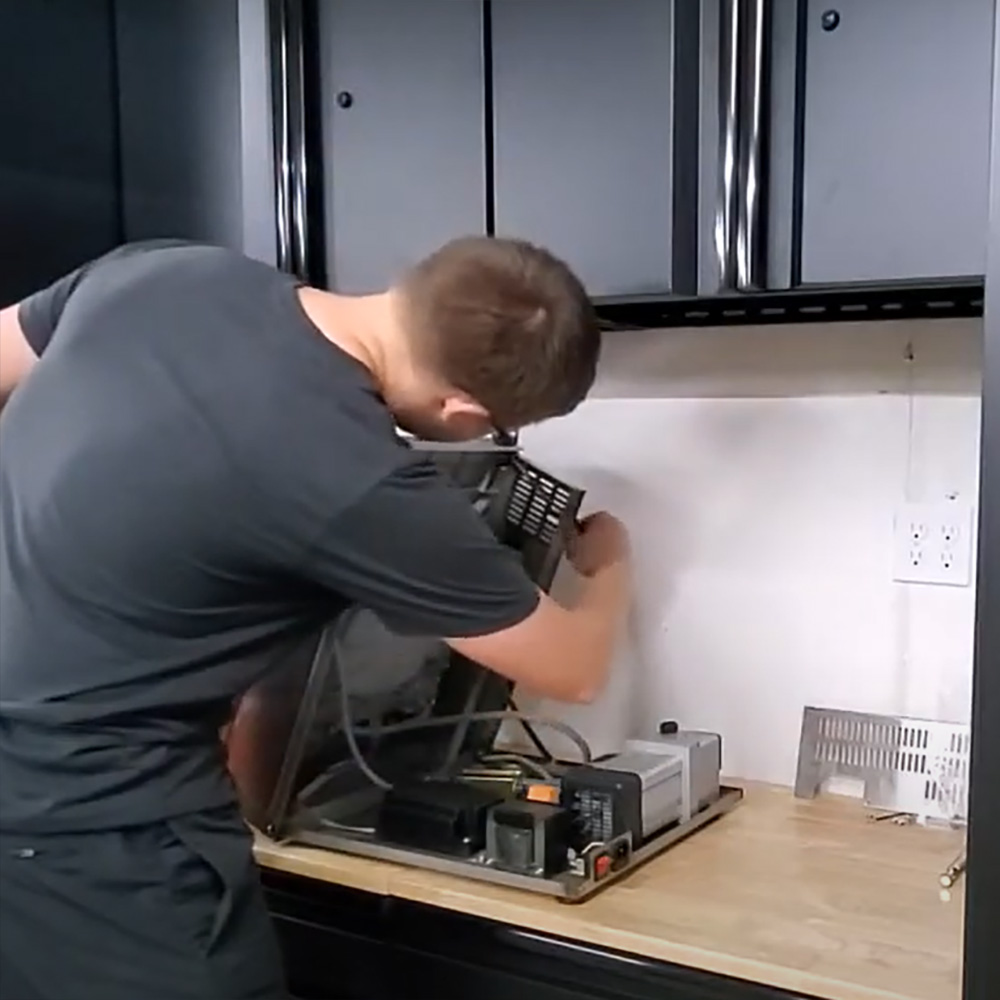
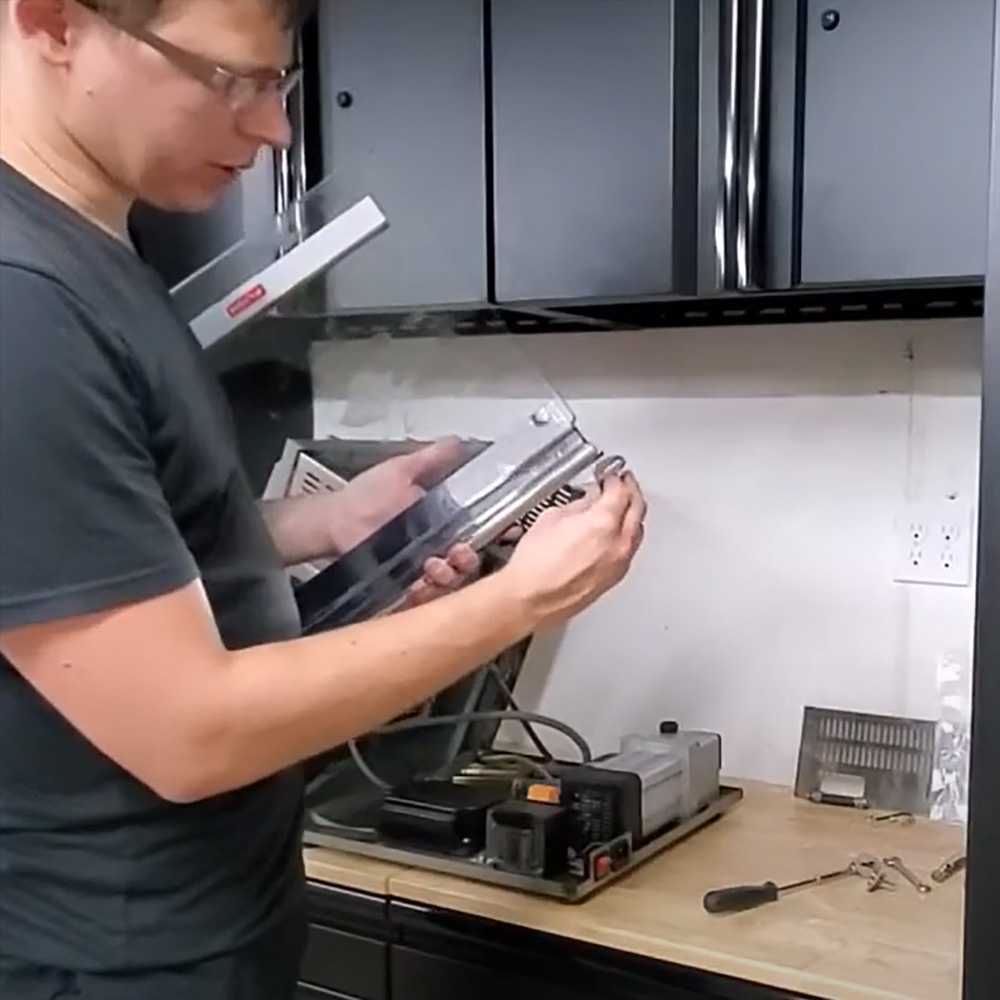
1. Use 3 mm Allen Key to remove 5 screws securing the back panel. Set panel and screws to the side.
2. Hinge the external body forward and press the hinging mechanism to lock into place.
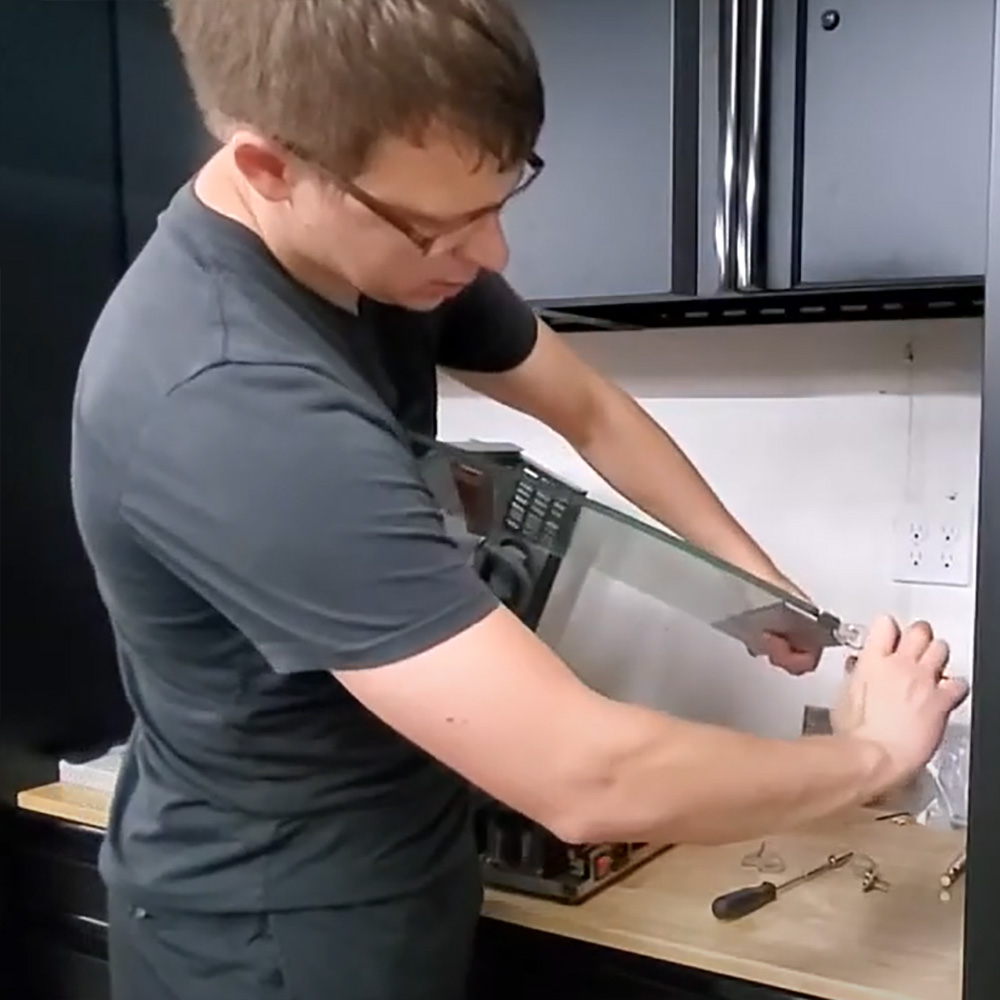
3. With the 8mm nut driver (or wrench), remove one of the two nuts on each side that secure the bolts holding the lid.
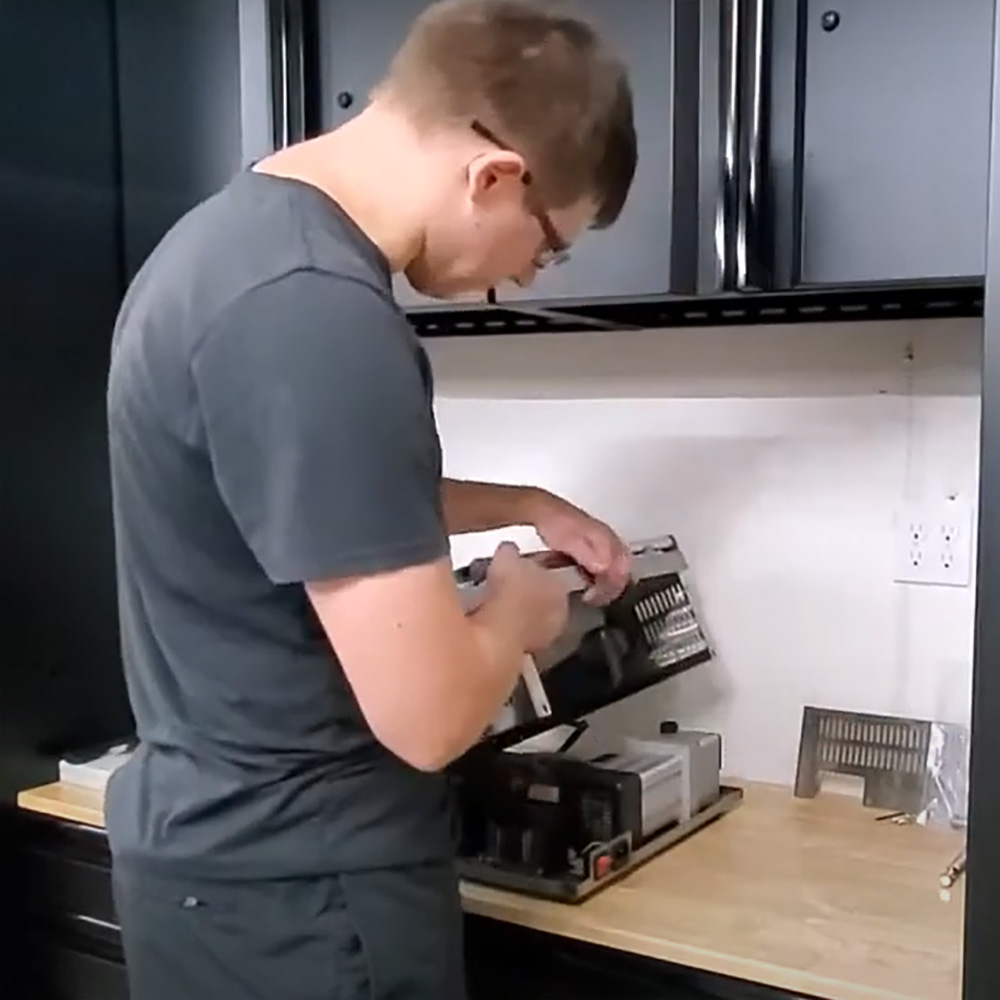
4. Before removing the last two screws, you want to find someone to HOLD THE LID IN PLACE or hold it with one of your arms, leaving one arm free to work. The springs will be under the least tension with the lid up.
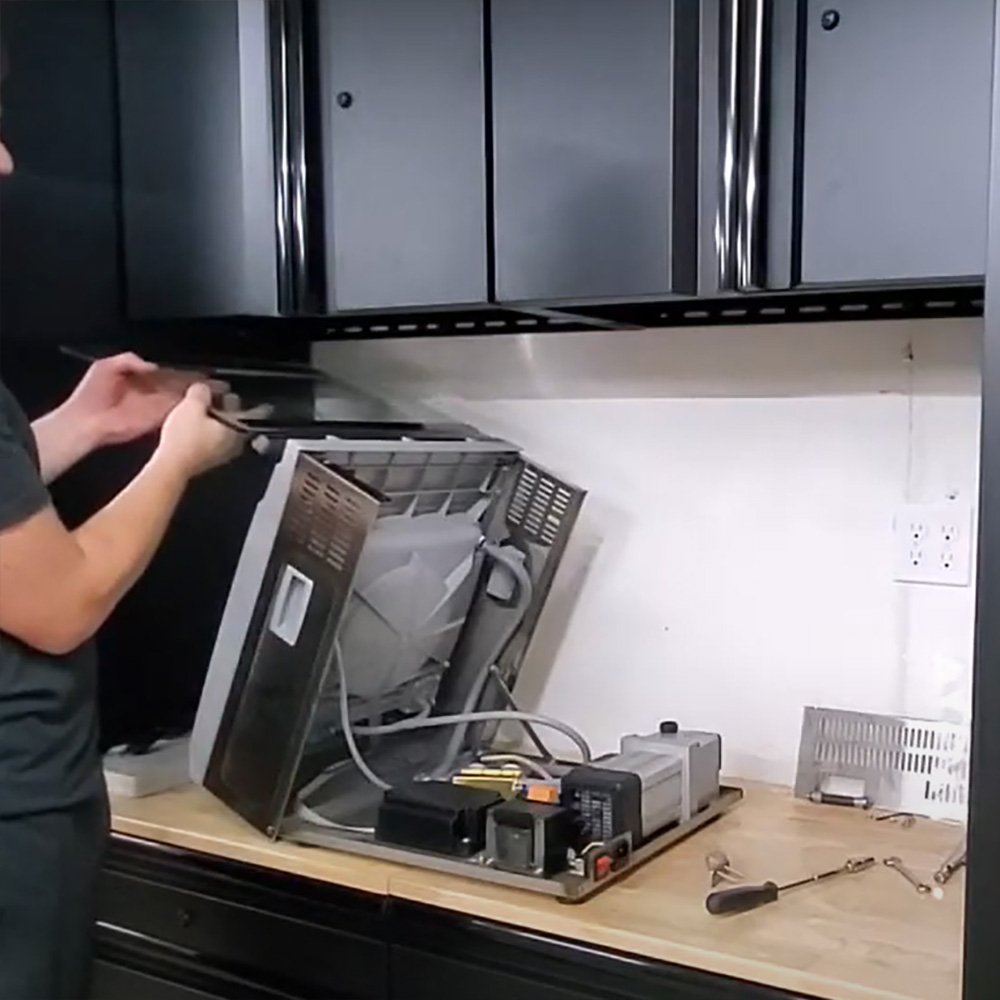
5. Loosen the remaining two screws with the nut driver, then spin them off completely by hand.
6. You can now slowly pull away the lid. Be careful as the brackets and bolts on either side might be ready to fall.
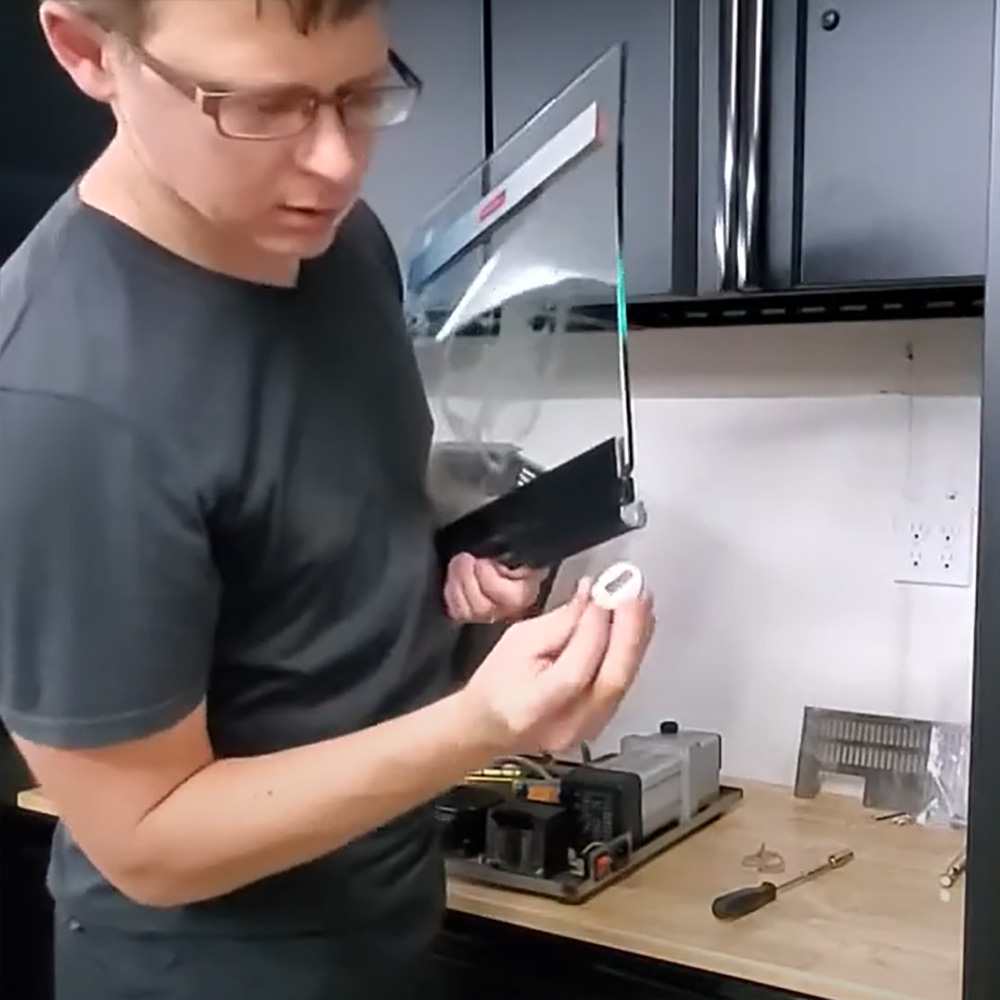
7. Remove the broken spring.
NOTE: The side with the broken spring will likely feel easy to pull off. But you might need a 10mm wrench or pliers to pull out the intact spring.
Installing the Replacement Spring
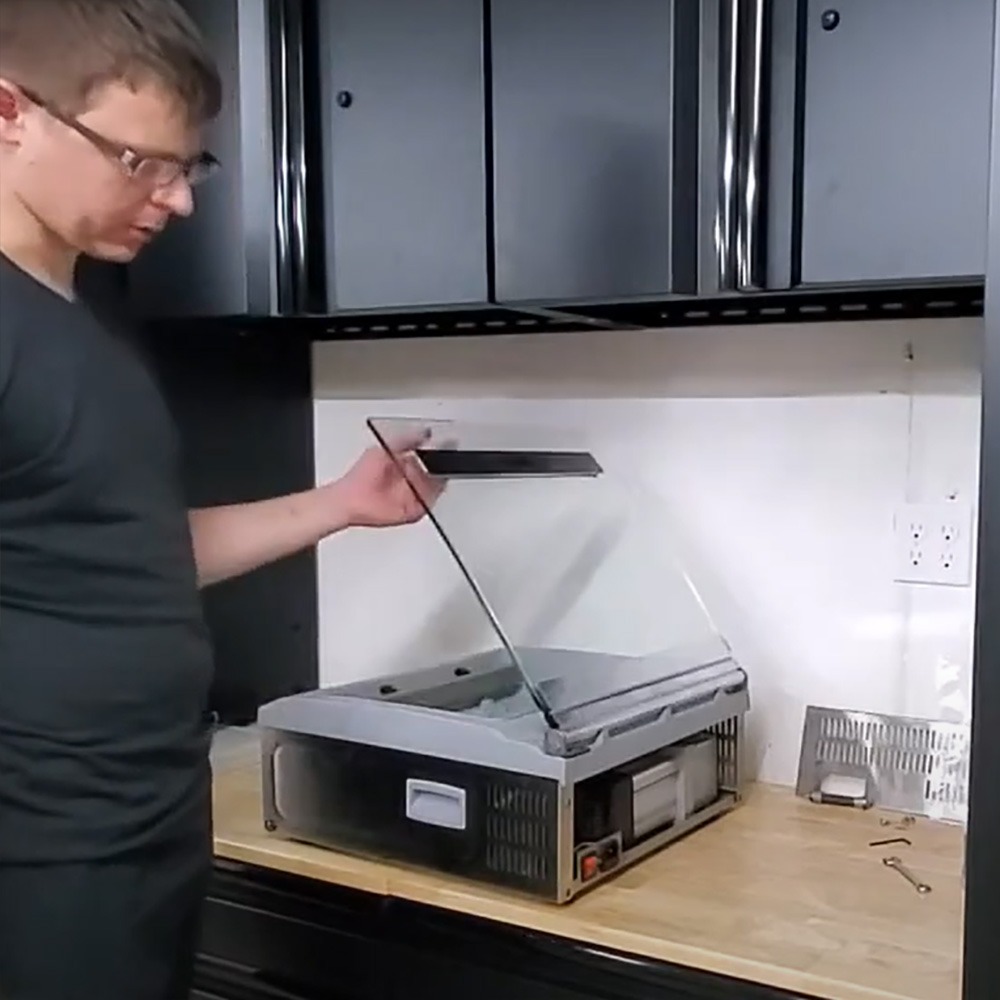
7. Retrieve the new lid spring. You can wipe off the excess grease, but make sure the majority remains.
8. Insert the lid spring.
NOTICE the end has notches that should line up with the space on the lid. You will need to apply pre-tension to set the spring into the holder:
Option 1: Use pliers to vice grip the end of the spring and press the spring to seat it in place.
Option 2: Use a 10 mm wrench to add tension, then physically push down to pop the lid spring into place.
Reassembly
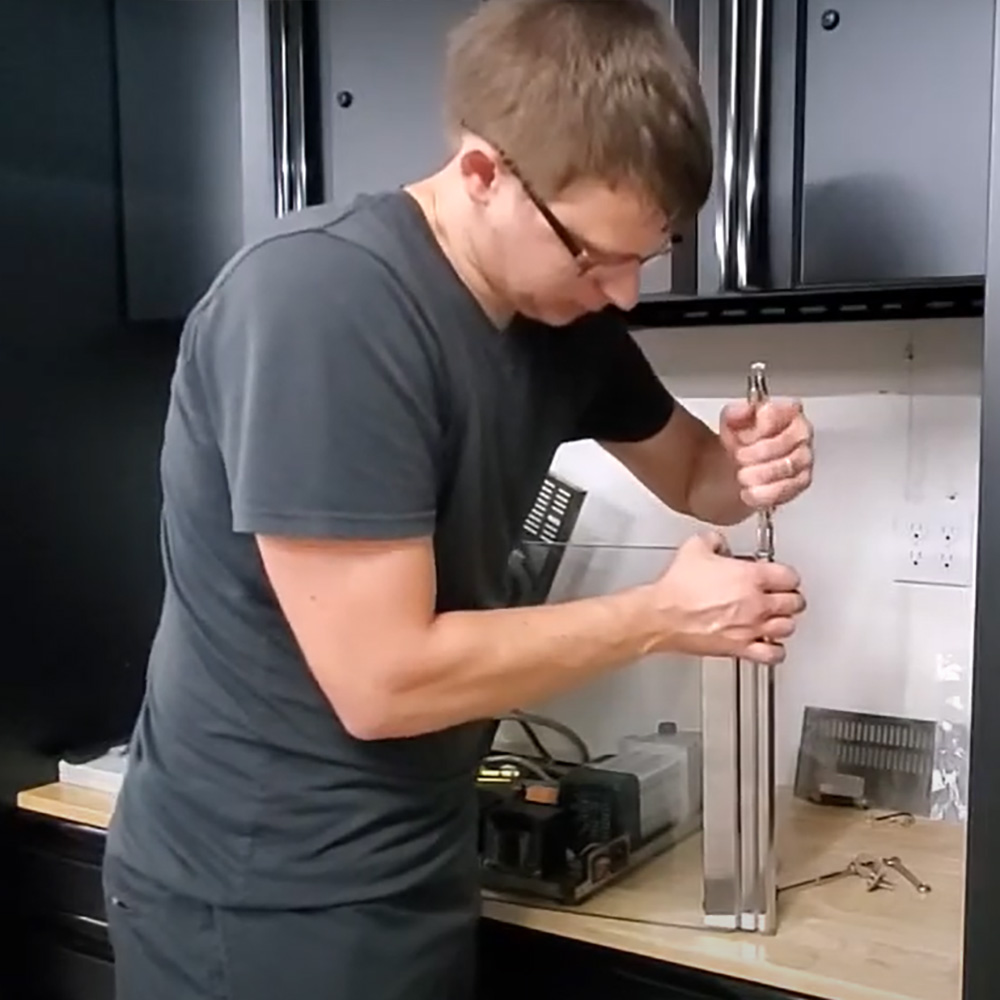
9. You’re going to want to line up the lid to the unit one side at a time.
10. Find the appropriate (right or left) bracket and loosely secure it with the bolts.
11. Slide the matching side of the lid into place, holding it open for the least tension on the spring.
12. Repeat this process with the opposing side by placing the bracket at the end, lining up the lid, then guiding the bolts into the holes.
13. Continue to hold the lid open with one hand while securing the nuts onto the bolts with the 8 mm nut driver (securing one on each side first to maintain balanced tension).
DO NOT OVERTIGHTEN!!
14. Lower the external body back down and reapply the back panel by securing all 5 screws with the 3 mm Allen key.
15. The Vac100 lid should be able to stay up on its own now!

Questions?
Have questions about the replacement process? We will be glad to help you out! Give us a call to talk directly to a service technician or email us at JVR@jvrinc.com.
Want to read more articles like “How To Replace Lid Spring Assembly (100-42): JVR Vac100” Click below!
.