The basics of vacuum sealing pouches include understanding cycle times, how a good vacuum seal looks, and methods to ensure seal integrity.
Today, we share chamber vacuum pouch sealing basics 101. We take our 50+ years of vacuum packaging experience and condense it down into a few quick and easy methods to keep things simple.
The basics of vacuum sealing pouches include understanding cycle times, how a good vacuum seal looks, and methods to ensure seal integrity. Let’s get into chamber vacuum pouch sealing basics!

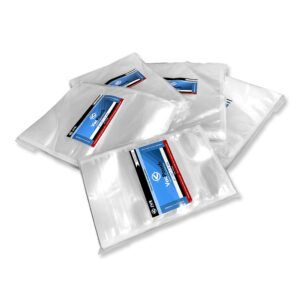
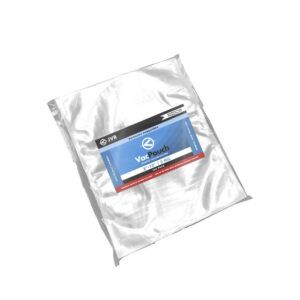
VacPouch Overview
JVR Industries sells a variety of VacPouch sizes, quantities, and thicknesses. Quantities include 100 packs, 500 packs, and cases. These vacuum seal bags are the perfect blend of coextruded nylon and polyethylene. Our vacuum sealer bags pair perfectly with any chamber vacuum sealer including our very own VacSeries units! The best chamber vacuum sealer bags for all-around use including home use and commercial use. Vacuum bags are available in 3mil, 4mil and 5mil.
Recommended Cycle Times
Every chamber vacuum sealer is different in the market when it comes down to vacuum, seal, and cool times especially when comparing different chamber pouch thicknesses. JVR Industries has recommended cycle times for every VacSeries chamber vacuum sealer in the market today! Click below to download the PDF for a quick reference on how to setup your chamber vacuum sealer for basic operation.
How a Good Vacuum Seal Looks
In order to vacuum seal food, it’s important to know what a good heat seal looks like to ensure your product is packaged to last. A good seal has a complete cross-hatch pattern that shows up across the entire mouth of the pouch. If there are any breaks in the weld, you most likely have a leak. Please note that the package contents that arrive with your unit include example pouches with perfect welds. This is also the case when you order a retort bar assembly. The example pouches are sealed with our recommended seal and cool times to serve as a reference.
4 Methods to Ensure Seal Integrity On Chamber Vacuum Pouches
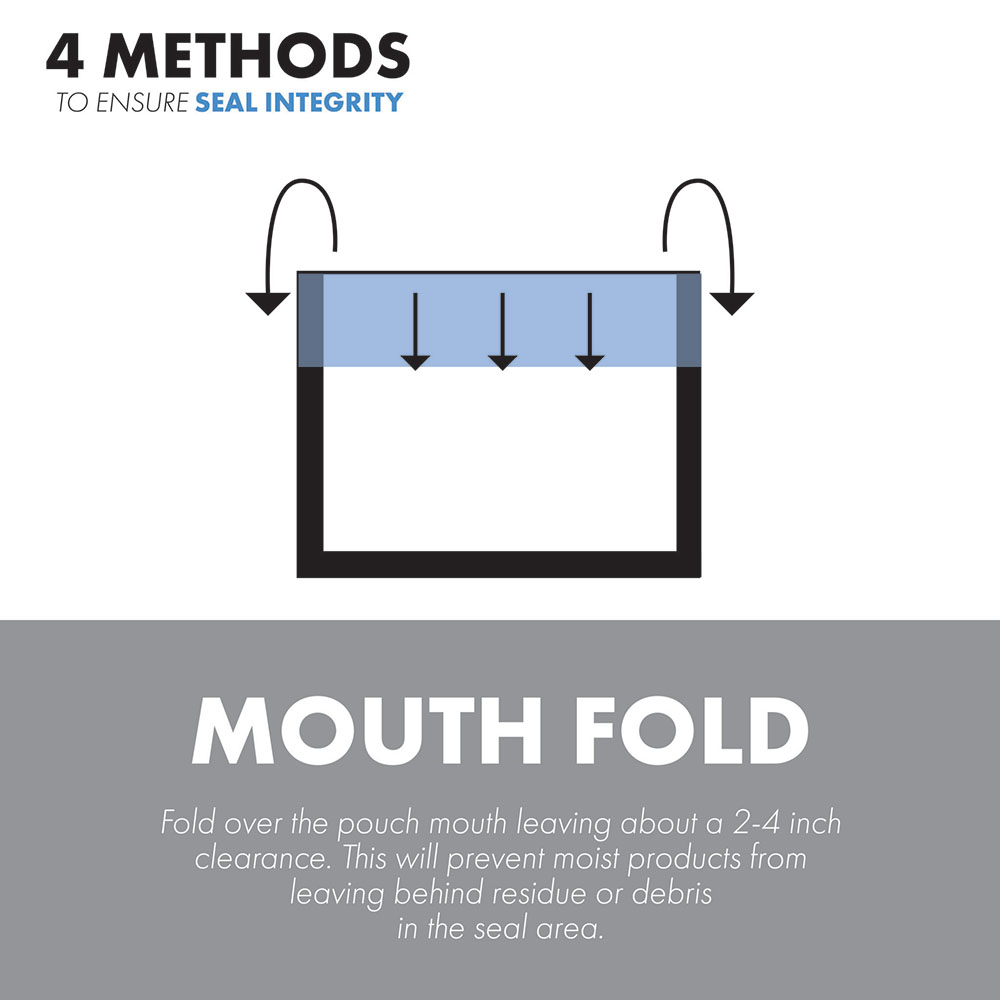
Mouth Fold
When sealing products, if moisture or debris is left behind on the mouth of the pouch, there will be seal adhesion problems and poor seal integrity. To keep the mouth of the pouch clean, simply fold the mouth of the bag out of the way, about two to three inches down the pouch. Throw in your product, unfold the mouth of the pouch, and seal. This simple trick will help ensure great seal integrity on moisture and debris-filled products.
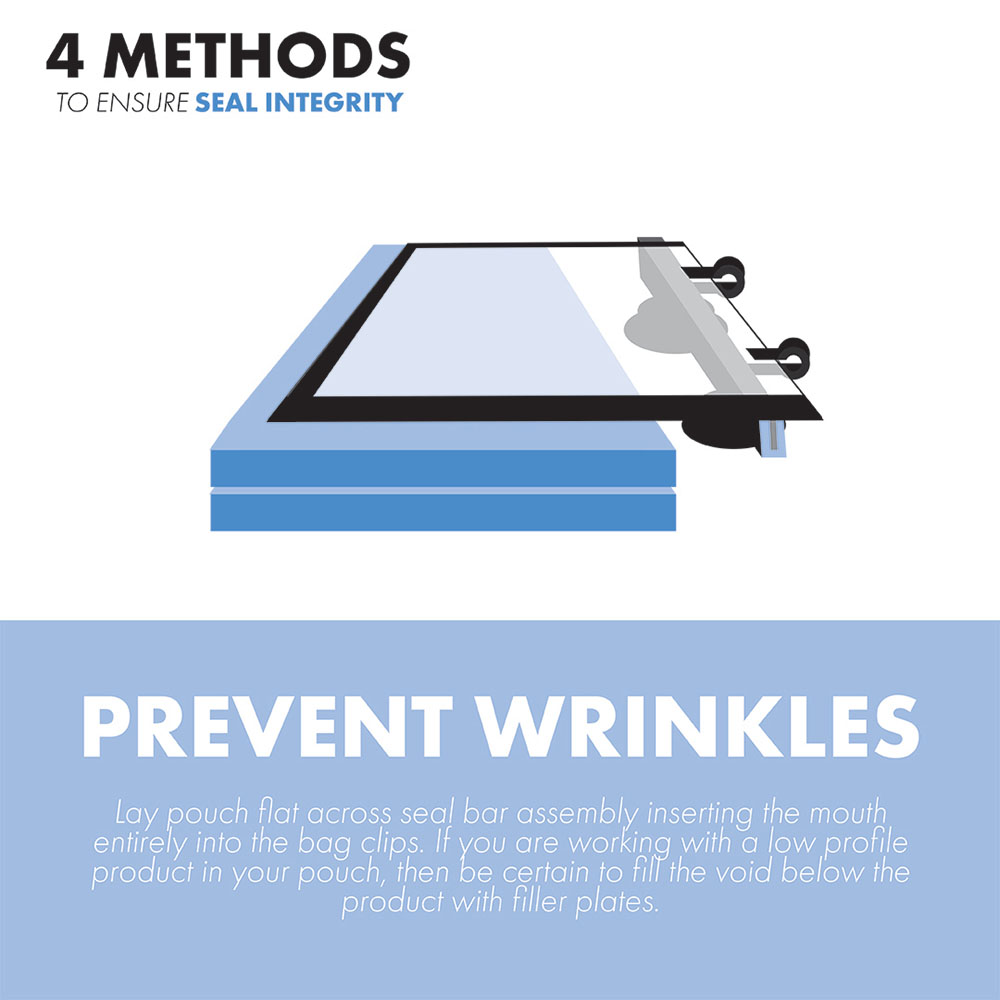
Prevent Wrinkles
The second method would be to prevent wrinkles from taking place at the mouth of the pouch during the sealing process. Here are a couple ways to prevent wrinkles. 1) Use filler plates to level your product with the seal bar assembly. 2) Keep your product 1-2″ away from the mouth of the pouch so the “hills and valleys” in your product do not show up in the mouth of the pouch.
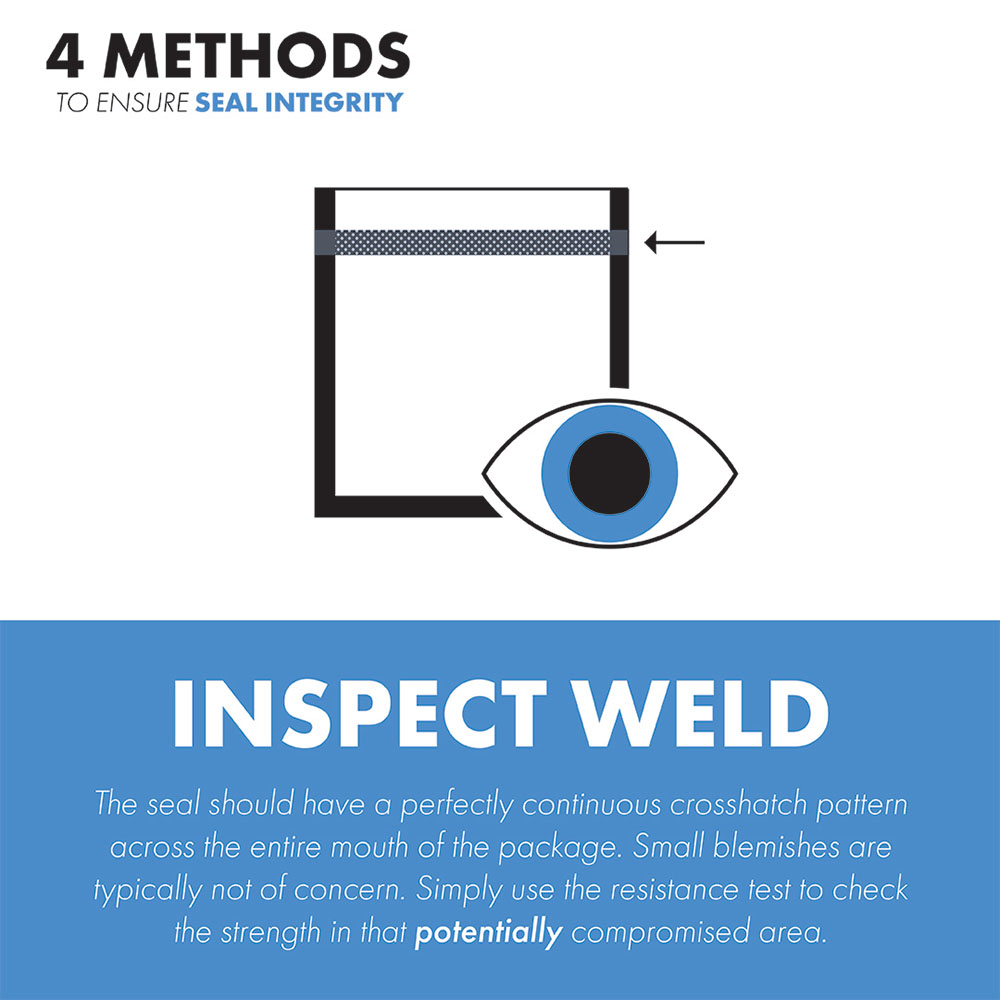
Inspect Weld
Visually inspect the weld on your pouch. Specifically, look for a continual and consistent cross-hatch pattern across the mouth of the bag. If there are tiny blemishes in the weld of your pouch, use the next seal integrity test to determine if your seal is appropriate.
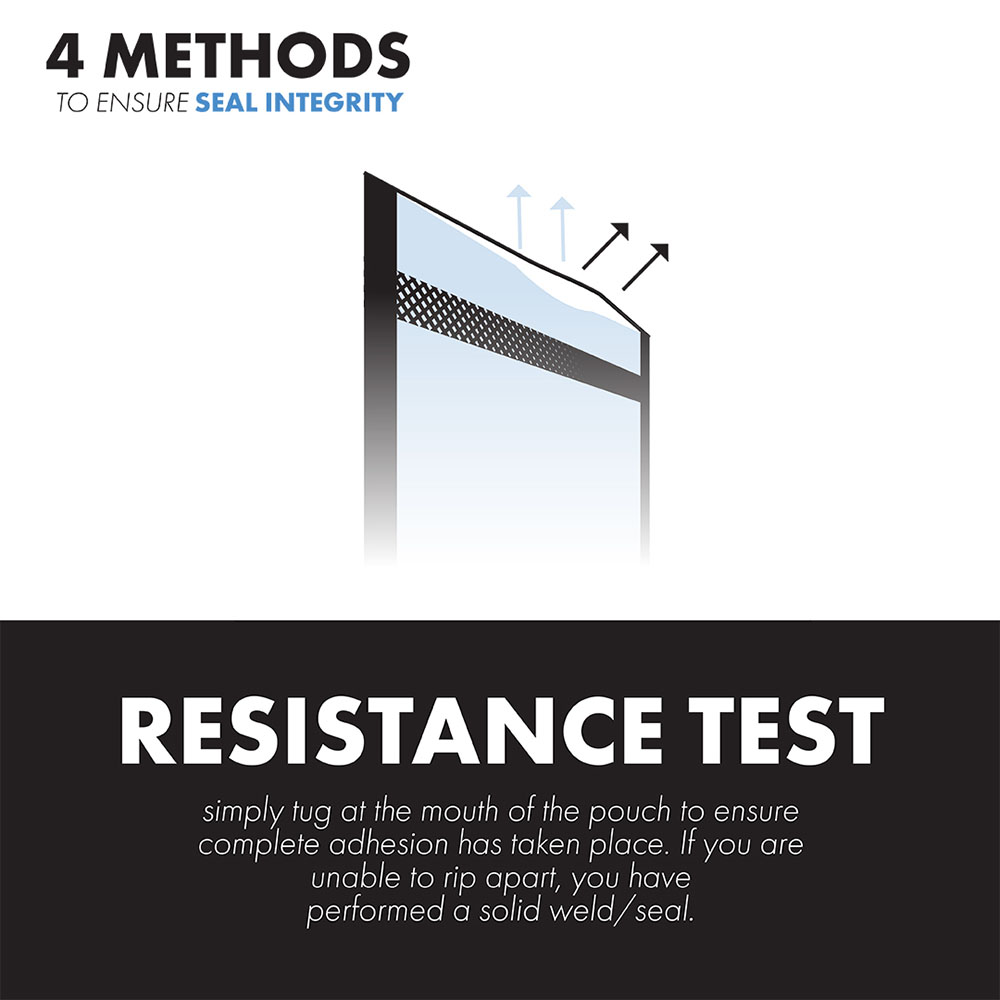
Resistance Test
Lastly, perform a resistance test. Go to the mouth of the pouch where the seal is and simply pull the two sides of the pouch away from each other. If there is no give, the adhesion of the weld is set and there is good vacuum seal integrity.
How to Avoid Seal Issues
A common issue you may notice when sealing vacuum bags is a break in the seal. This typically occurs when the heat strip is broken. To fix this issue, simply replace the heat strip on your seal bar or replace the seal bar assembly entirely. Another reason you may have a break in the seal is that there’s a wrinkle in the pouch as previously discussed.
Blowouts
If you have pouches that are blowing out, ensure that you are using our standard 3.0-second cool time. During a cycle, the heat strip gets the pouch up to melting point to create a seal. The cooling cycle helps get the pouch below melting point so it can be released properly.
Benefits of Chamber Vacuum Pouches: Increase the Life Span of Food and Product
Chamber vacuum pouches that are durable and strong are now available to be used at home. These industrial strength bags will help keep your vacuum-sealed food fresh longer than traditional packaging, making it an extremely cost-effective alternative to embossed vacuum sealer style bags. Prevent freezer burn and achieve an airtight seal with our chamber vacuum pouches. Great to use for meal planning, and storing your deer meat, fish, or soups!
Tons of Applications
Sealing any solid or liquid product with a vacuum sealer machine, these bags were created to freeze and refrigerate! Preserve food and increase shelf life to decrease food waste. Additionally, these pouches can withstand being boiled for up to 20 minutes, allowing you to place them directly in boiling water. The heat resistance of the bag makes it great for sous vide cooking as well as for storage applications.